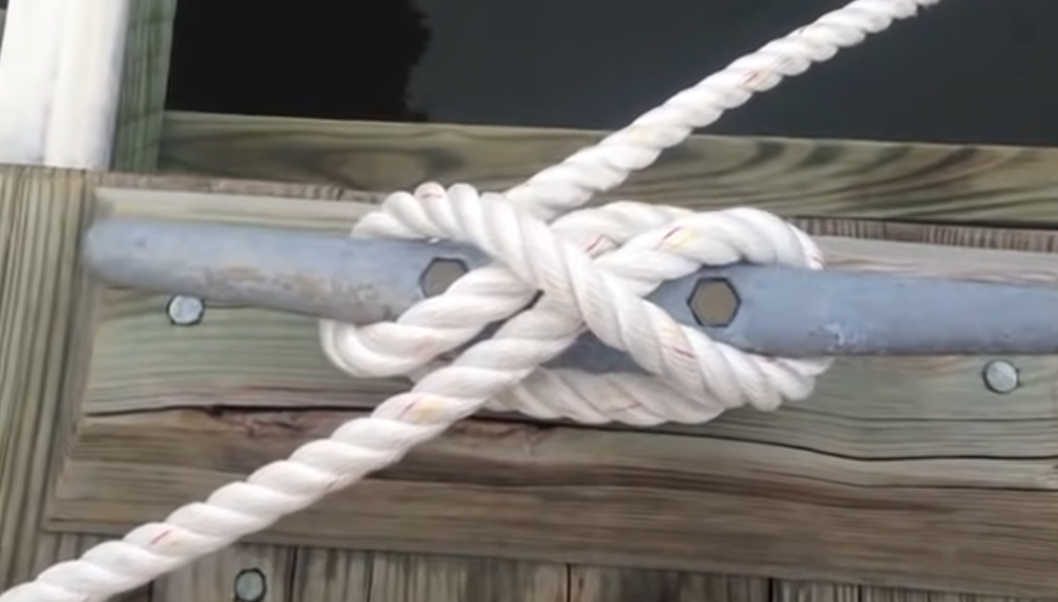
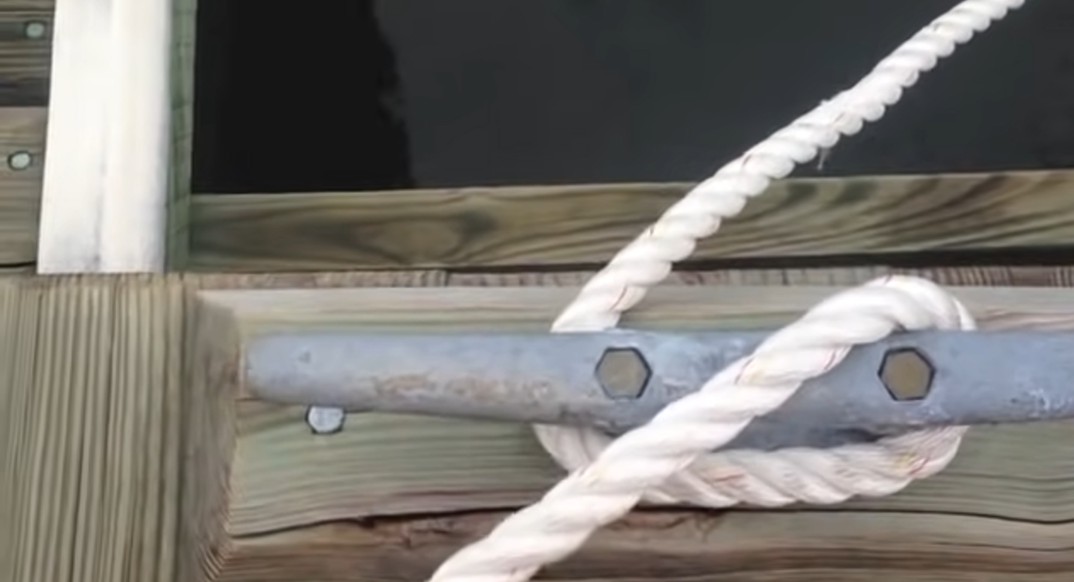
This is what the finished Cleat Hitch should look like.
It is the most basic of knots, yet even many lifelong boaters get it wrong. One reason is that it defies common logic. One would naturally think that the more figure-8 wraps are taken on a cleat, the more secure it will be. But when it comes to knots, that is usually not the case. Knots have been devised to serve certain functions as efficiently and securely as possible. Nowhere is this more true than with the Cleat Hitch.
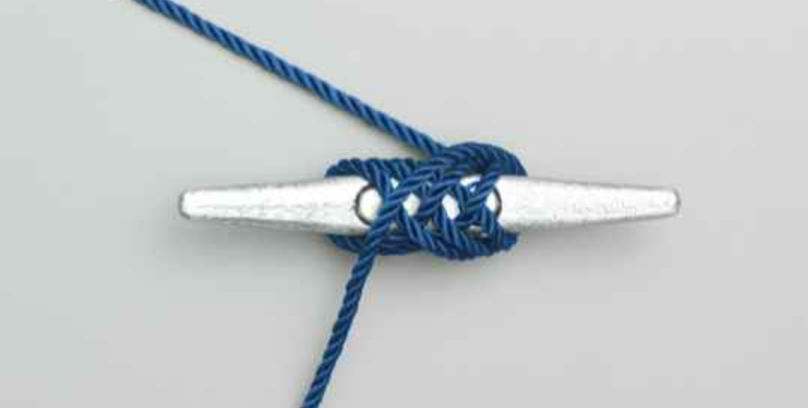
Not this…
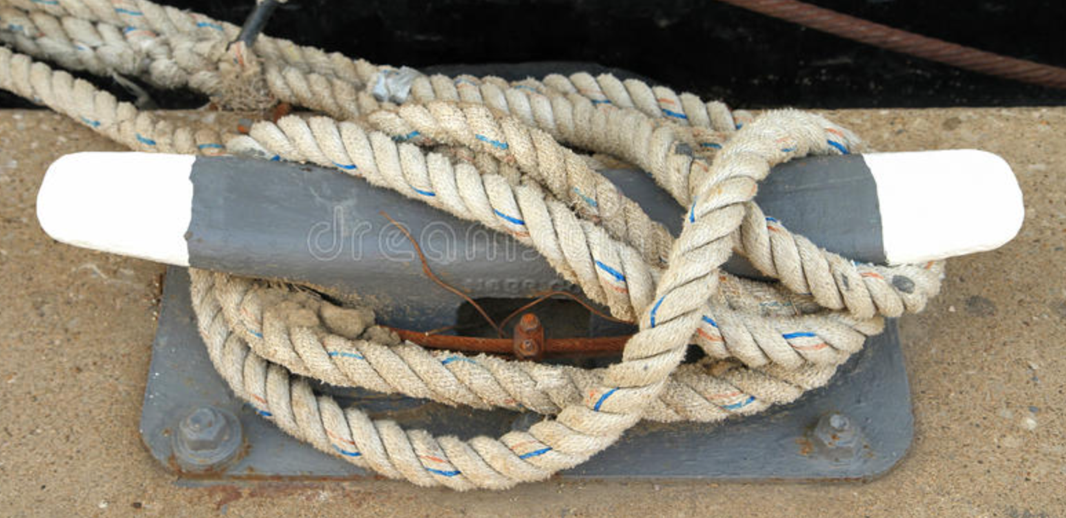
…Or this…
…and certainly not this.
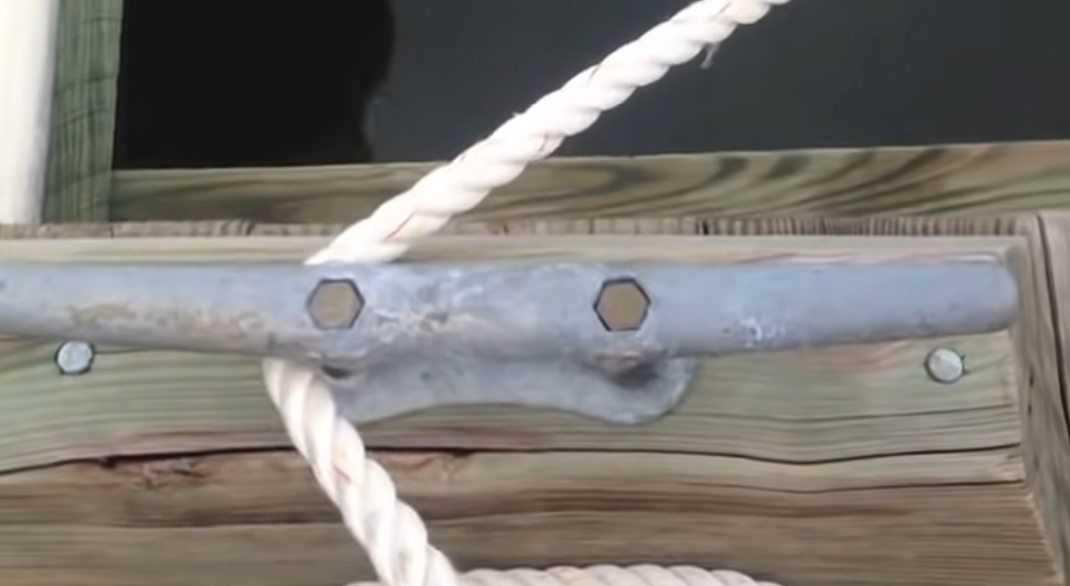
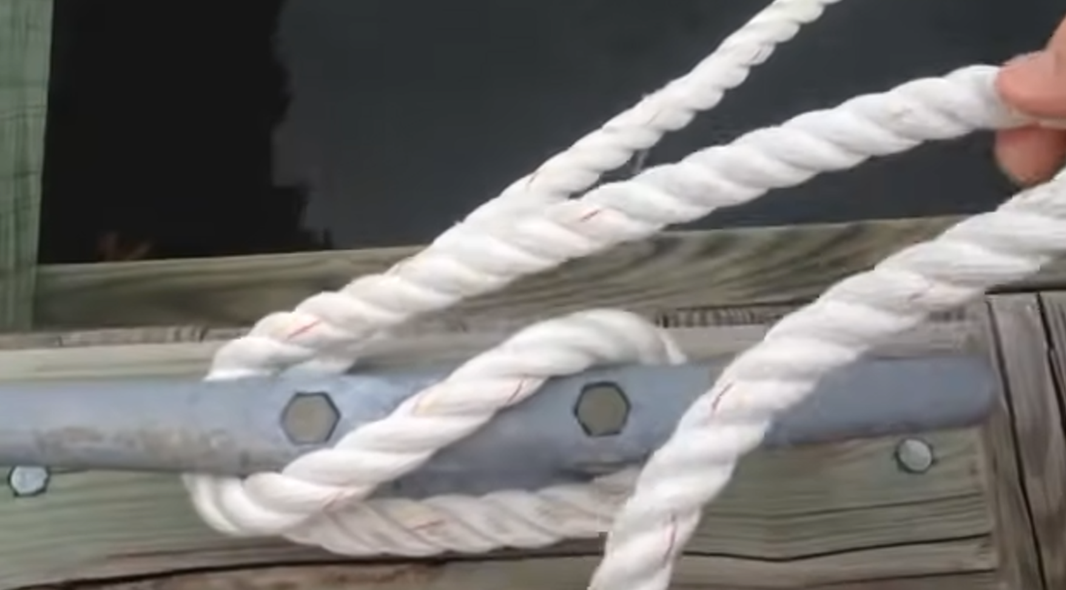
Step #1
Take the line to be secured around the opposite side of the horn from where the line is being led. This puts the load on the base of the cleat.
Step #2
Now, wrap the line under and over the opposite horn of the cleat.
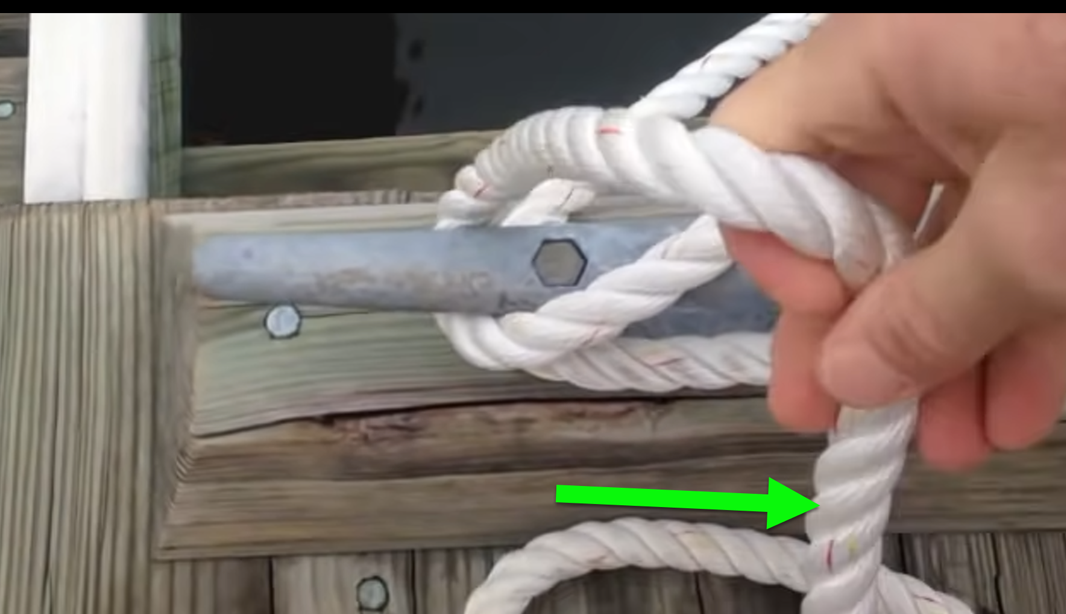
Step #3
Loop the line under the opposite horn and then… here comes the “hard” part…
Step #4
..twist the part of the line that is free under the line that has been wrapped around the left horn…and then take the loop that has been made and put it around the right horn.
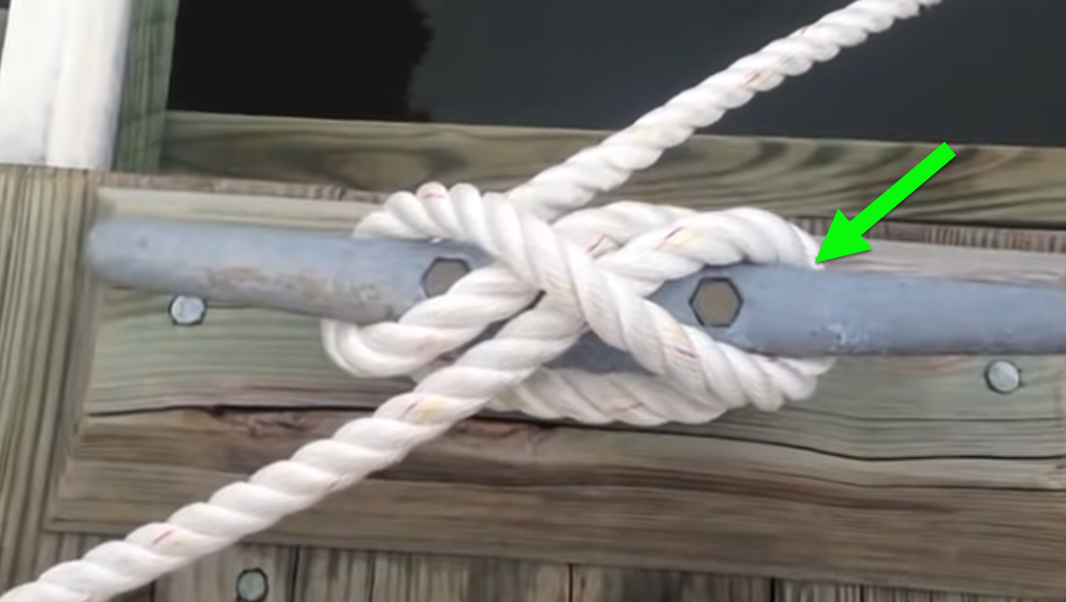
Step #5
Note how the “twist” of the line has placed the free end under itself and then the loop is slipped over the right horn. Then pull tight. Note that the two lines run diagonally on the bottom across the cleat and only one line runs diagonally across the top of the other two. Practice a few times until you get the hang of it … it’s all in the “twist.” Piling more wraps around the horns will not make the line any more secure — it will only make an ugly mess and be hard to throw off in an emergency.