Tips on Winterizing Your Outboard - Part 1
Correctly preparing your outboard motor for the off-season will help insure that it’s ready to go next spring. In cold climates, freezing weather can cause costly damage to an engine that isn’t winterized properly. Even in milder climates, the end of the boating season is a great time to take care of annual maintenance that will keep your outboard running reliably.
Whether you do the job yourself or take your outboard to an authorized dealer for service, spending a little time and money today can save a lot of both come spring.
Should You Do it Yourself or Take it to a Dealer?
If you have your outboard winterized by an authorized dealer, you can count on the professional service and skills of a trained technician and save yourself the trouble of rounding up oil and filters, gear lube, fogging oil and other required supplies. The tech winterizing your outboard may even spot and correct unrelated issues.
“When we are winterizing engines, we might see things that are wrong with them that our customers might not catch,” said Scott Klein, president of Wendt’s Marine, an award-winning marine service shop in Van Dyne, Wisconsin. “It could be something minor, like a throttle or shift cable out of adjustment, but that can affect how the motor performs. We’ll also check for bigger issues, like loose transom bolts or a bent prop shaft, which can cause real trouble down the road.”
Consumer Caveat: BoatTEST advises that you get a quote from the dealership before hauling your boat to its location. Like everything else, dealership winterizing prices have become pretty dear at many locations, and you may be surprised by the cost. You can do it yourself for a lot less money. See below for some tips. Keep your receipts to keep your warrantee in place.
Many marine service facilities will bundle engine winterization with other off-season storage services at a discounted price. These additional services may include maintenance of the boat’s water and waste systems, shrink wrapping and storage. The off-season is also a great time to have a dealer install new electronics or accessories, to refresh canvas or upholstery, and to send propellers out for repair.
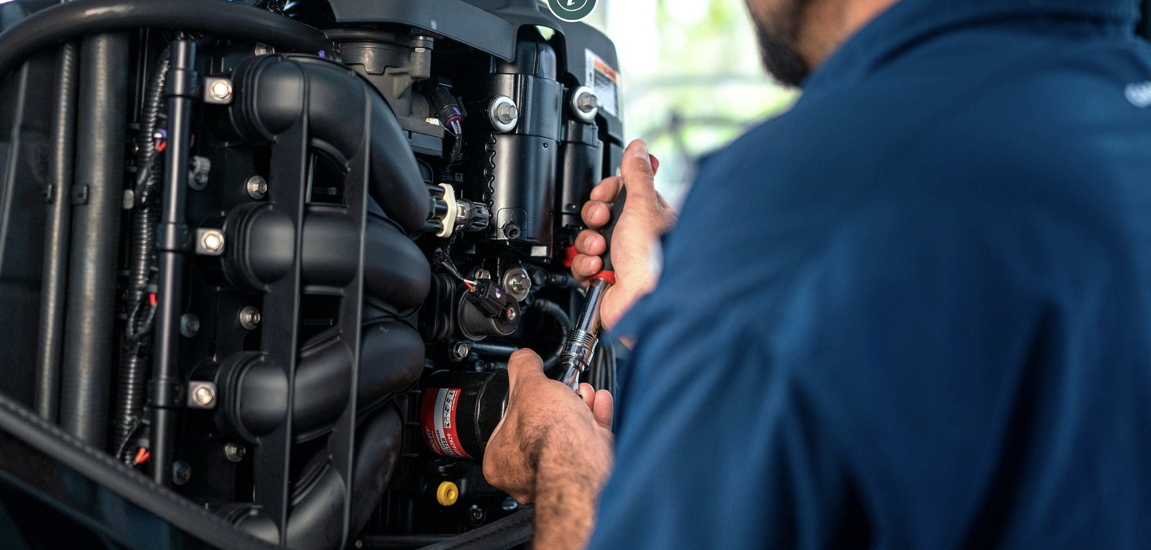
The procedure for off-season storage is outlined in every owner’s manual, and with a few basic tools and the proper supplies, those inclined to do-it-yourself can usually tackle the task. In fact, many late-model Mercury outboards, including the new 4.6-liter V8 and 3.4-liter V6 models, have a label under the cowl with basic maintenance specifications and a QR code that can be scanned with a mobile device for links to how-to videos produced by Mercury, and most of the other engine makers.
If you go the DIY route, start by consulting the manual and collecting the tools and maintenance products you’ll need. If you don't have a copy of the manual for your outboard, you may order it from a dealer or download it from the company website. The manual will have information specific to your outboard model.
Here are some basic instructions from the service experts at Mercury Marine:
Keep a Winterization Supplies List
See your outboard owner’s manual for guidance on supplies and tools specific to your motor.
- Engine Oil
- Engine Oil Filter
- Fuel Filter
- Fuel Stabilizer
- Spark Plugs
- Marine Grease
- Fogging Oil
- Gear Lube and Pump
- Rust Inhibitor Spray
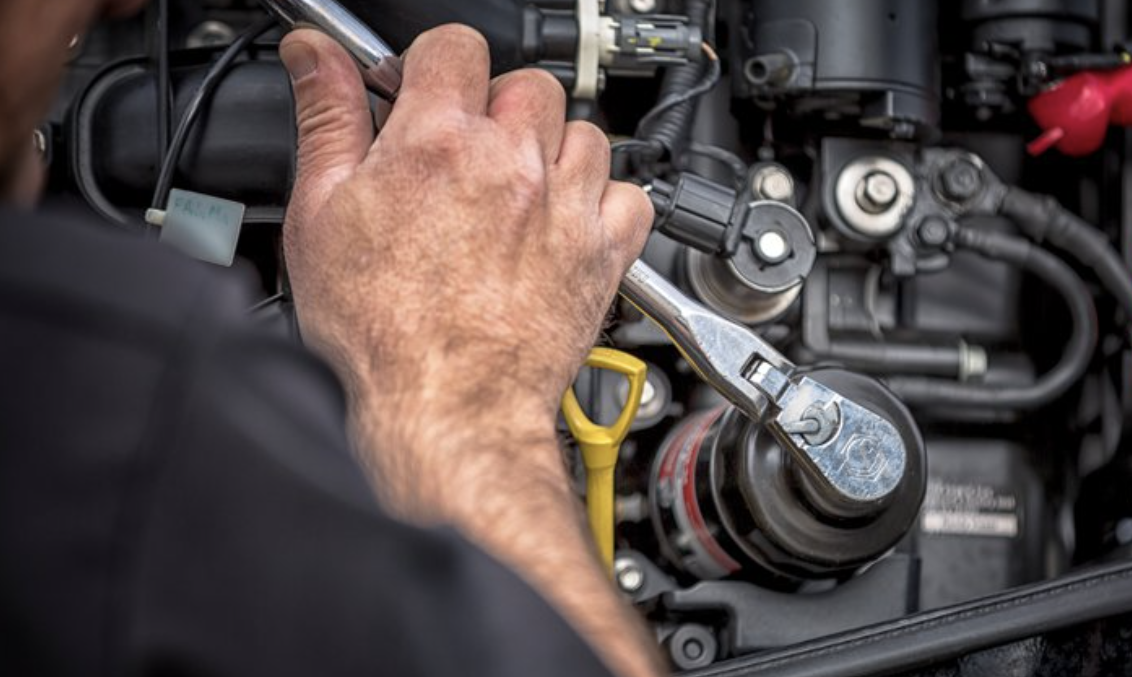
- Basic Hand Tools
- Grease Gun
- Spark Plug Gap Tool
- Motor Flushing Muff and Garden Hose
- Prop Wrench or Appropriate Socket
- Funnel
- Waste Oil Container
Treat the Fuel
You should always store your boat with fresh fuel that has been treated with marine fuel stabilizer. Fuel that is left untreated will begin to oxidize and form a gumlike substance in the engine’s fuel system. This is especially true for outboards equipped with carburetors.
“Most of the issues our dealers run into are caused by stale fuel,” said Mercury Marine Dealer Team Lead Tim Hurney. “When possible, at the end of the season try to run your boat fuel tank almost empty and then add fresh fuel before storage. If the fuel in your tank is more than a month old and it’s too late in the season to use it up, have it pumped out and replace it with fresh fuel.”
If you have an older boat with a vented fuel tank, it’s a good idea to fill the tank with fresh fuel to keep condensation from forming in the tank. Stop when the tank is about 95 percent full because extreme temperature changes over the winter can cause the fuel to expand, potentially forcing gas out of the vent.
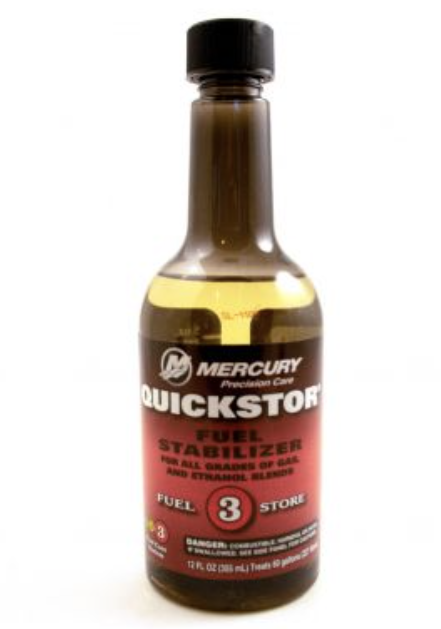
Because newer tanks can’t freely vent to the atmosphere and won’t collect moisture from the air, they don’t need to be filled. If possible, refill the tank with ethanol-free fuel such as REC-90, a premium blend formulated specifically for recreational engines. Then add the correct amount of fuel stabilizer to the fresh fuel.
“The best time to treat fuel is when you pump it into your tank, either during your last fill-up of the season or when you replace stale fuel during winterization,” Hurney said.
He recommends treating fuel for storage with Mercury Quickstor, one of the products in the Mercury Fuel Care System, whether your engine was built by Mercury or another manufacturer. These products are engineered to work together to optimize fuel, remove any leftover deposits from the engine and protect the fuel system over the winter months.
It is important to get that treated fuel into the entire fuel system by running the boat for about 10 minutes, either in the water or while connected to a garden hose (follow owner’s manual instructions if using a hose). Finally, replace the fuel filter. Now your motor’s fuel system will be ready to go next season.
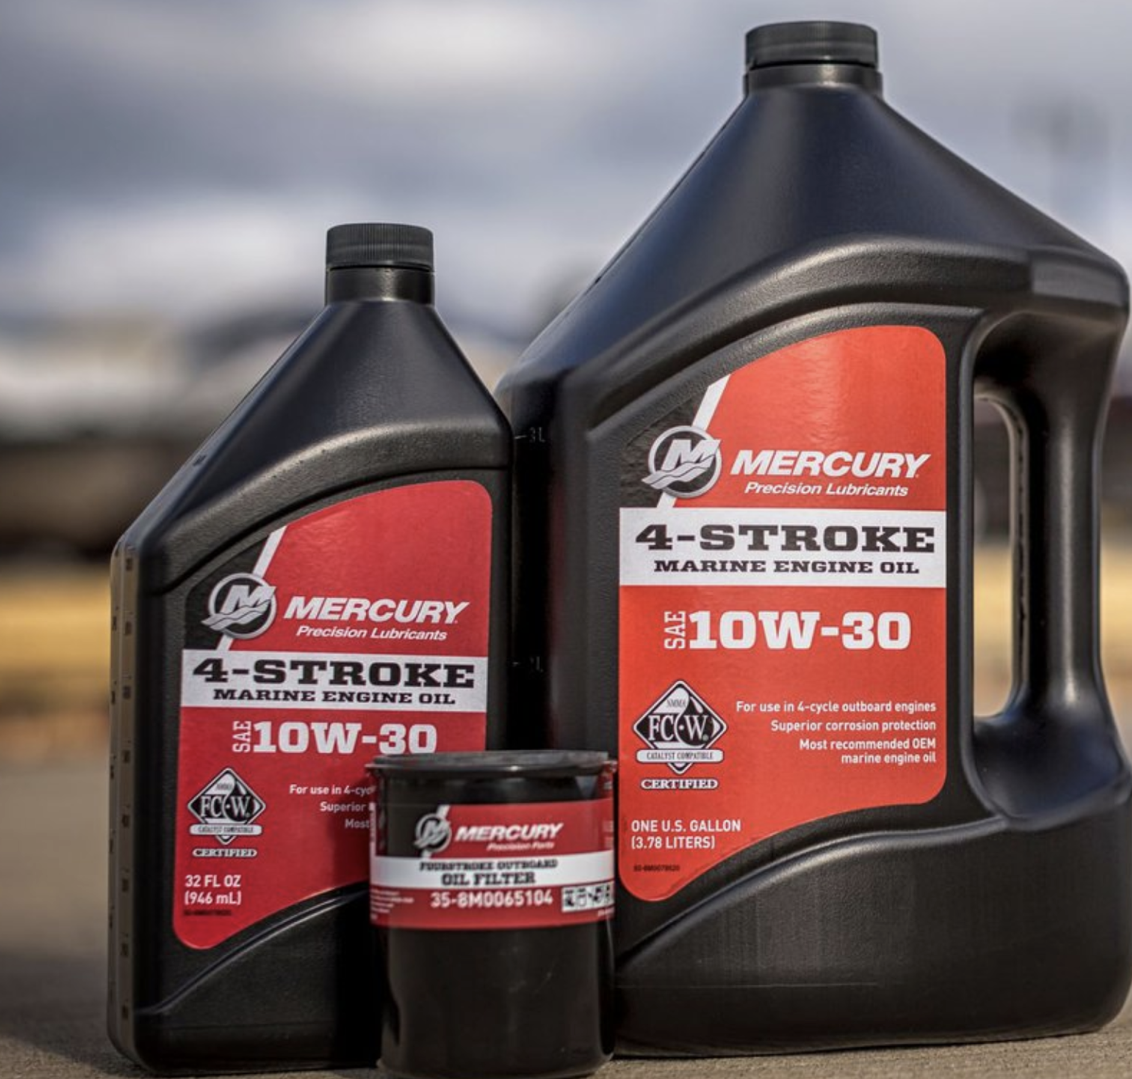
Change the Oil
If you have a four-stroke outboard, the engine oil and filter should be changed every 100 hours or once a season, regardless of how many hours the engine was used. Storing the motor with old oil can expose internal engine components to moisture and acidic combustion byproducts, which can cause corrosion.
Never use automotive oil in a marine engine! Check your owner’s manual or ask your dealer for the recommended lubricant products for your marine engine.
“After you change the oil, it’s always a good idea to start the engine again, to circulate fresh oil through the engine and to check for leaks,” suggests Hurney. “It’s not uncommon for the oil filter gasket to stick to the engine and, if it’s not removed, oil can leak past the old gasket after a new filter is installed. I’ve seen engines ruined because the owner didn’t notice engine oil leaking out past a doubled gasket.”
Fog the Engine
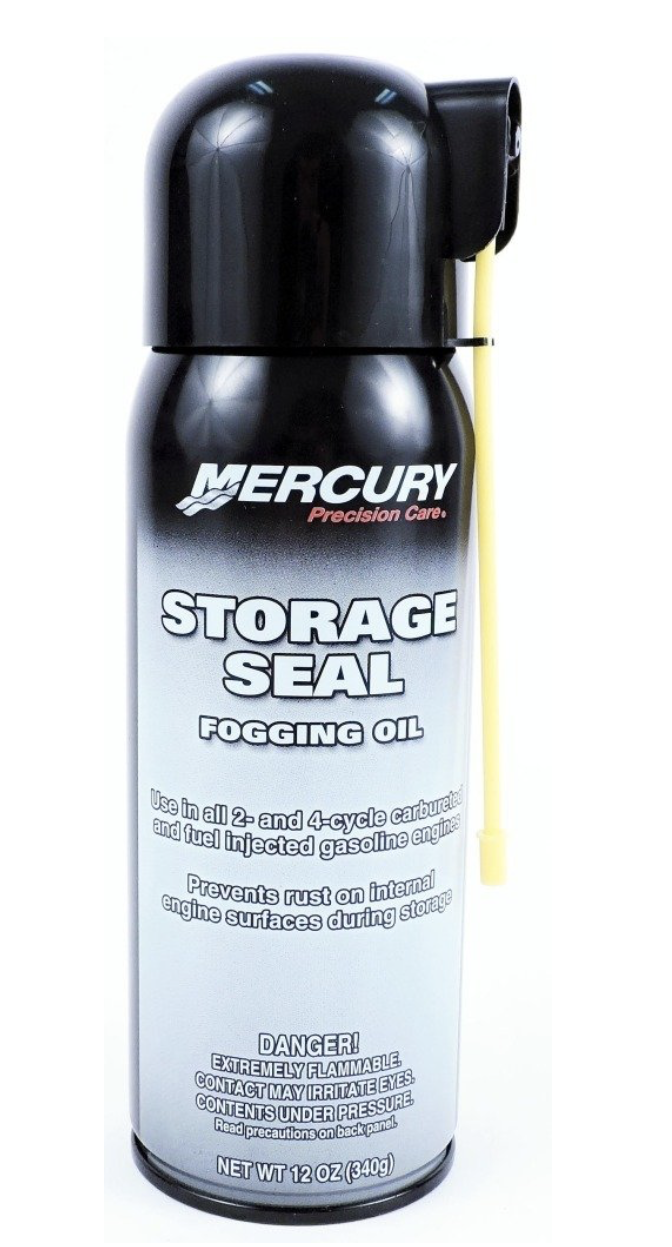
Ideally while the motor is still warm, treat four-stroke and conventional two-stroke engines with fogging oil to prevent corrosion within the engine. Remove the spark plugs and spray the fogging oil directly into each cylinder, following the directions on the can. Use a fogging oil product that is specially designed for use during winterization, such as Mercury Storage Seal.
For direct fuel injected (DFI) two-stroke engines such as Mercury OptiMax models, instead of using fogging oil, squirt one ounce of DFI outboard oil into each cylinder through the spark plug hole. A small oil can with a long flexible neck works well for this task. Hurney recommends putting a coat of anti-seize lubricant on the spark plug threads before carefully replacing the plugs. Use new spark plugs, correctly gapped, per the service schedule in your owner’s manual.