Of Antennas and Coax Runs: How to Plan and Install like a Pro
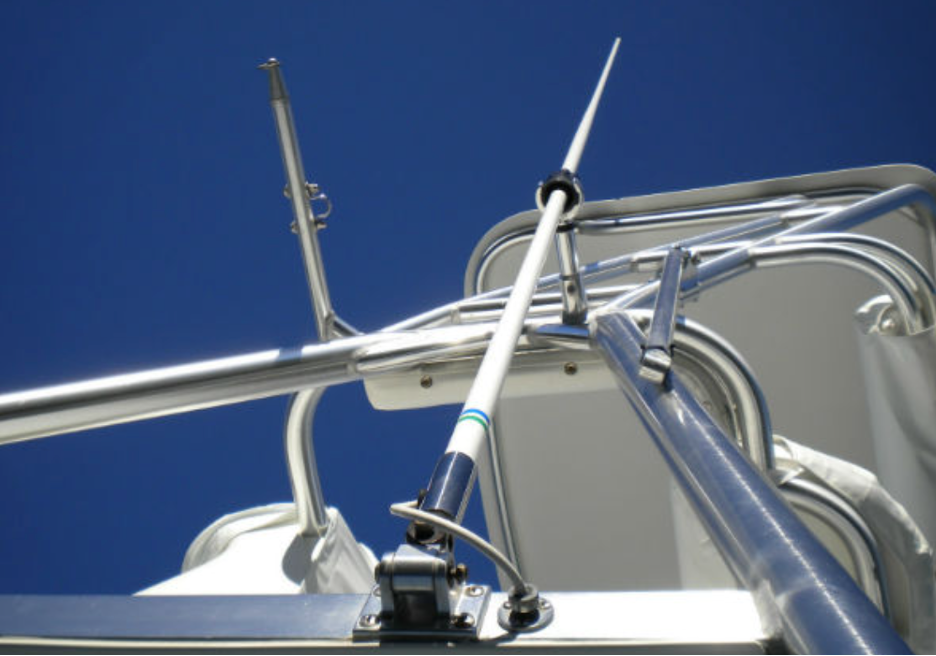
First things first – choosing the right antenna.
Antenna selection is one of those areas where you really do get what you pay for. Regardless of the system (VHF radio, TV, etc.,) performance of your unit will only be as good as the antenna you pair it with. For example, considerations for a VHF antenna would include factors such as price, performance characteristics and quality of construction. Lower-end antennas often use a nylon ferrule (mounting base) which is more prone to failure than the chromed brass ones found in better quality units. On the flip side, higher-end antennas also utilize better coax (the cable that conducts the signal from the antenna to your radio, TV or whatever).
Speaking of coax, they’re not all the same and choosing the correct one is another important consideration. There are a number of different types of coax cable available, the choice of which is based on use and the specific installation. Options range from RG-58 (the least expensive) and RG 59 (for TV and SATNAV use) to RG-8X and RG-8U (better coax cables that provide the least amount of signal loss). Signal loss for cable runs on smaller vessels (typically less than 20 feet) is not generally a huge concern; however even in such a short run signal loss can be double when using RG-58 vice RG-8U.
Some antennas come with a length of coax cable (which may or may not be long enough for your project) while others provide a short lead and require purchase of additional cable and connectors. As with any coax wire run the primary concern here is signal loss, a factor of cable length, quality of construction, and the number of connectors (all of which can increase signal loss).
Before you fire up that drill
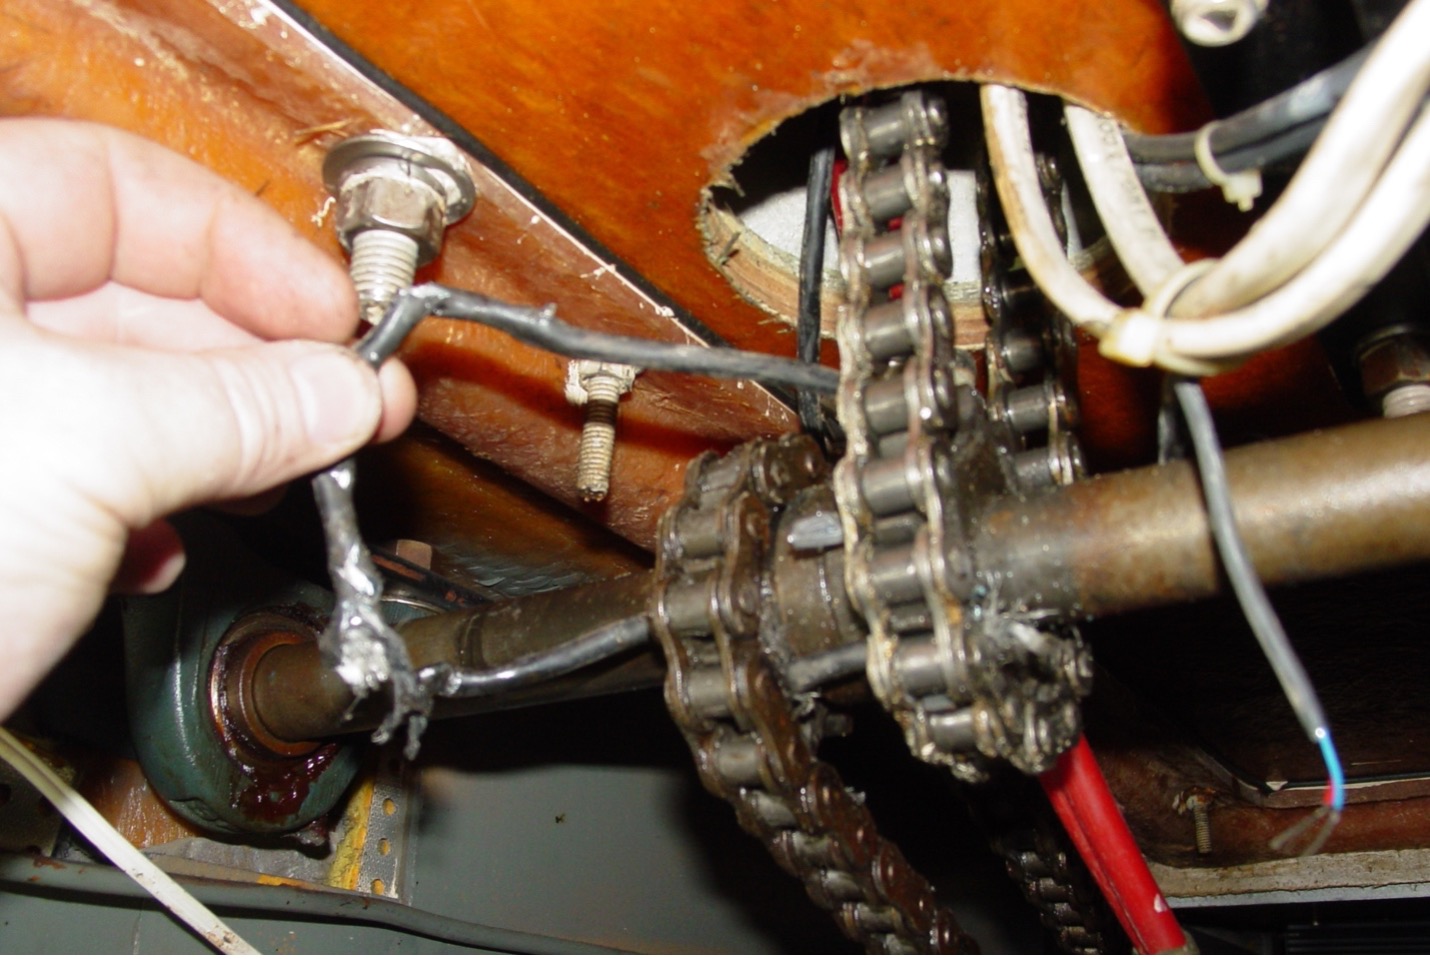
Before beginning any project, take a moment to step back and visualize the installation as a whole. Draw out the entire installation and mentally walk though it in efforts to head off any potential problems. You’ve chosen a location for the radio or TV, but is there a path to run power and antenna coax? Can you actually access the mounting nuts and bolts for the antenna mount?
The most daunting part of an antenna installation to many DIYers is routing the coax, however it doesn’t have to be that way if you plan the run first and have the proper tools.
One of the handiest tools for pulling coax (or any wire for that matter) is an electrician’s “fish tape” or wire snake. Snakes must be stiff enough to maintain their shape while pushing, yet supple enough to twist around curves and bends. Those made of tempered wire are commonly used, although newer, more flexible units of fiberglass or other composite materials are also popular. Regardless of the one you chose, you’ll want to be able to twist the snake to better make turns and bends, reducing or eliminating the number of additional holes needed to facilitate installation.
Doing the Deed
Once you’ve selected an antenna, planned out the installation, and assembled all of the necessary tools and required installation items (coax, connectors, etc.,) it’s time to get down to business. Here are some simple tips to help you reach antenna installation nirvana.
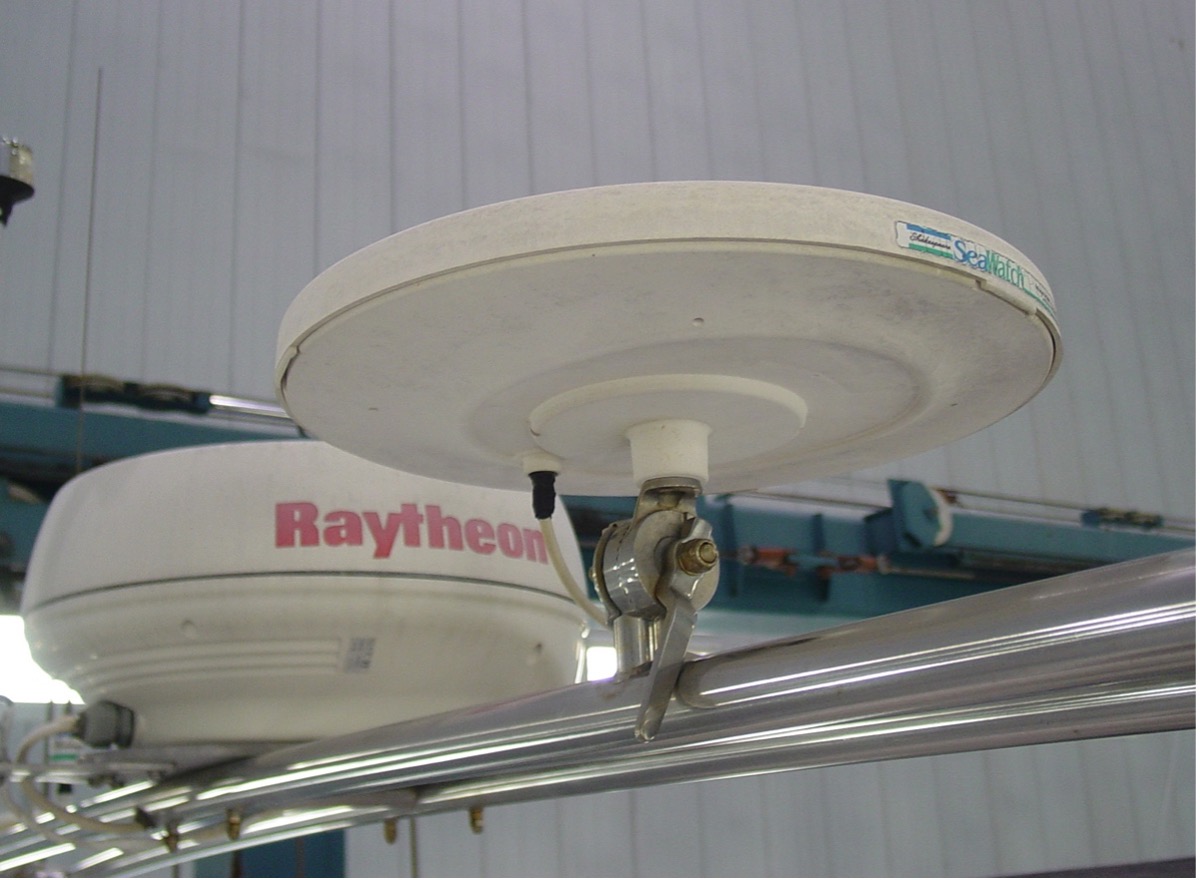
- After selecting a location for the antenna, use the provided template (or lacking that, possibly the antenna base itself) to mark and drill holes for the mounting hardware. Use nuts and bolts rather than screws if at all possible. If it looks like space will be an issue, now’s the time to do a dry run by placing the antenna in the chosen location (to assure adequate clearance) prior to drilling.
- Make doubly sure of what’s on the other side of the mount location prior to drilling – putting holes in hoses, electrical cables, or even the hull itself are never conducive to a good install.
- Be sure to bed (caulk) the antenna mount with a suitable marine grade caulking to prevent leaks. If drilling through cored panels, seal the exposed coring with epoxy to prevent moisture entry and the problems associated with it (rot, delamination, etc).
- Make the coax run is as short and straight as possible (avoiding 90-degree bends or kinks) but leave a couple of feet at the equipment end. Provide support and chafe protection (grommets, etc) where necessary.
- Solder-on antenna connectors were once the gold standard for coax, but they can be difficult to install properly. Good-quality crimp-on (no-solder) connectors are now available that provide excellent service.

Cable Pulling 101
- When pulling wire or coax, use a firm, steady motion and always pull at the flattest angle possible to reduce friction. This approach puts less stress on the wire while reducing the chances of tears or damage to insulation (or the coax itself).
- When using a snake, feed it through first with nothing attached, then attach the cable or wire bundle to the bitter end of the snake and pull everything back through slowly. Make this attachment as small as possible for easier pulling (covering the joint with a few tight wraps of electrical tape will make it more streamline).
- When pulling larger wire bundles, stagger the wires were attached to the snake, which both reduces the profile of the joint and makes it easier to pull around tight bends.
- Include and leave an extra pull sting in place when pulling wire or coax (to assist with future installations.
By Capt. Frank Lanier
Captain Frank Lanier is a SAMS® Accredited Marine Surveyor with over 40 years of experience in the marine and diving industry. He’s also an author, public speaker, and multiple award winning journalist whose articles on seamanship, marine electronics, vessel maintenance and consumer reports appear regularly in numerous marine publications worldwide. He can be reached via his website at www.captfklanier.com .