Antifouling Explained: Make the Right Choice for Your Boat

So the time has come and your boat needs a new coat of antifouling bottom paint. As is typical with many facets of our lives, you can seemingly be overcome by the choice of products available. However, once you apply logic, the choices can usually be reduced. Let’s go through the process of deciding which antifouling you need and then consider some hints and tips on how to apply it.
First up, we need to decide what type of antifouling. You might simply be re-applying what you have used before so you can skip the next three or four paragraphs, although you may still learn something from them.
What’s Your Type?
The types of antifouling paint available can basically be split into two types, hard and eroding. You will probably find other descriptions such as ablative, polishing or self-polishing and all can be put under the umbrella of eroders.
The original antifouling is the so-called hard antifouling. This is one that when immersed and in a wet state is hard enough to withstand regular wiping down with a cloth, sponge or similar object without removal of substantial quantities of paint.
Hard antifoulings do not wear much, although abrasive material in the water like silt and sand may lead to a minor reduction in thickness. Eventually however, you are left after a few seasons with a build-up of product that requires removal because it becomes unsound and does not retain sufficient internal strength to hold together when new product is applied to it.
If you have a high-performance boat that is used regularly, hard is probably the best way to go. Boats moored in fresh water normally use these types because the eroding types may not erode well. Keen racing types sometimes prefer hard products because they can be wet-sanded to a smooth finish prior to racing.
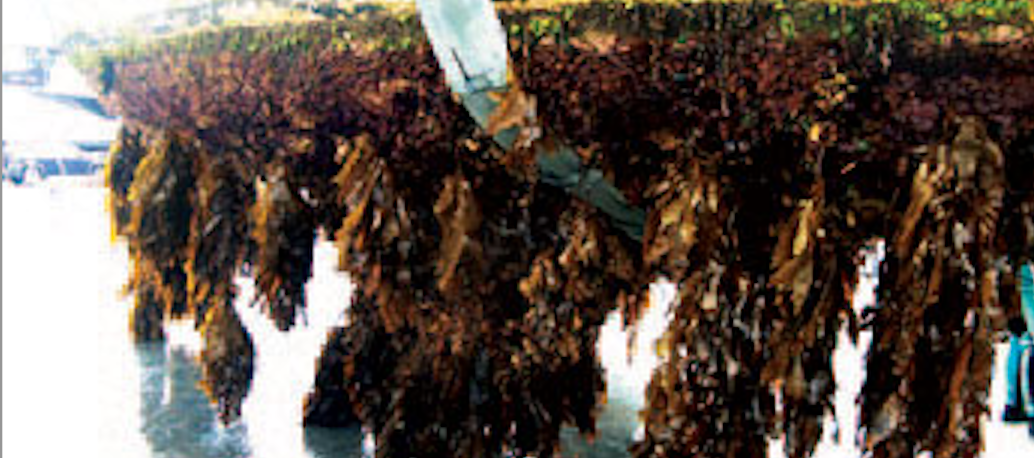
Eroding paints wash or wear away, leaving eventually no antifouling on your hull. With the current generation of paints, as the coating starts to thin, the biocides are washed out, leaving paint that essentially no longer has antifouling properties. This is the time to apply new product.
Hull Condition
Having decided which antifouling you are going to apply, next we must consider the condition of your hull. Regardless of the condition, you will need to give the surface a good wet sand with 80-grit paper. This removes the top layer of paint that is depleted in biocides, contains salt and calcium deposits and is in an unstable condition unable to accept a new coat of paint. Failure to remove this layer will lead to blistering, delamination or even poor antifouling performance because ingredients and biocides in the new paint permeate back into the old depleted layer. Be warned — do this job properly.
If the existing finish is an unknown product, then after sanding and washing allow it to dry thoroughly and apply a “sealer/tie” coat. This seals off the old antifouling, avoiding unwanted interaction between old and new and will give you a good surface that the new antifouling can bond to.
Do not be tempted to apply a coat of sealer/tie coat over old unsound antifouling in the hope that it will hold it all together and allow new antifouling to be applied over the top. It would be good for our business because we get to sell you more paint when it all falls off but it is going to be bad for your bank balance. Do it once and do it right.
If the hull has damaged areas, these will require re-priming. If your hull is new, a two-pack epoxy primer will give you a harder, tougher finish and for gel coated boats will offer a degree of osmosis resistance. Epoxies usually require a fair degree of sanding and for small touch ups mixing small amounts of a two-pack product with special thinners and cleaners can become a major headache.
Don’t Come up Short
Before purchasing your antifouling, calculate the hull area to ensure that you purchase sufficient product. Insufficient film build of antifouling is the single largest cause of premature failure.
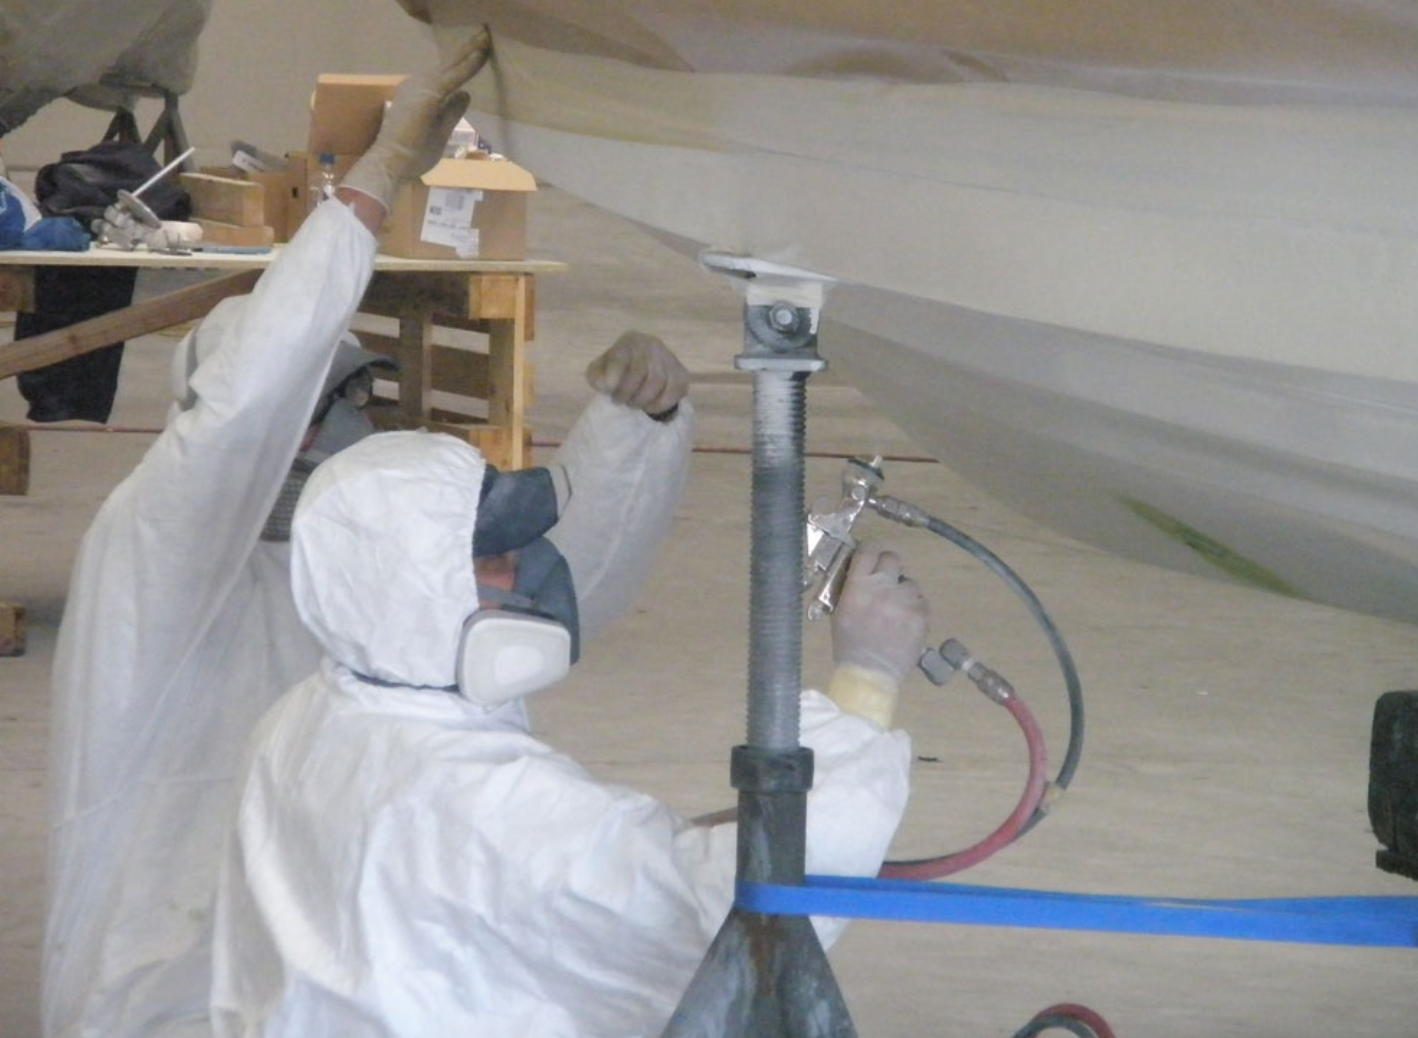
Once you have the antifouling, apply all of it. Putting some aside for next year is not a good idea because the product may go off in a partial can. Better to put the paint on your hull than in some waste-disposal area. Ensure that you apply the antifouling reasonably evenly, adding only minor levels of thinners to help the product flow.
Areas on the hull that you would expect to have greater wear should have at least an extra coat applied. This includes areas that may have direct sunlight on them like the first 1.5’ (.5 m) or so down from the waterline and any leading edges such as keels and rudders.
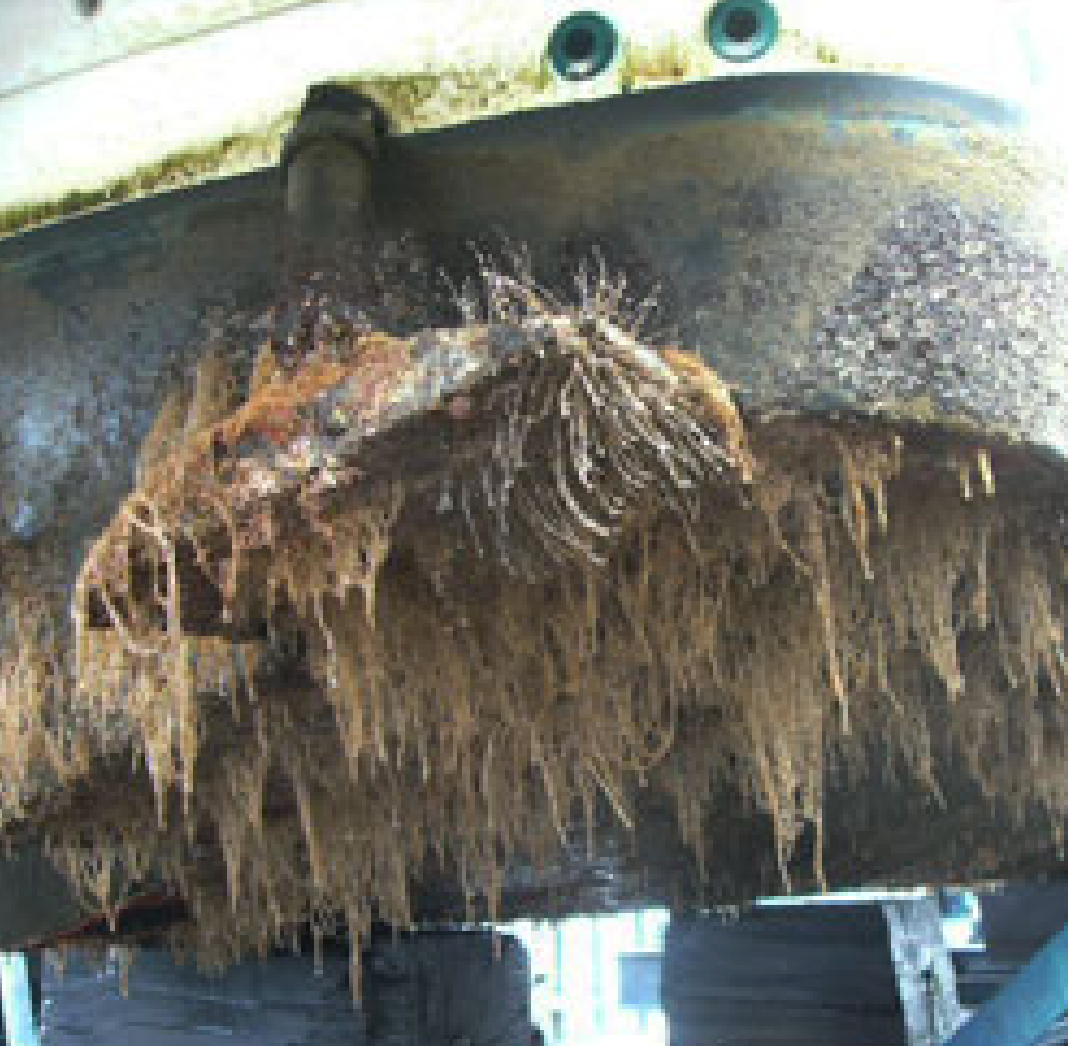
Grassy growth and slime love sunlight and are the most difficult species to ward off; extra paint will help keep these obnoxious species away. Areas under the hull in the dark will generally not attract fouling species so extra coats will not necessarily be required there.
Protect the Antifouling
Once you have finished painting, protect the antifouling from the sun because some ingredients in antifouling paints can oxidize, leading to reduced performance when immersed.
If after antifouling your boat it gets to sit on the hard stand for some days in hot weather or direct sunlight it might be a good idea prior to launching to lightly wet sand the surface with 400 grade paper just to ensure the surface is good and active.
When you launch your boat, the antifouling will not start working right away. It will take some hours for it to come to equilibrium with its surroundings. Meanwhile, floating around in the water are millions of small fouling species on the lookout for a clean surface to colonize. If you are unlucky enough to place your boat directly in a patch of such activity the result can be premature fouling. This problem can only be resolved by giving the surface a good hard scrub or light wet sand depending on the type of antifouling used — scrub hard types and light sand eroding types. Never, ever, dry-sand any type of antifouling paint.
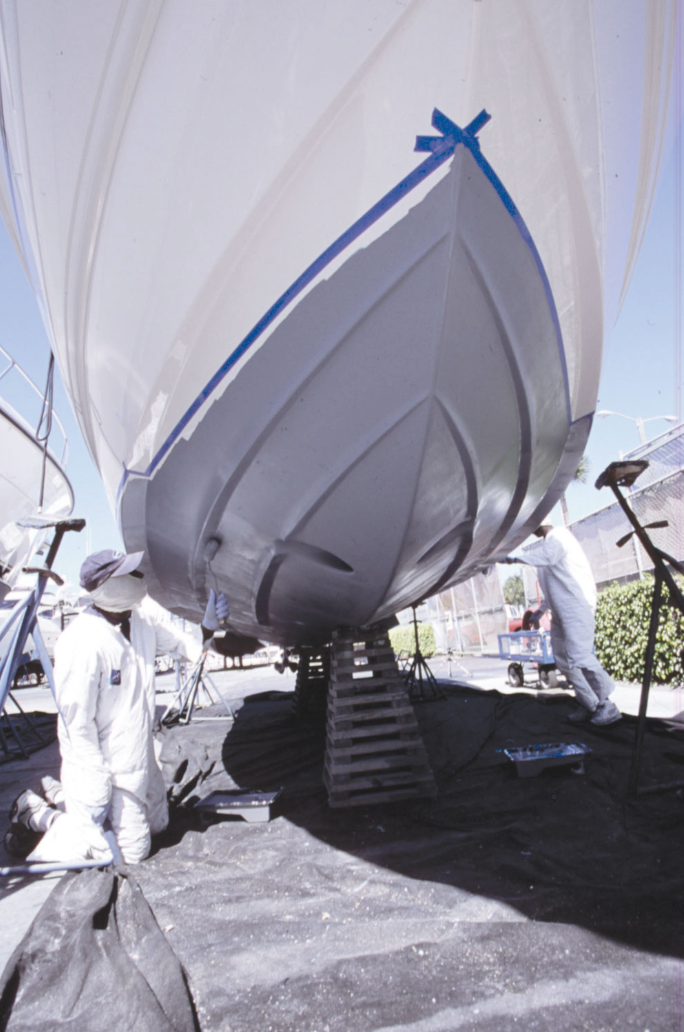
When handling any of the above-mentioned paints, please remember to wear the appropriate safety gear. It is often uncomfortable and adds cost to an already expensive job, but it’s better than a trip to the hospital. Even when wet washing down old antifouling, care should be taken to avoid splashes in the eye or on bare skin. It might not cause you immediate obvious reaction or pain, but it can all add up to problems later in life.
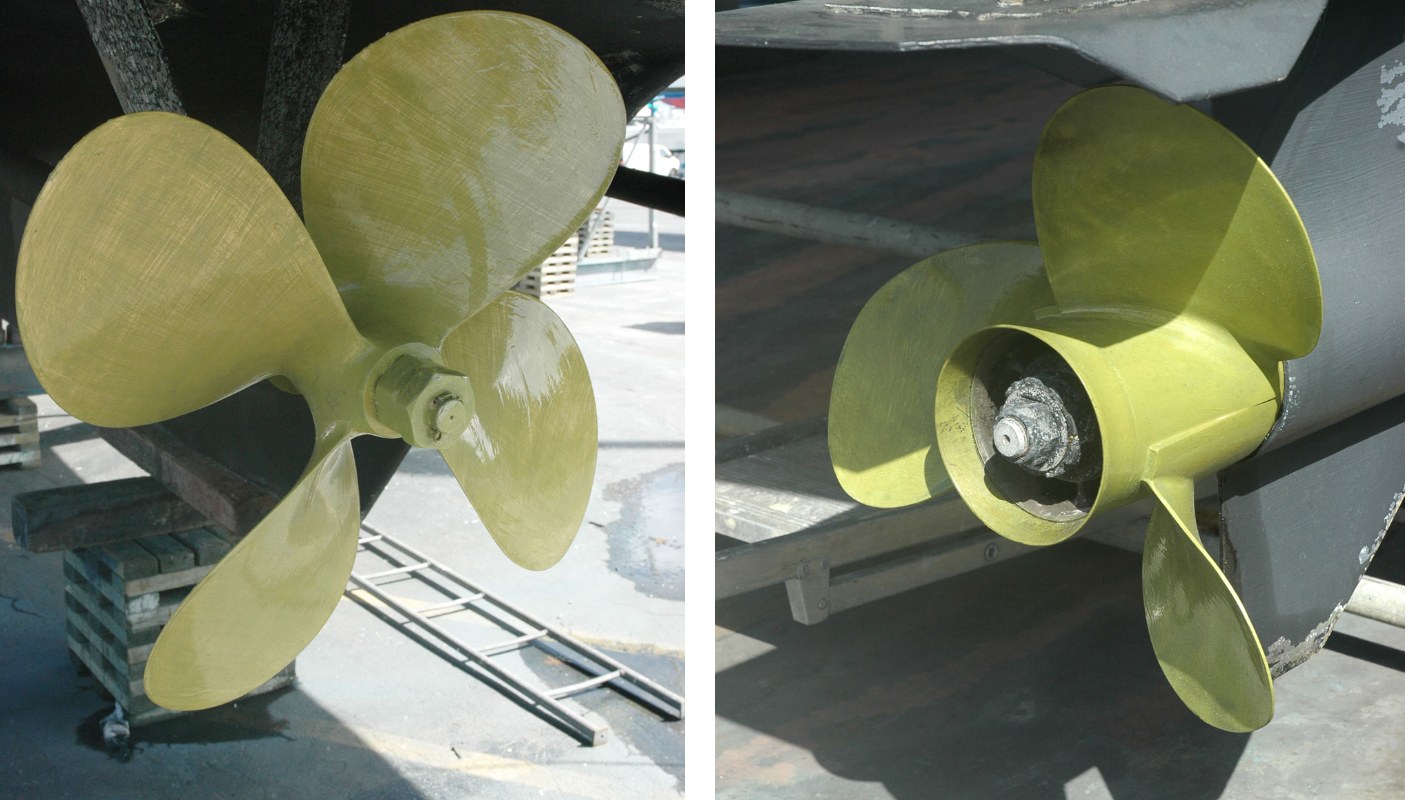
Running Gear Protection
There are many specialist coatings designed to prevent marine growth from bonding to metal surfaces on your running gear. These are usually made up of an etching primer, that bonds to the metal substrate and a clear coat, which provides an ultra-smooth outer layer. It’s so slick that marine growth can’t get a grip on.
Combined these coatings provide an integrated system that stays firmly adhered to the running gear and dramatically reduces the ability for fouling to occur. They are suitable for all running gear under the water, such as propellers, rudders, shafts, struts, underwater lights, trim tabs, pod drives and thrusters.
Some claim they will effectively protect running gear from marine growth for one to two years requiring no maintenance. Any marine growth that does attach can be easily wiped away with a soft cloth while still wet.