Ask Andrew: Keep Your Brightwork Bright
In the early spring, just after launch, with the hustle and bustle of engine checks, antifouling, polishing and marking sling-locations behind us, boaters soon turn to the aesthetic: How does my boat look at it sits at dock.
Many will consider scrubbing the decks, sprucing up the bimini top, addressing some nicks and cracks in gelcoat….and, ‘what should I do with that peeling cracking wood that is turning more grey every season?’. I’ve noted that many people (myself included) often turn to other, less labour intensive projects, before addressing the varnishing, or brightwork on their boat.
The terms ‘Varnishing’ and ‘brightwork’ are often used interchangeably – but this means, really simply: any wood on a boat, covered with an opaque finish.
What looks best? Some prefer their wood to look natural and oiled. Others prefer a high-gloss varnish with a distinctive shine. Others systematically choose to leave certain parts of their boat uncoated, in order to achieve that ‘weathered’ look.
Whichever look you prefer, some of the steps in achieving the desired results are the same – and it shouldn’t be a daunting task for the average person to take care of preparation, application and maintenance of their brightwork, if they choose to.
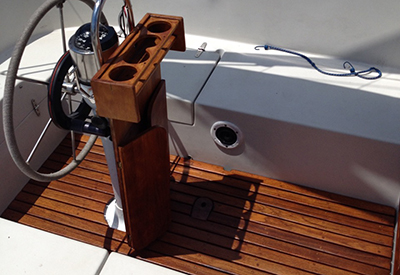
Varnish is often chosen for woodwork, as it gives the ‘classy’ look, especially as modern fiberglass boats are designed with the wooden trim, handholds, doors and coamings to be accent points. Varnish is the chosen material for many, since it’s relatively durable and offers relative ease of maintenance.
What type of varnish will you choose? There are many brands and many preferences. I tend to suggest that you get what you pay for. Cheaper varnishes tend to be thinner and don’t stand up as well in a marine environment.
More expensive varnishes tend to be thicker, go on smoother, stand up better to weather, and offer greater wood protection. Some varnishes also contain a stain, which will colour the wood, to the owner’s preference. Another deciding factor is the advertised UV protection of the varnish – often an important concern to areas of the boat that are open to direct sunlight.
Before: Preparation is key. In my experience, 1/3rd of the total time in doing brightwork will be taken up with preparation.
A few tips:
• Remove all the old varnish, dirt and surface scratches
• Sand until smooth, but make sure that the surface isn’t left wavy – continually run your hand over areas that have been sanded to check for uniformity
• Scrape with the grain – never across it. Always be conscious that any marks left in the wood by the scraper will be difficult to remove
• Start with 80 grit sandpaper, moving with the grain. Once an area is fair and smooth, move to 100 or 120 grit.
• Some manufacturers recommend sanding to 220. I tend to stop at 120. 120 grit allows the varnish to sink into the grain nicely – 220 grit tends to close off the grain, preventing the varnish from penetrating
• Once the wood is sanded smooth and fair – use a vacuum and tack-cloth to remove ALL the dust and debris. Varnish won’t stick to dust.
Preparing the wood before applying the varnish will help the varnish to properly adhere to the wood, and will ensure that any surface scratches, dirt and grey/bleached wood is removed. There are a few ways to do this, but here are the two methods that I use most:
Heat gun and scraping: using heat with break down the bond between the old varnish and the wood, allowing the varnish to be removed with a hand scraper. Make sure the scraper is sharp, with a good clean edge. This is my preference for rounded edges (coamings and hand-rails), where sanding may round or distort the shape.
Sanding: I start by using a power orbital sander on the surfaces that the sander can lay flat, and follow up by using sandpaper and a sanding block, or using a folded sheet in my fingertips.
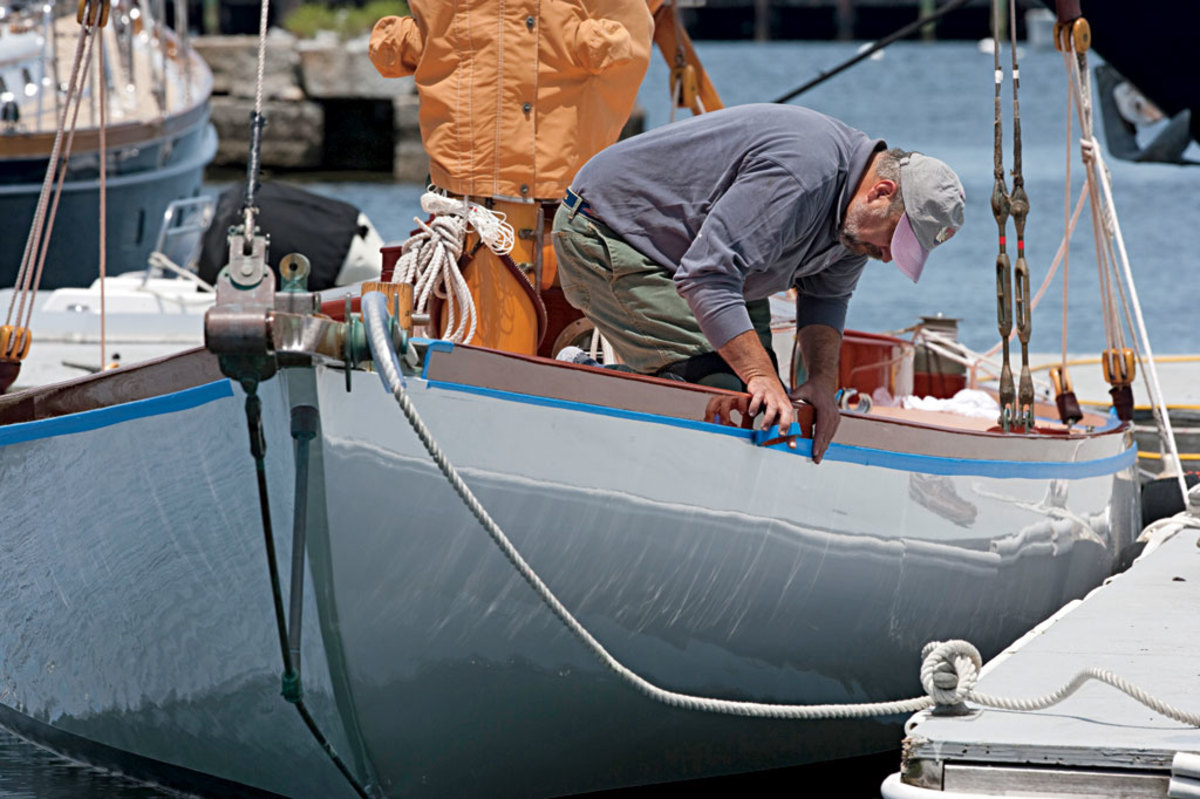
Once the surface is prepared, use a high-quality tape to tape the edges of the wood surfaces. There is nothing worse than brightwork completed with varnish drips visible on the surrounding fiberglass.
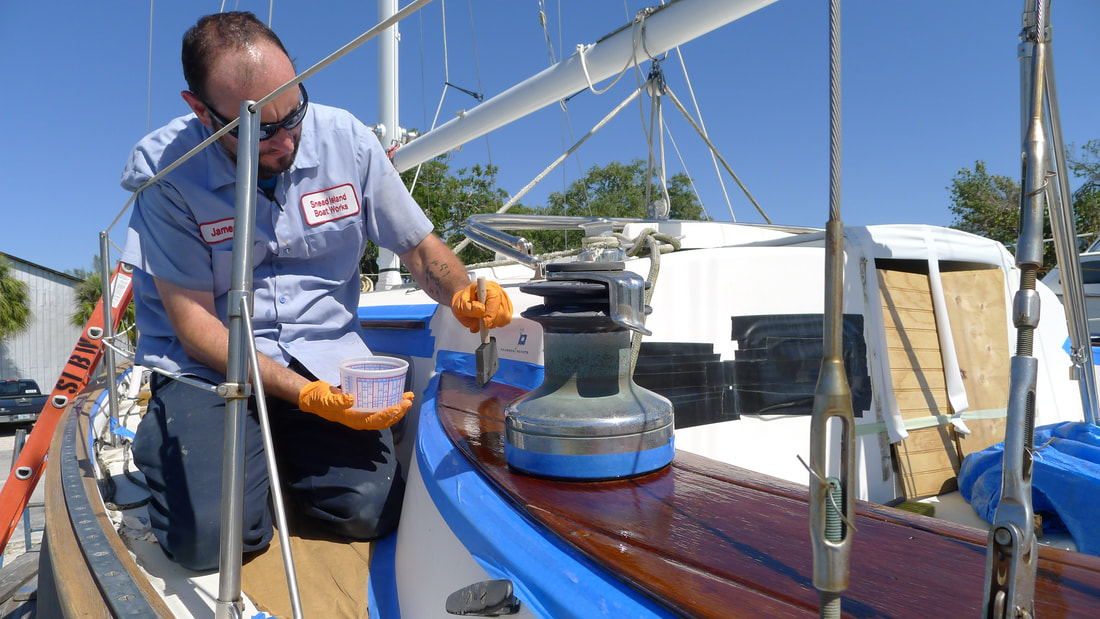
Next – use the varnish that you selected, following the manufacturer’s directions. Some brands suggest that the first few coats of varnish are to be thinned using a brush thinner. This aids in the varnish penetrating the wood.
Always allow the previous coat to dry thoroughly before applying the next coat. Lightly sand the finished coat, and vacuum/tack-cloth the area before applying the next coat – this helps subsequent coats to stick and form a close bond.
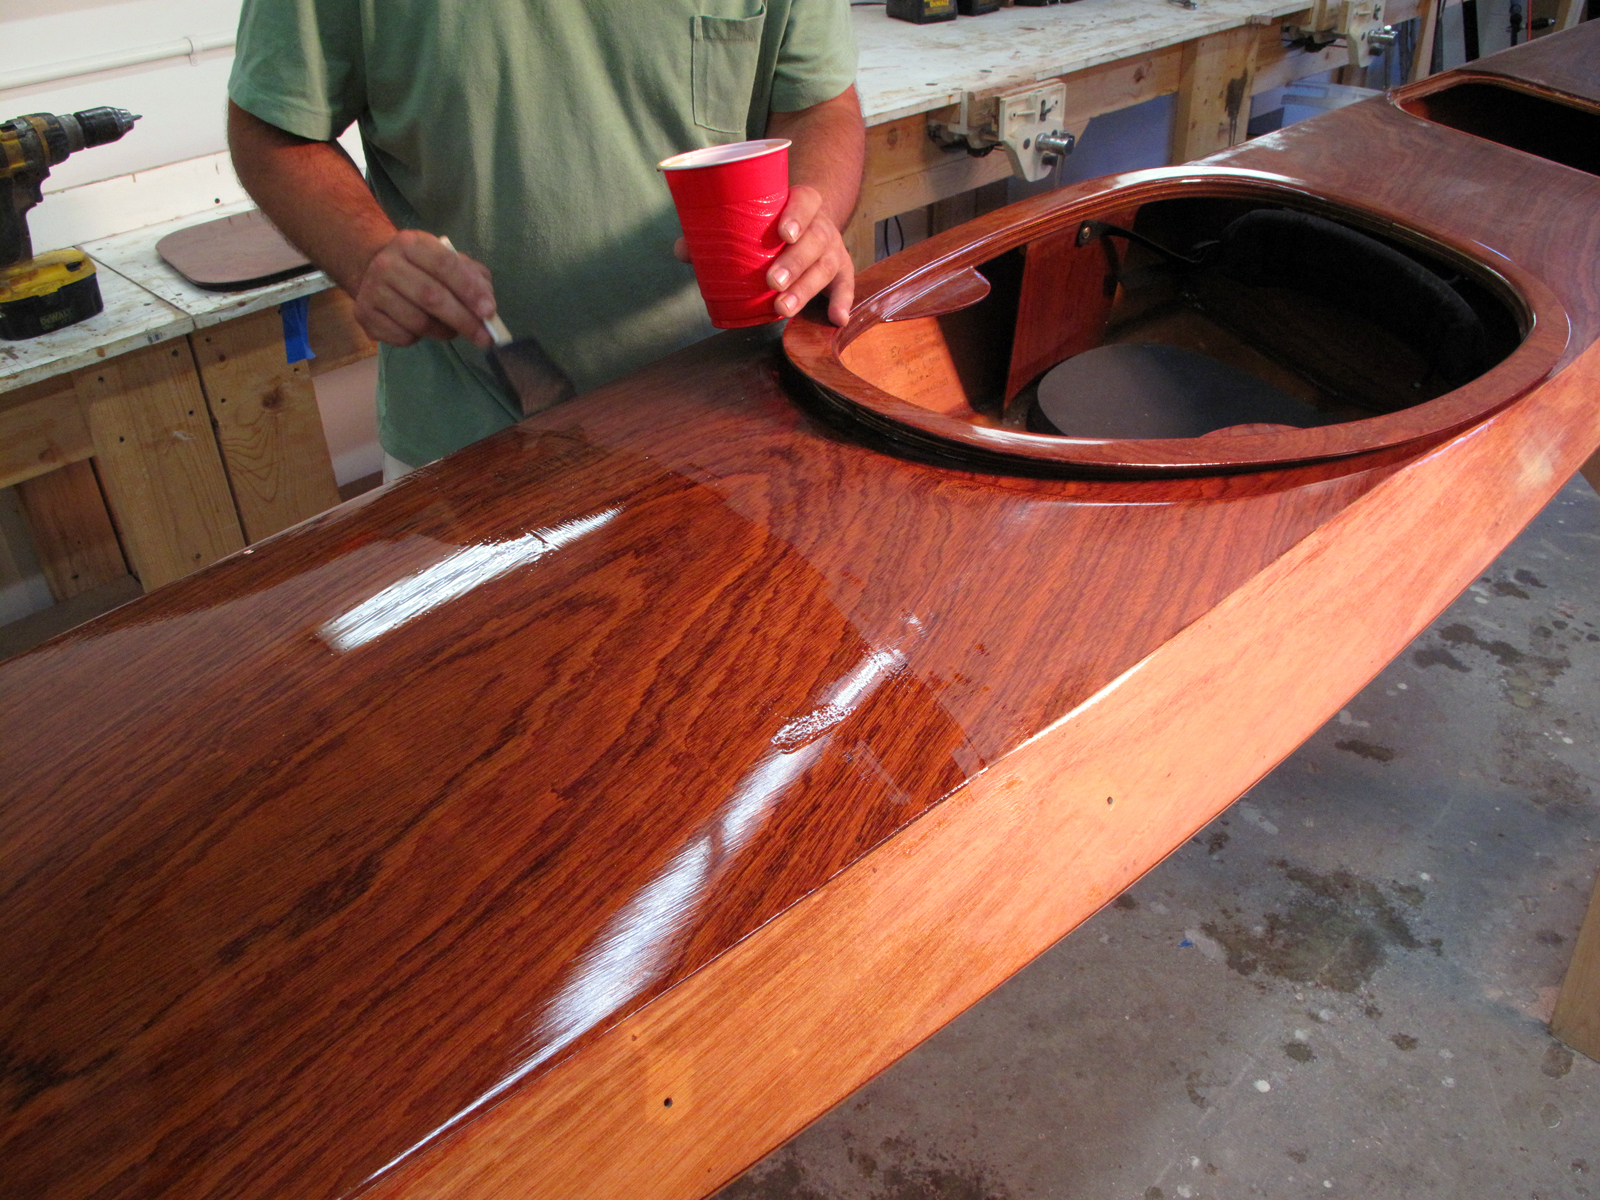
High-quality varnish is usually applied with many coats. Sometimes 7-10 coats are recommended. The buildup of varnish is what protects the wood and allows ease of maintenance over time.
Finally – remember that any type of varnish, even with professional application, is only expected to last 5-7 years – and this is assuming annual maintenance coats.
The finished product is highly rewarding and can really turn heads – I’ve always felt that brightwork is a worthwhile investment – but it does require considerable time and energy to refresh the varnish, along with required annual maintenance.