Boat Ventilation
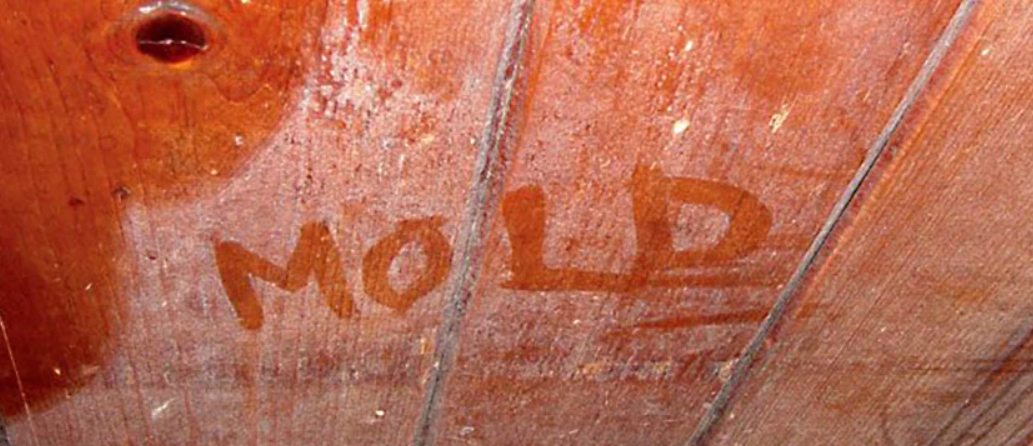
I passed by a person doing some shrink-wrap work recently, and as he installed a vent in the shrink-wrap he was completing, he muttered satisfactorily to himself ''Air flow isn’t just for sail boats''. Truer words were never spoken. Ventilation on and off-season is important on all boats large and small, power and sail. Poor air flow, combined with the wet nature of the marine environment, leads to mold, mildew, and rot.
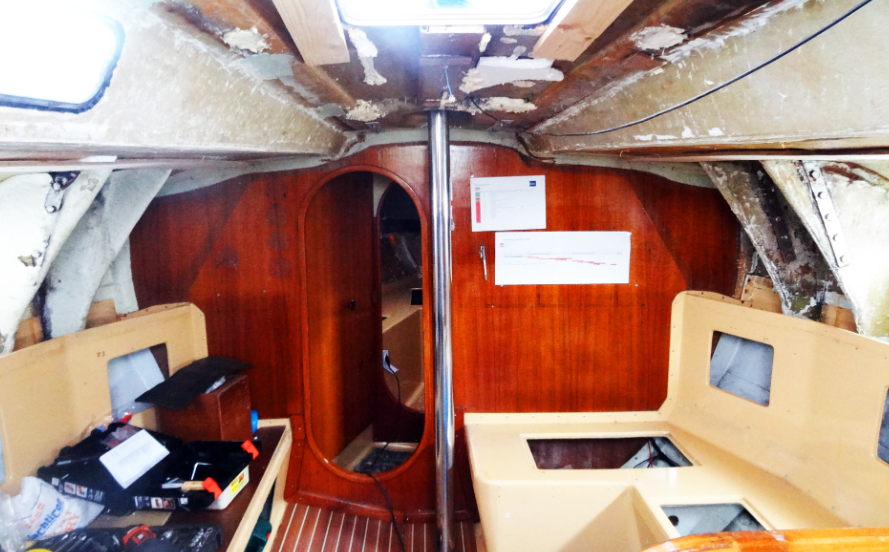
These combined, over time, leads to bigger problems: damage to carpets, covers, seats, cushions, woodwork, de-lamination, and a significant loss of value of the boat. Ventilation can be boiled down to a simple balance. The balance between moisture and air-flow. Too much moisture and not enough air flow leads to problems. Reasonable air flow, with a reasonable amount of moisture is what we’re after.
In the off-season, this is a particular problem. Boats are put away (in more cases than I care to mention), with a bilge full of water, wet/moist carpets, wet leaves, or even snow inside. Then the boat is wrapped in a heavy gauge plastic which may or may-not allow air flow in or out. The bilge and moist areas have no chance to dry, and create condensation inside the cover. The cover ‘sweats’, causing moisture to drip and fall, in a cycle. When the wrap is removed in the spring, it should be no surprise to see the interior covered in mold and mildew.
Here are a few tips/tricks to help:
1) If you boat has a transom or garboard plug, make sure it is removed to allow the standing water inside the boat to drain.
2) If there is no plug, use an electric or manual bilge pump to pump out the bilge. Try using a Shop-Vac, if this isn’t effective.
3) If carpets, covers or cushions are wet, remove them before the boat is covered.
4) Do cover the boat. Use shrink-wrap, a custom cover, or a tarp. Use the best cover available that will prevent snow and rain from getting inside.
5) Do ventilate the cover. Air needs to flow, and moisture needs to escape.
6) In troublesome boats, a dehumidifier may be helpful – Though this shouldn’t be left on and unattended.
7) Do use products like ‘No Damp’ which draws moisture and humidity from the air and captures it in a disposable container.
8) On boats with companionway covers, hatches and portholes, try opening some of them slightly before covering to allow air to flow.
9) Lift seat hatches, lazarette covers and cabin soles slightly to allow air flow.
I’ve heard a number of complaints of boater struggling with condensation/moisture issues during the boating season.
Here are a few ways to combat this problem:
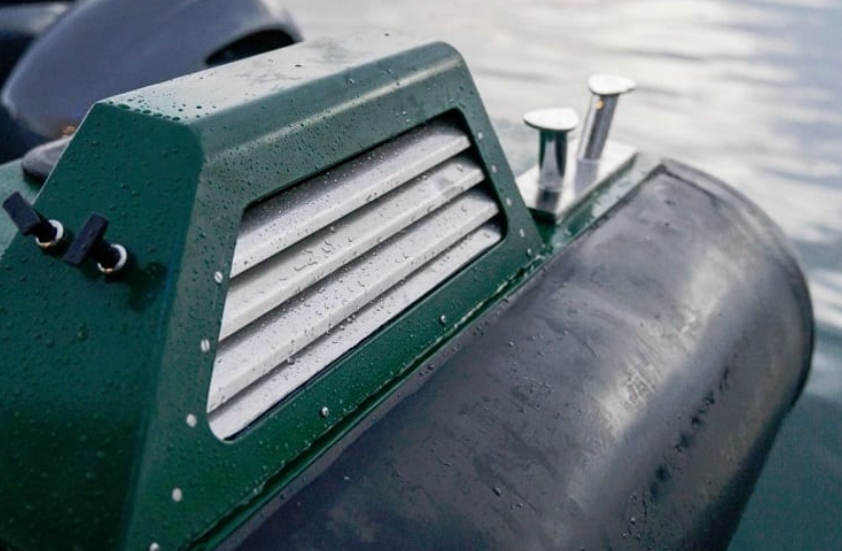
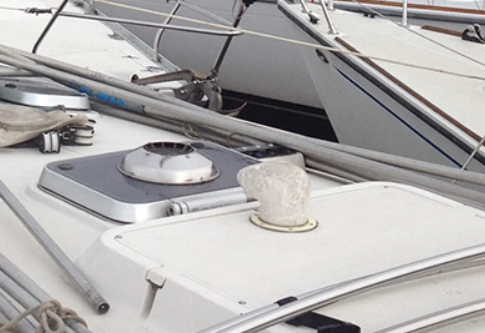
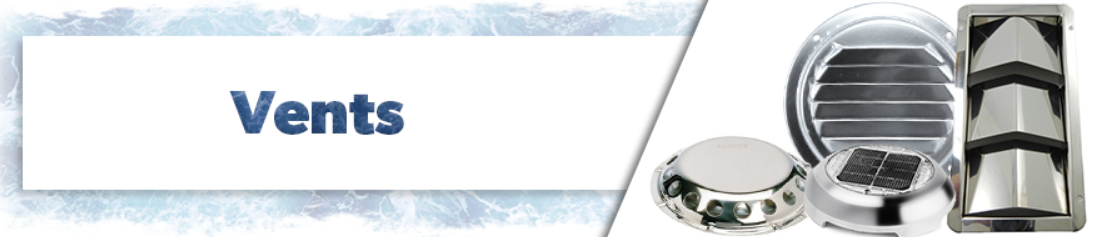
1) Use solar vents, installed in deck hatches – these vents are powered by the sun, and spin, to allow air in and out of the boat.
2) Consider companionway options: installing a vent in a companionway cover, or using multiple styles of cover to change the way air flows both when you're aboard, and when you aren’t.
3) Keep your bilge as dry as possible – use an automated bilge float switch to pump water out when it reaches a high point – but also get in the practice of pumping out the bilge when you arrive and when you leave.
4) Track any areas where water collects and stands - correct this by considering scuppers and drains to allow water to escape.
5) Make repairs to any leaks in hatches and windows.
Air flow isn’t just for sailboats…..and water belongs on the outside of the boat.
1) Electrical upgrades: upgrades to existing electronics (GPS, chartplotters, wind instruments, etc), or the replacement of older batteries, wiring and breaker panels.
2) Plumbing upgrades: replacing faucets, installing a shower or head, adding a water-heater, water pump or water lines.
3) Re-powering – replacing an engine (or engine parts) with a newer more efficient version – or perhaps the switch to electric propulsion.
4) Mechanical additions: Bow or stern-thrusters, electric windlass, autohelm, air conditioning, heating or refrigeration units.
5) Wood-working – installations, repairs to existing woodwork, sanding and prepping for fresh varnish as the temperatures warm. Treat interior woodwork with teak oil.
6) The bilge: Draining, cleaning and painting the bilge. Testing and replacing bilge pumps and float switches.
7) Marking leaks and removing obstacles (cabinetry and fittings) to get at the water’s entry point to repair.
8) Interior customization: redesigning cabinetry, cupboards, tables and surfaces. Replacing cushions, window coverings or upholstery.
9) Review your sail inventory, lines, sheets and rigging – make note of worn parts and begin a plan to replace them as necessary.
10) Pull your mast from it’s rack and go over its rigging, lights, structural integrity and make notes for repair before stepping.
11) Replace plexi companionway hatches or portholes.
12) Buff and polish stainless fittings.
13) Lubricate deck hardware: clutches, winches and blocks.
14) Pull out your safety equipment – dispose of expired flares and make sure that your safety gear meets Transport Canada regulations.
15) Sit on your boat and dream. Read a nautical adventure. Flip through vendor catalogues. Peruse charts. Plot a course for next season. Enjoy!