Boats and Holes: How to Install a Thru-Hull-Part 1
Drilling holes in your boat’s hull is a counterintuitive thought to any boat owner. Most any boat maintenance guru worth his Veda will advise against adding more thru-hulls if at all possible. Tapping into an existing discharge or intake thru-hull is often recommended, but may not always be an option.
When you have to install a thru-hull, here are some tips on how to do it right. In part 1 of a two-part series, we'll discuss the preparation.
To Drill or Not To Drill
While drilling a hole in any hull is not ideal, the actual process of installing a new thru-hull is pretty straight forward. Let’s walk through a hypothetical installation of an air conditioning system requiring two new thru-hulls — an intake below the waterline and a discharge above the waterline.
Planning
American Boat & Yacht Council (ABYC) standards call for the installation of a seacock on thru-hulls located below the vessel’s maximum heeled waterline. For the purpose of this article, we’ll say the discharge thru-hull does not require a seacock, however the raw water intake thru-hull (located below the waterline) does.
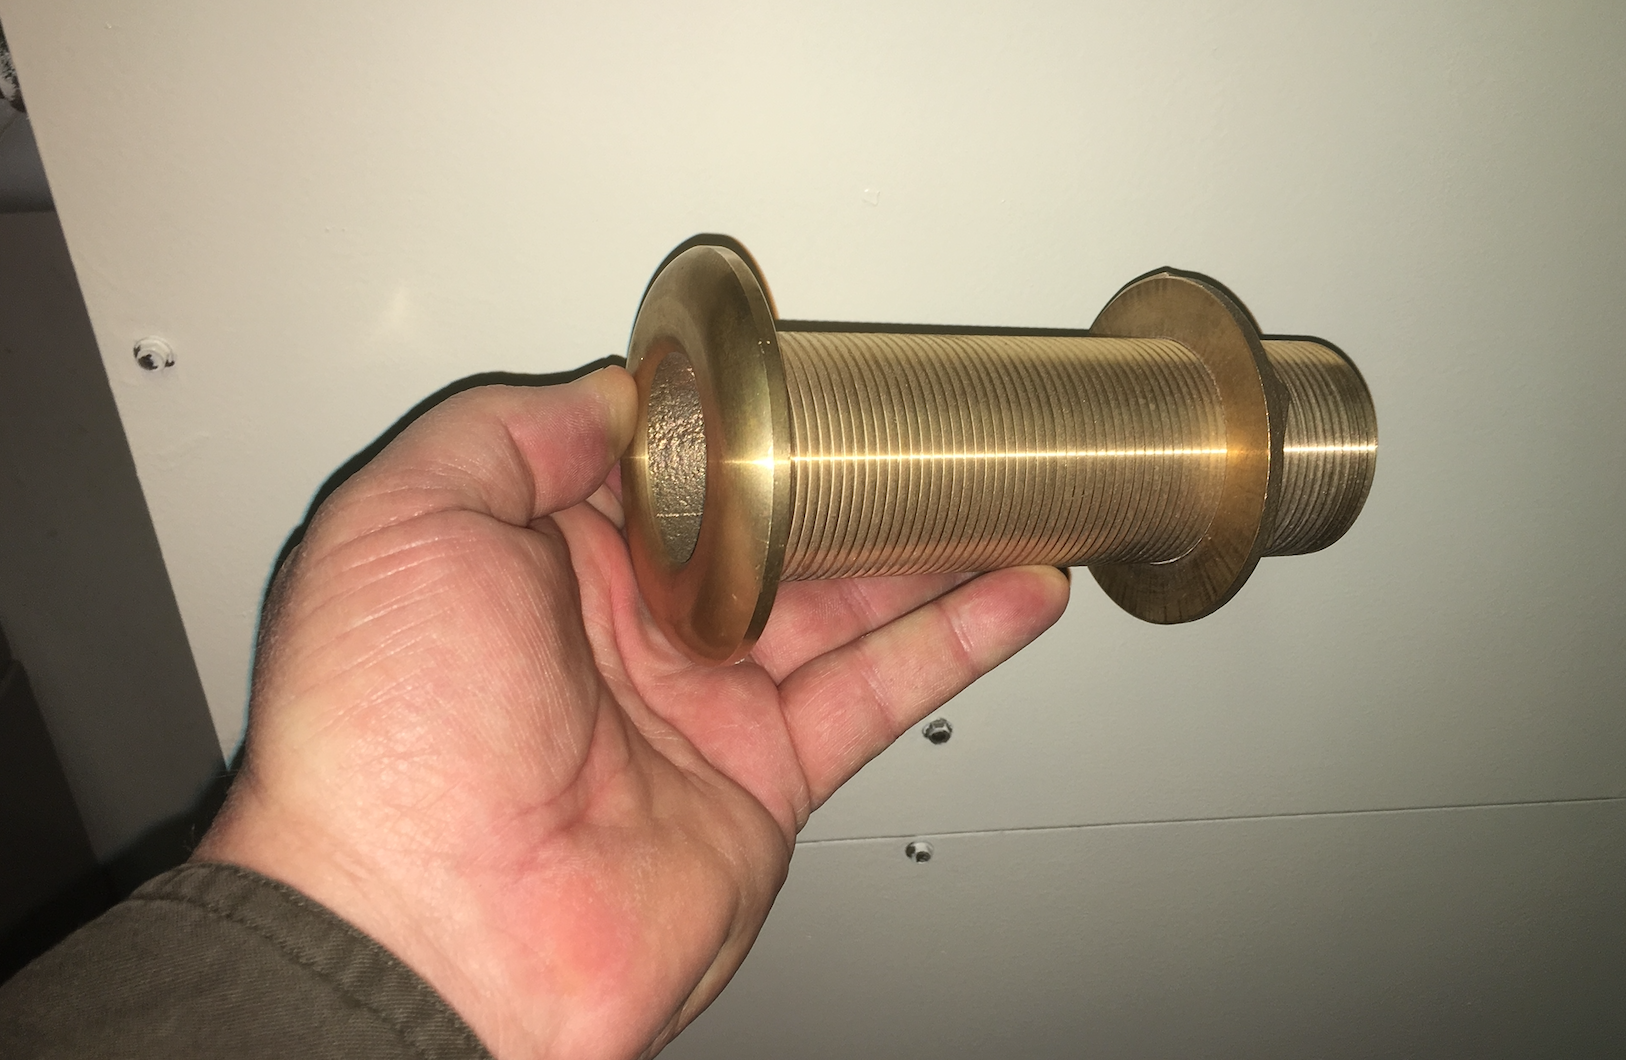
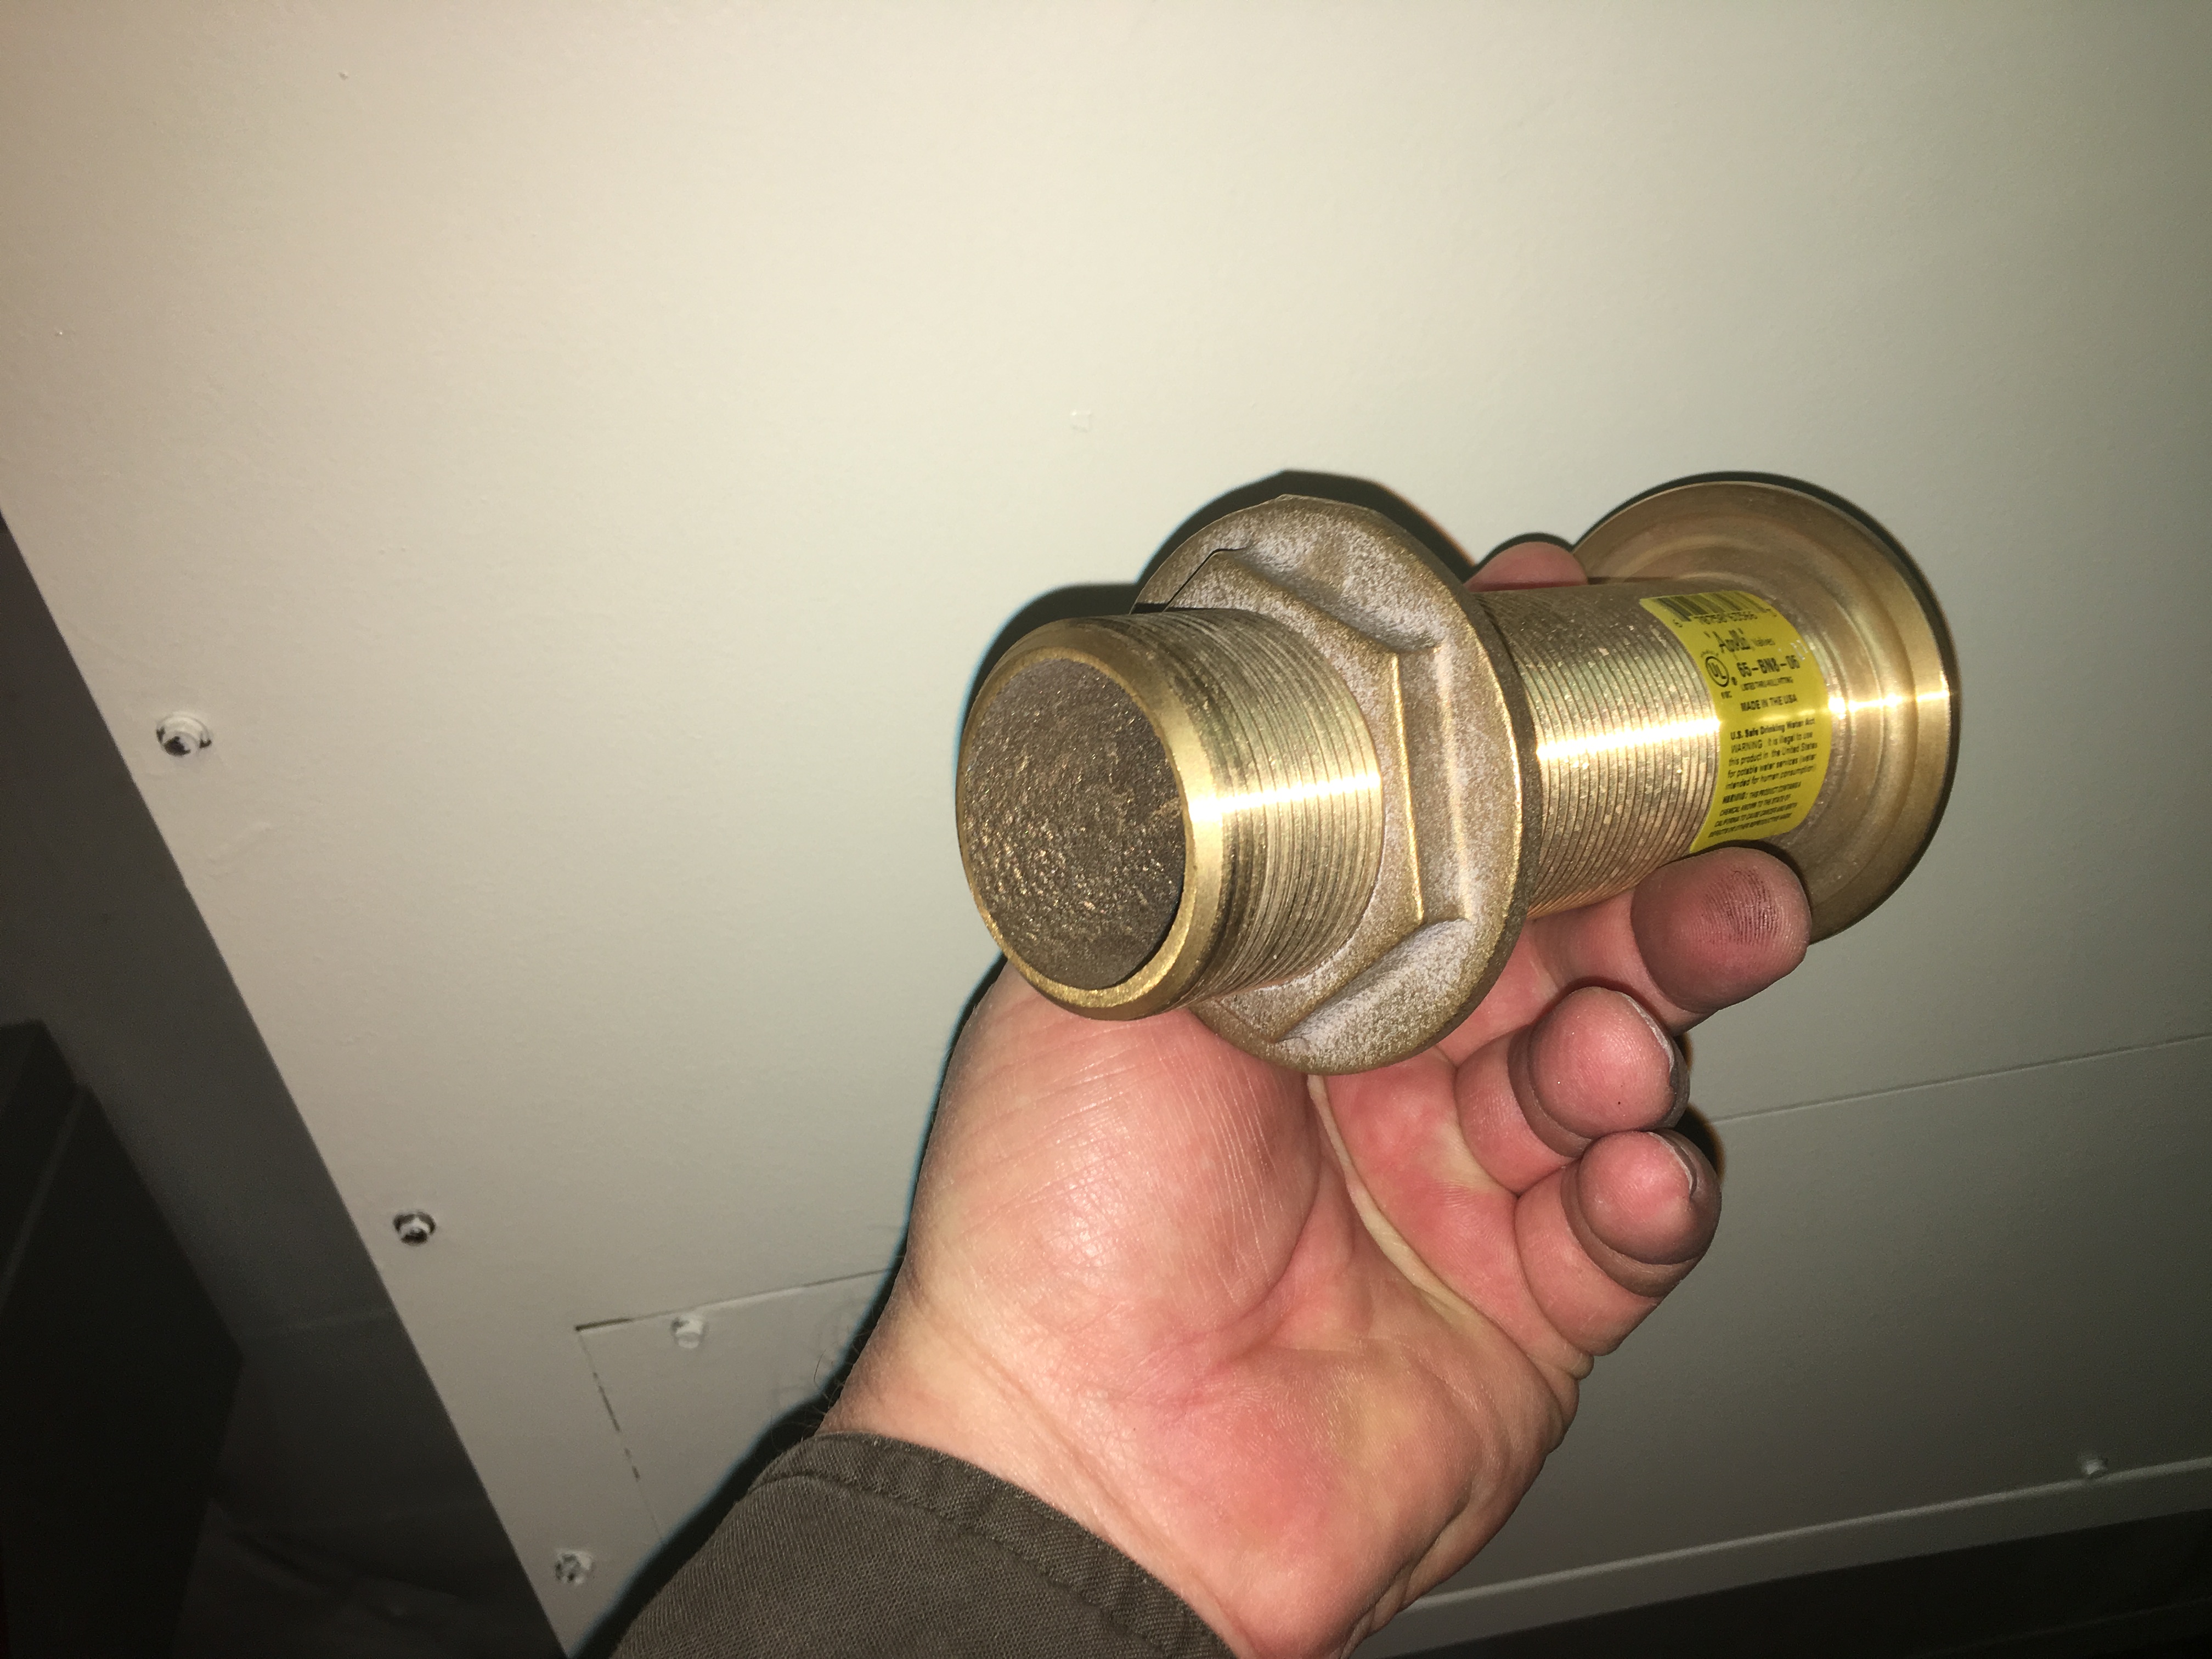
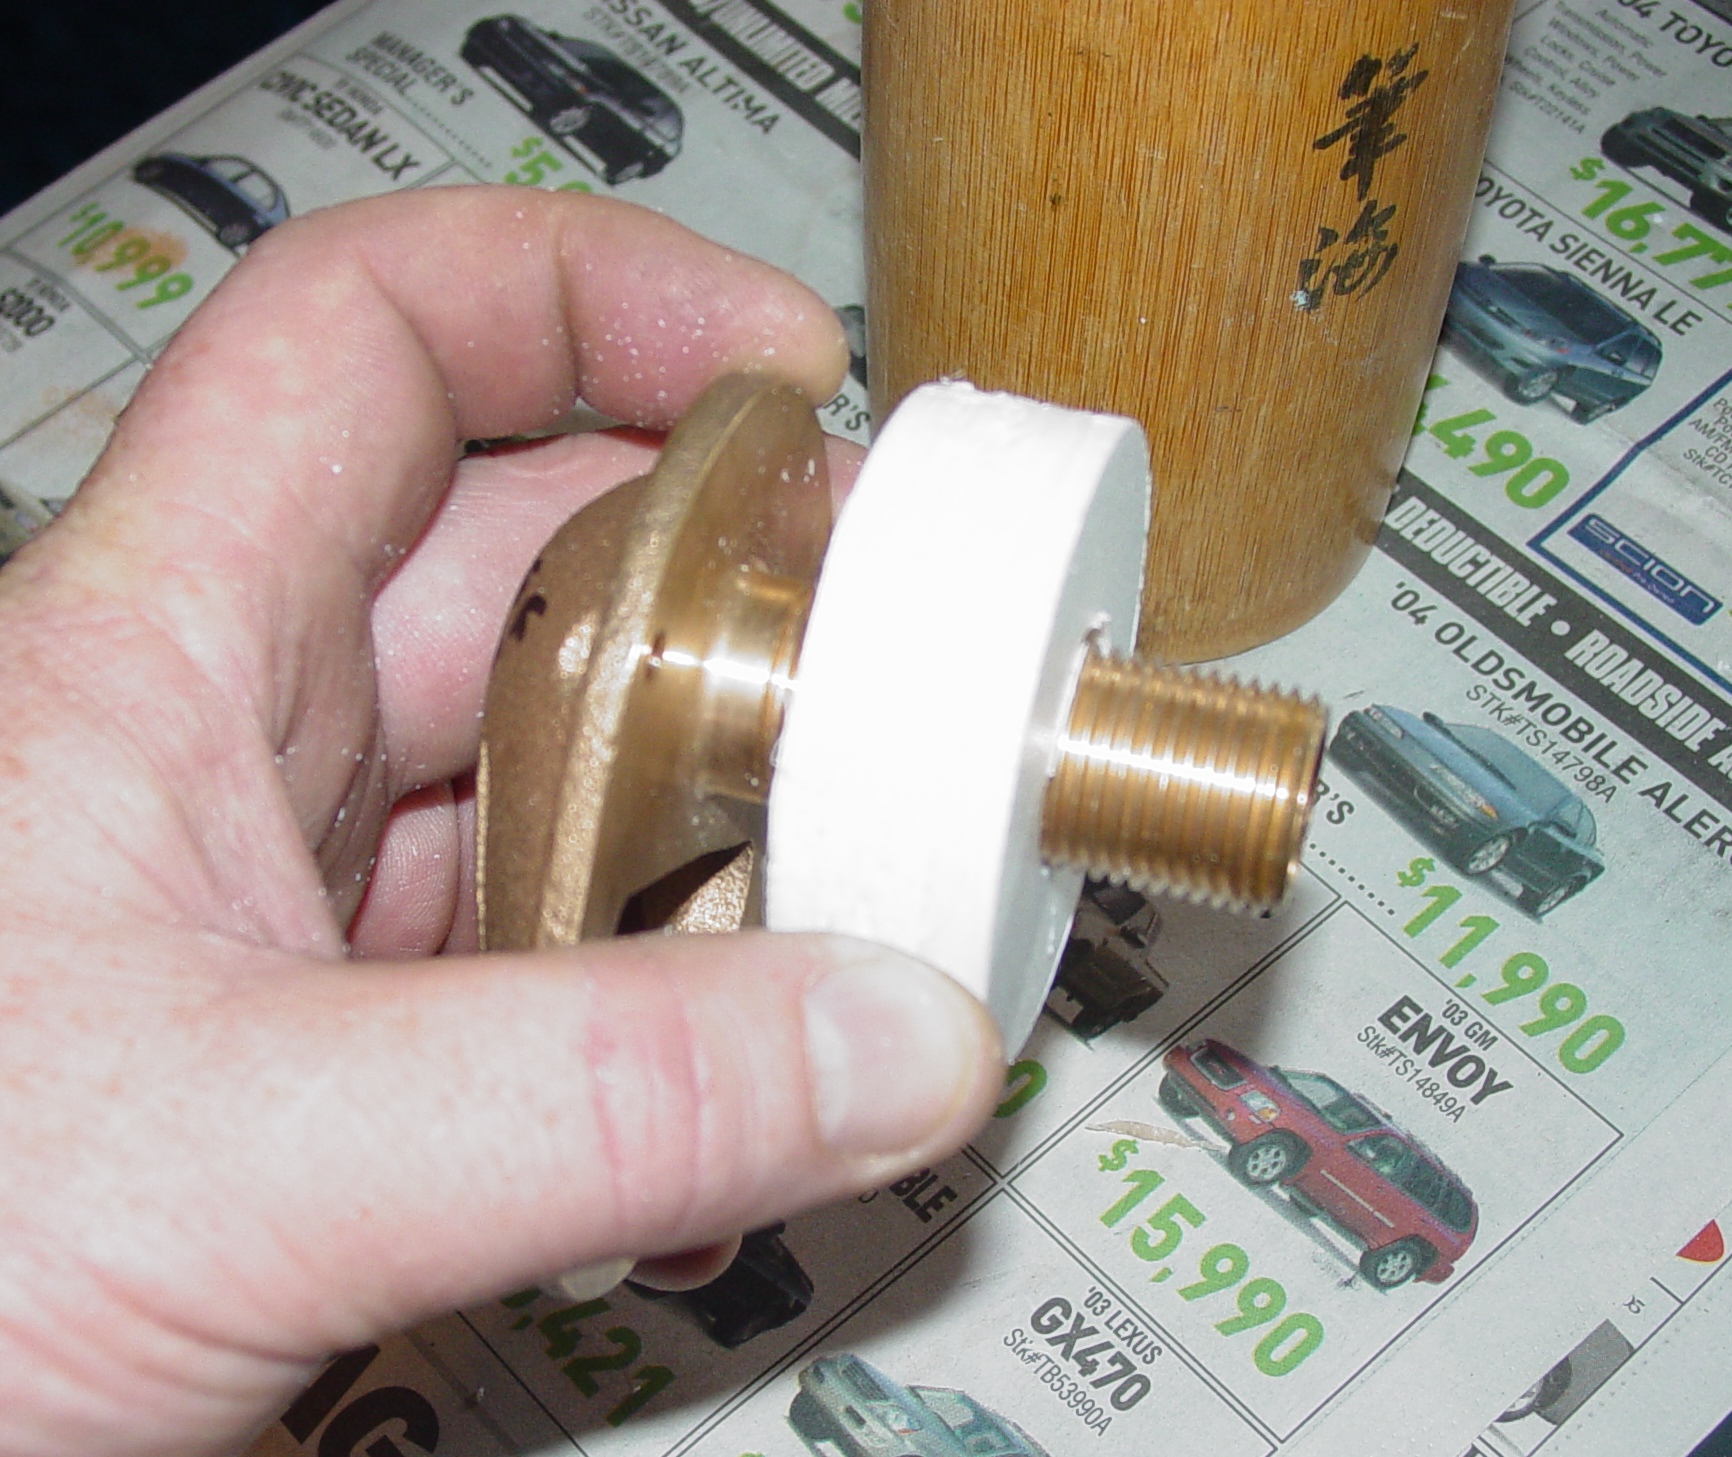
In our example, the seacock will be a typical flanged bronze unit with a compatible bronze thru-hull, although Marelon™ polymer seacocks and thru-hulls would be another option. Just keep in mind that the seacock and thru-hull must always be of the same material.
The discharge thru-hull will also be bronze, with a tailpipe (hose fitting) sized to fit the discharge hose of the air conditioning unit.
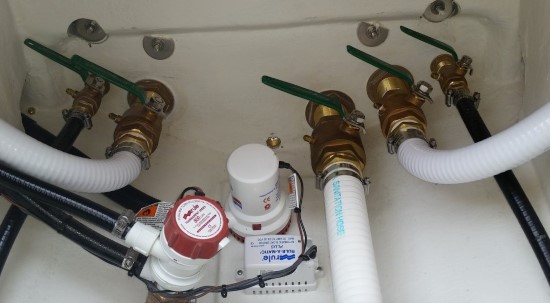
When planning the installation, choose a location that provides good access to the thru-hull. For the intake thru-hull, verify that the seacock can be accessed quickly in the event of an emergency and that the handle can be fully operated (i.e., no bulkheads, frames or other structural members restricting the throw of the seacock handle).
Outside considerations would be to avoid locating the thru-hull in front of a depth transducer or knot log, both of which could be affected by the turbulence a thru-hull generates.
Once you’ve found a suitable location, mark the center of the thru-hull and drill a small pilot hole from inside the vessel. This gives you one last chance to check the location on the outside of the hull to verify all is well prior to cutting the hole.

Hole Saw Time
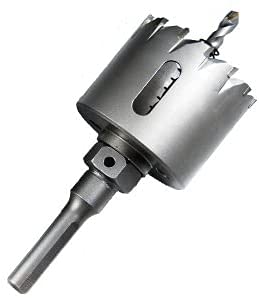
Select a hole saw that is the same diameter or slightly larger than your thru-hull, one with a pilot drill bit that prevents the tool from walking while drilling. Using the location hole you drilled above as a guide, start drilling from the outside of the hull, being sure to keep the drill perpendicular to the hull surface. Drill until the pilot bit of the hole saw penetrates the hull, then move inside and finish drilling the hole. If sufficient room doesn’t exist to drill from the inside, continue drilling from the outside – just be careful to maintain control of the bit once it is through the hull. Smooth any rough edges of the hole with sandpaper.
For a cored hull, excavate the coring around the hole to a depth that encompasses an area at least as large as the thru-hull or seacock flange. Then fill the void with thickened epoxy and allow it to cure before proceeding. This epoxy compression ring provides a solid base for the thru-hull and prevents water from entering the core.
Backing Plates
A backing plate provides additional support to the hull and a flat mounting surface for the thru-hull nut or seacock flange should there be any hull curvature. A fiberglass backing plate glassed into the hull is the ultimate solution, however marine grade plywood is commonly used and perfectly acceptable.
Backing plates should be 2” to 3” (5.08 cm to 7.6 cm) larger in diameter than the thru-hull nut or seacock flange. Cut a circular backing plate from ¾” (1.91 cm) marine plywood, then drill a hole in the center with the hole saw used to drill thru-hull hole in the hull.
Use a sander or wood rasp to shape the backing plate as needed to match the curvature of the hull. Once fitted, mark the backing plate so you can properly orient it later.
In Part 2, we’ll complete the installation.
By Capt. Frank Lanier
Captain Frank Lanier is a SAMS® Accredited Marine Surveyor with more t han 40 years of experience in the marine and diving industry. He’s also an author, public speaker, and multiple award-winning journalist with articles on seamanship, marine electronics, vessel maintenance and consumer reports. He can be reached via his website at www.captfklanier.com.