Don’t Be Cruel To Your Stuffing Box: Part 1, Removing the Packing Material
Stuffing boxes are victims of their own reliability. They carry on so well with so little attention that many boaters don’t even realize they need regularly scheduled maintenance — until they fail. Here’s how they work and how to make sure they keep operating properly.
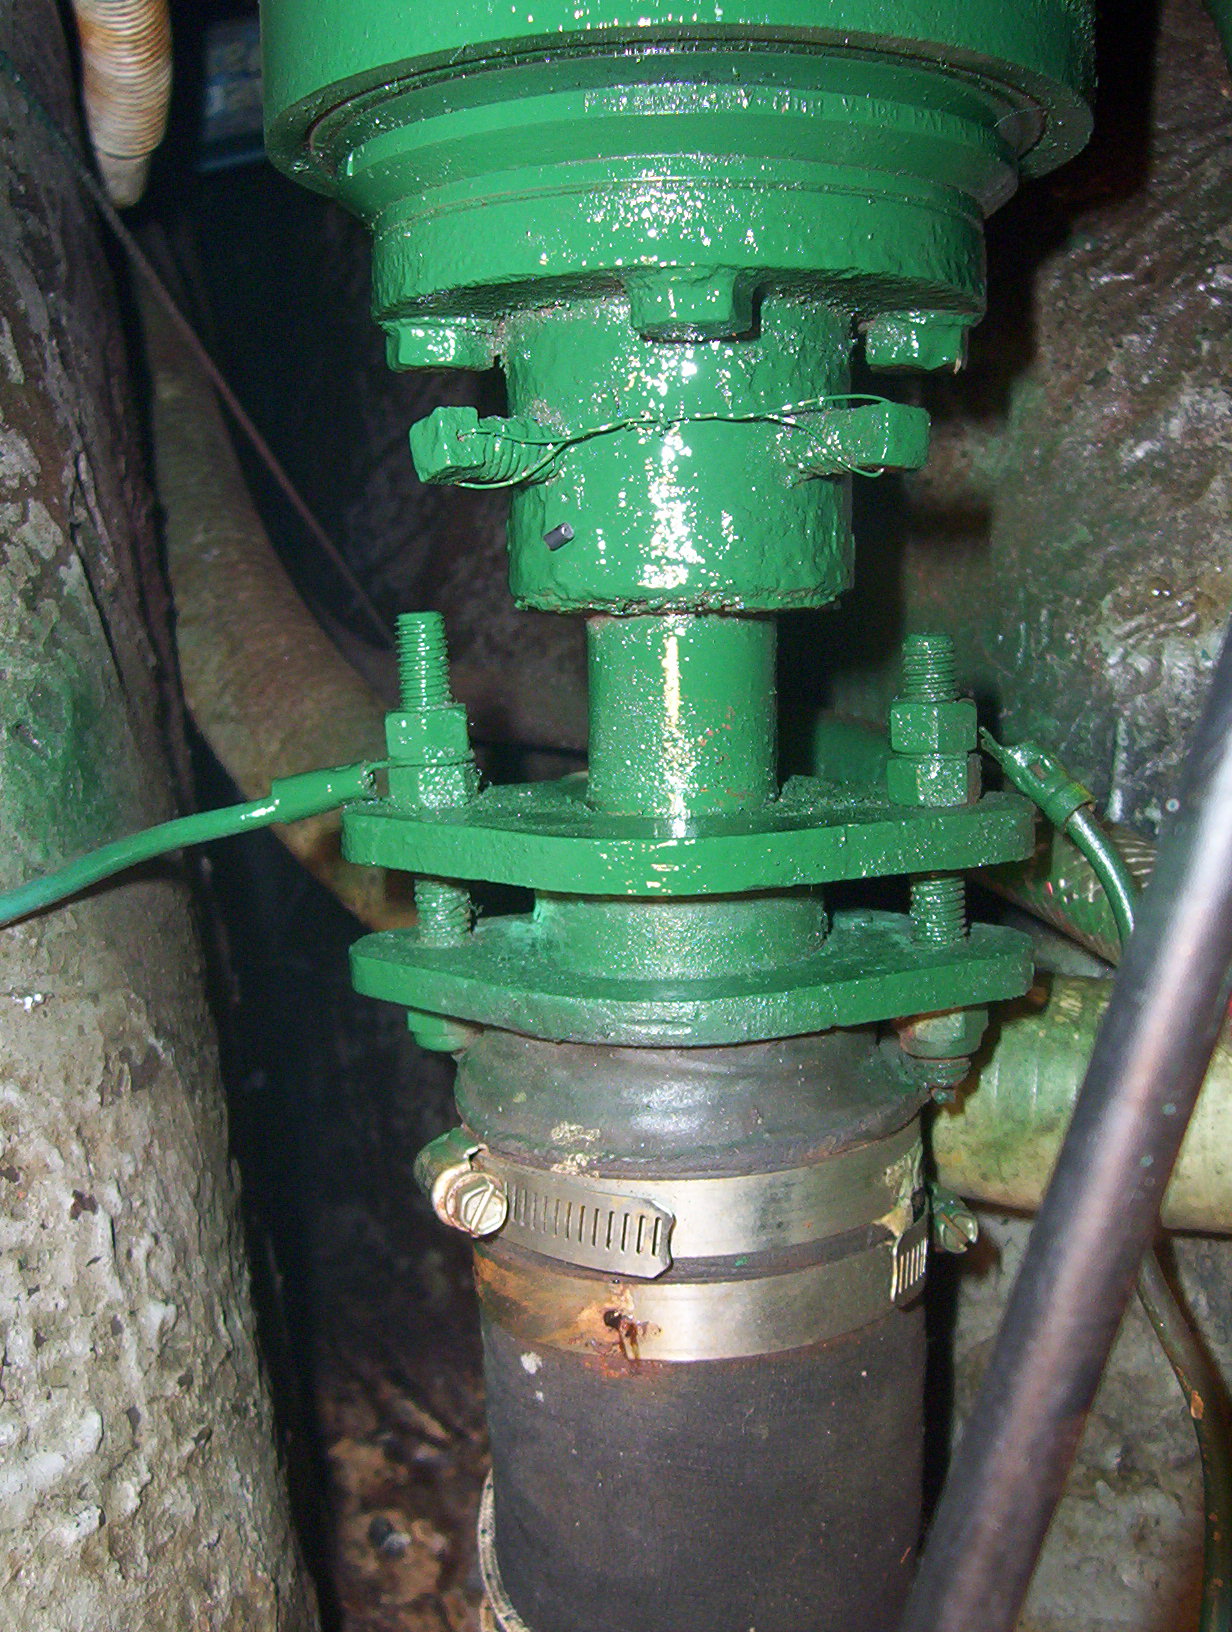
Regardless of minor design differences, the basic operation for every packing gland (aka stuffing box) is the same. The engine propeller shaft is sealed by compressing packing against it, either by using a hollow nut that screws onto the inboard side of the shaft tube or a tightening arrangement that uses a plate secured by nuts and studs on either side of the shaft. In both cases, tightening the gland compresses the packing material against the shaft, preventing water from entering the boat.
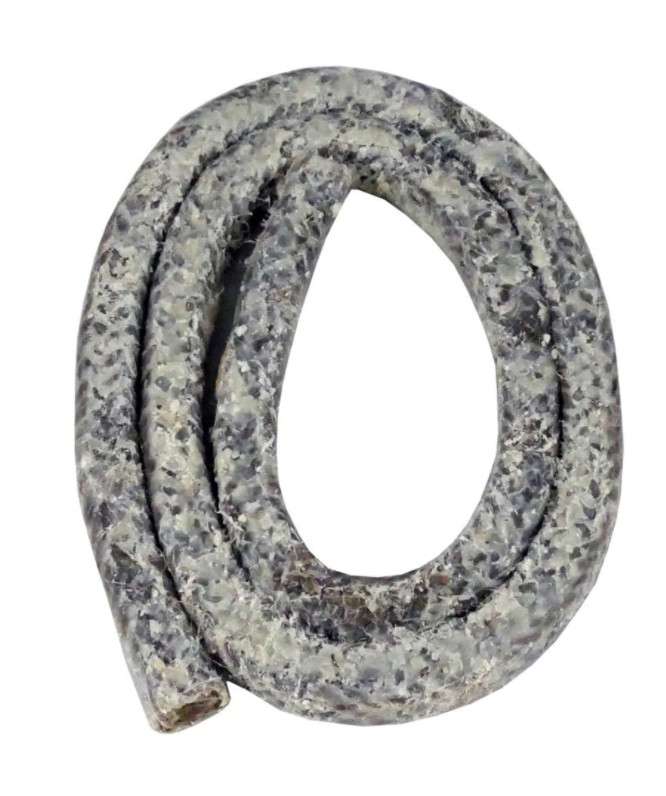
Traditional packing material consists of square plaited greased or waxed flax; although more modern versions are impregnated with newer materials such as Teflon or Gore-Tex.
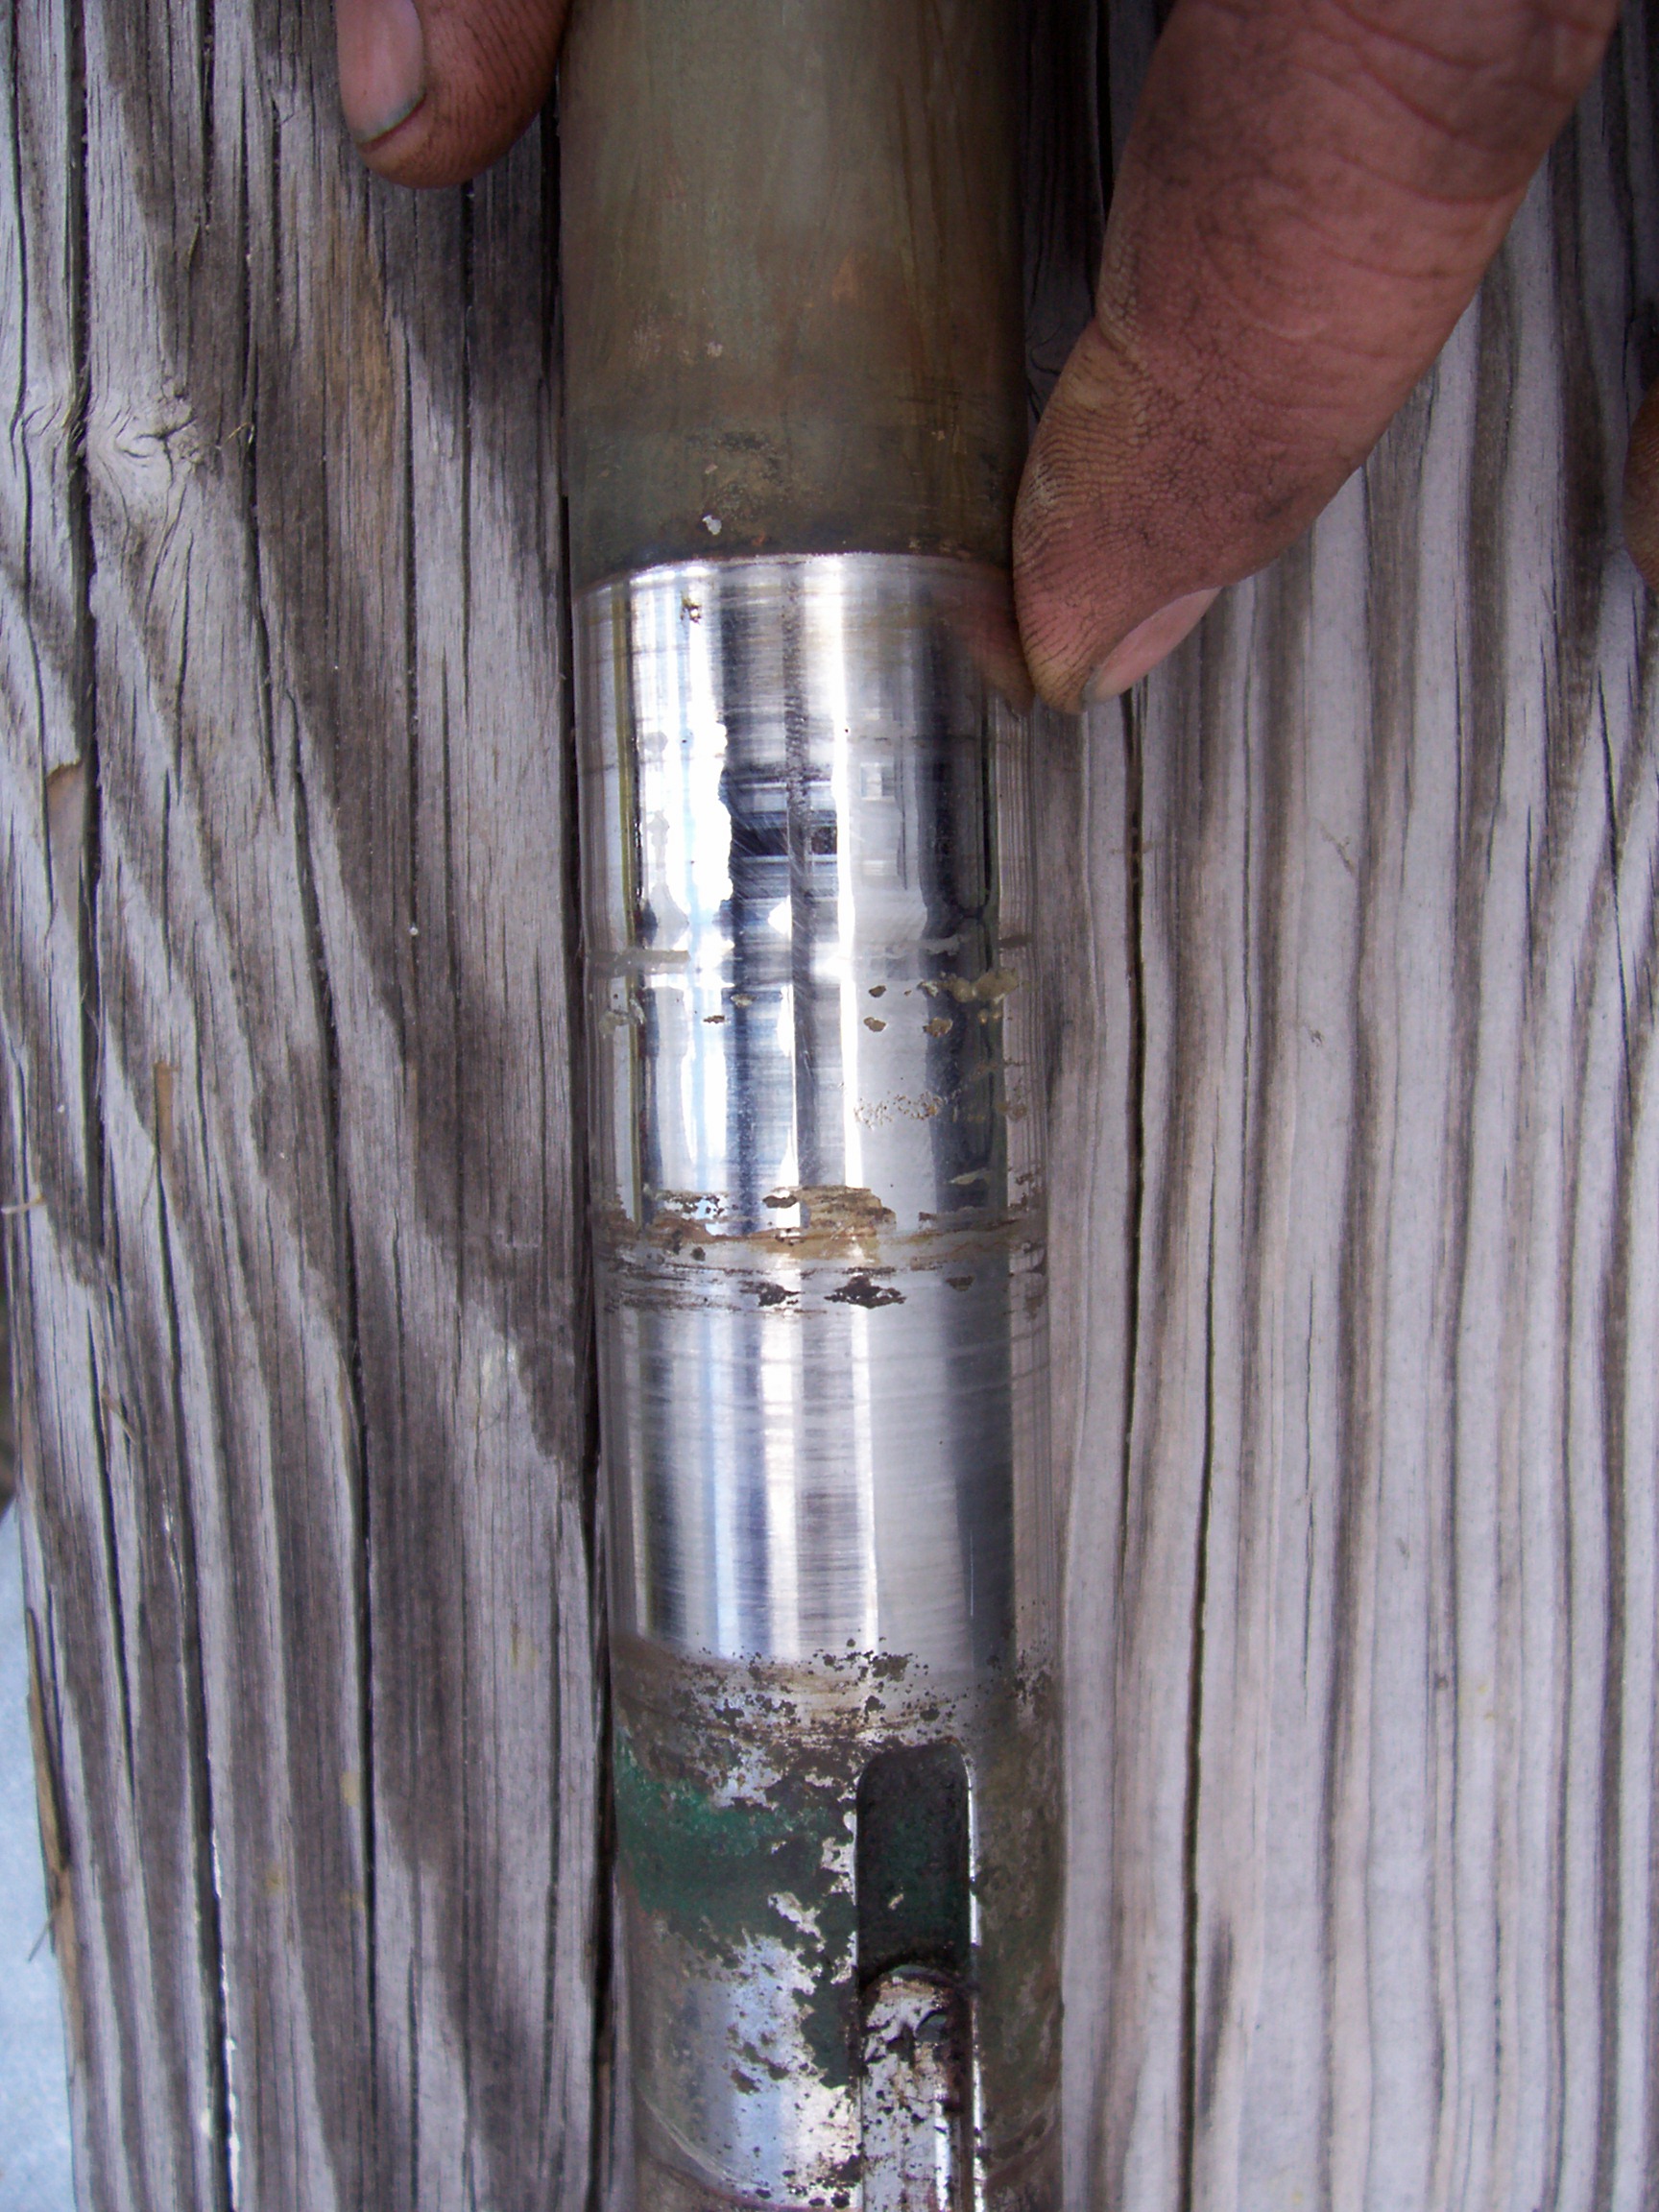
The packing will harden over time as the lubricant dries out or gets worn away by shaft rotation, allowing water to pass along the shaft and enter the vessel. When this occurs, most boaters simply tighten the gland to further compress the material and stop the leak. This works to a point, however, as the packing flax gets smaller, it loses its suppleness and gets harder. Continuing to compress hard flax against a shaft will eventually score it, necessitating the need for replacement.
Excessive leaking and shaft damage can by prevented by simply replacing the packing on a regular basis.
When and Where to Repack?
While it depends on the number of hours a vessel is utilized, most powerboat owners should repack their stuffing box every two to three years. Sailboat owners (due to typically lower engine hours) should repacking every three to four years. Those with increased engine hours however, should repack every one to two years.
While it may be possible in some cases to repack a stuffing box with the vessel in the water, it’s a lot easier (and recommended here) to do it while the vessel is hauled.

Out With the Old
The first step in repacking a stuffing box is removing the old packing, a fairly simple process that could be hampered by limited access. Stuffing boxes are notorious for being located in hard-to-reach areas with little working room, which is one reason boaters tend to neglect them. If the size of the flax or packing needed is known (it comes in various sizes), it can be purchased beforehand. Otherwise, the old flax will have to be removed, so the space between the shaft and the inside of the stuffing box can be measured — more on this in a moment.
To remove the old flax, the first step is opening the stuffing box. For the style with a single hollow nut, first back off the lock nut (which secures whatever adjustments are made) then back off the packing nut completely.
For the style featuring two side bolts, loosen both primary and lock nuts, then pry off the end cover with a pair of levers, such as two sturdy screwdrivers.
Next up is removing the old packing. The ideal tool for this job should be thin enough to slip between the shaft and stuffing box and have a hook of sorts to grab the old flax packing. It should also be soft enough so that it won’t scratch the shaft during the process.
While a special flax-removal tool does exist (it resembles a long, thin corkscrew) most people simply adapt the tools at hand. A screwdriver and bent piece of sharpened wire work well, as long as you’re careful not to score the shaft. Needle-nose pliers also come in handy for pulling out packing, once it has been worked near the end of the gland.
Make sure all of the old packing material is removed, as any left behind could prevent newly installed packing from sealing properly (the last layer in the gland may be so hard that it feels like part of the stuffing box itself.)
Once all the packing is removed, clean the shaft and stuffing box interior of any hardened grease (a rag slightly moistened with paraffin or engine de-greaser works well) and inspect the shaft. If it’s scratched or heavily oxidized, polish the portion of the shaft that comes in contact with the packing by wet sanding it with a piece of fine silicon carbide (wet/dry) sandpaper. Afterward, wash the shaft thoroughly with fresh water to remove any residual traces of abrasive and apply a light coat of grease to ease reassembly of the packing nut or plate.

In Part 2, we’ll look at installing the new packing material.
By Capt. Frank Lanier
Captain Frank Lanier is a SAMS® Accredited Marine Surveyor with more than 40 years of experience in the marine and diving industry. He’s also an author, public speaker, and multiple award-winning journalist whose articles on seamanship, marine electronics, vessel maintenance and consumer reports appear regularly in numerous marine publications worldwide. He can be reached via his website at www.captfklanier.com.