How To Install a Permanently Mounted Oil Change System
As with any maintenance procedure, the easier it is to change the oil in your inboard marine engine, the more likely it will be done. One way to simplify oil changes is to install a permanently mounted changing system. Here’s a look at how to make that oil change as painless as possible.
The Access Dilemma
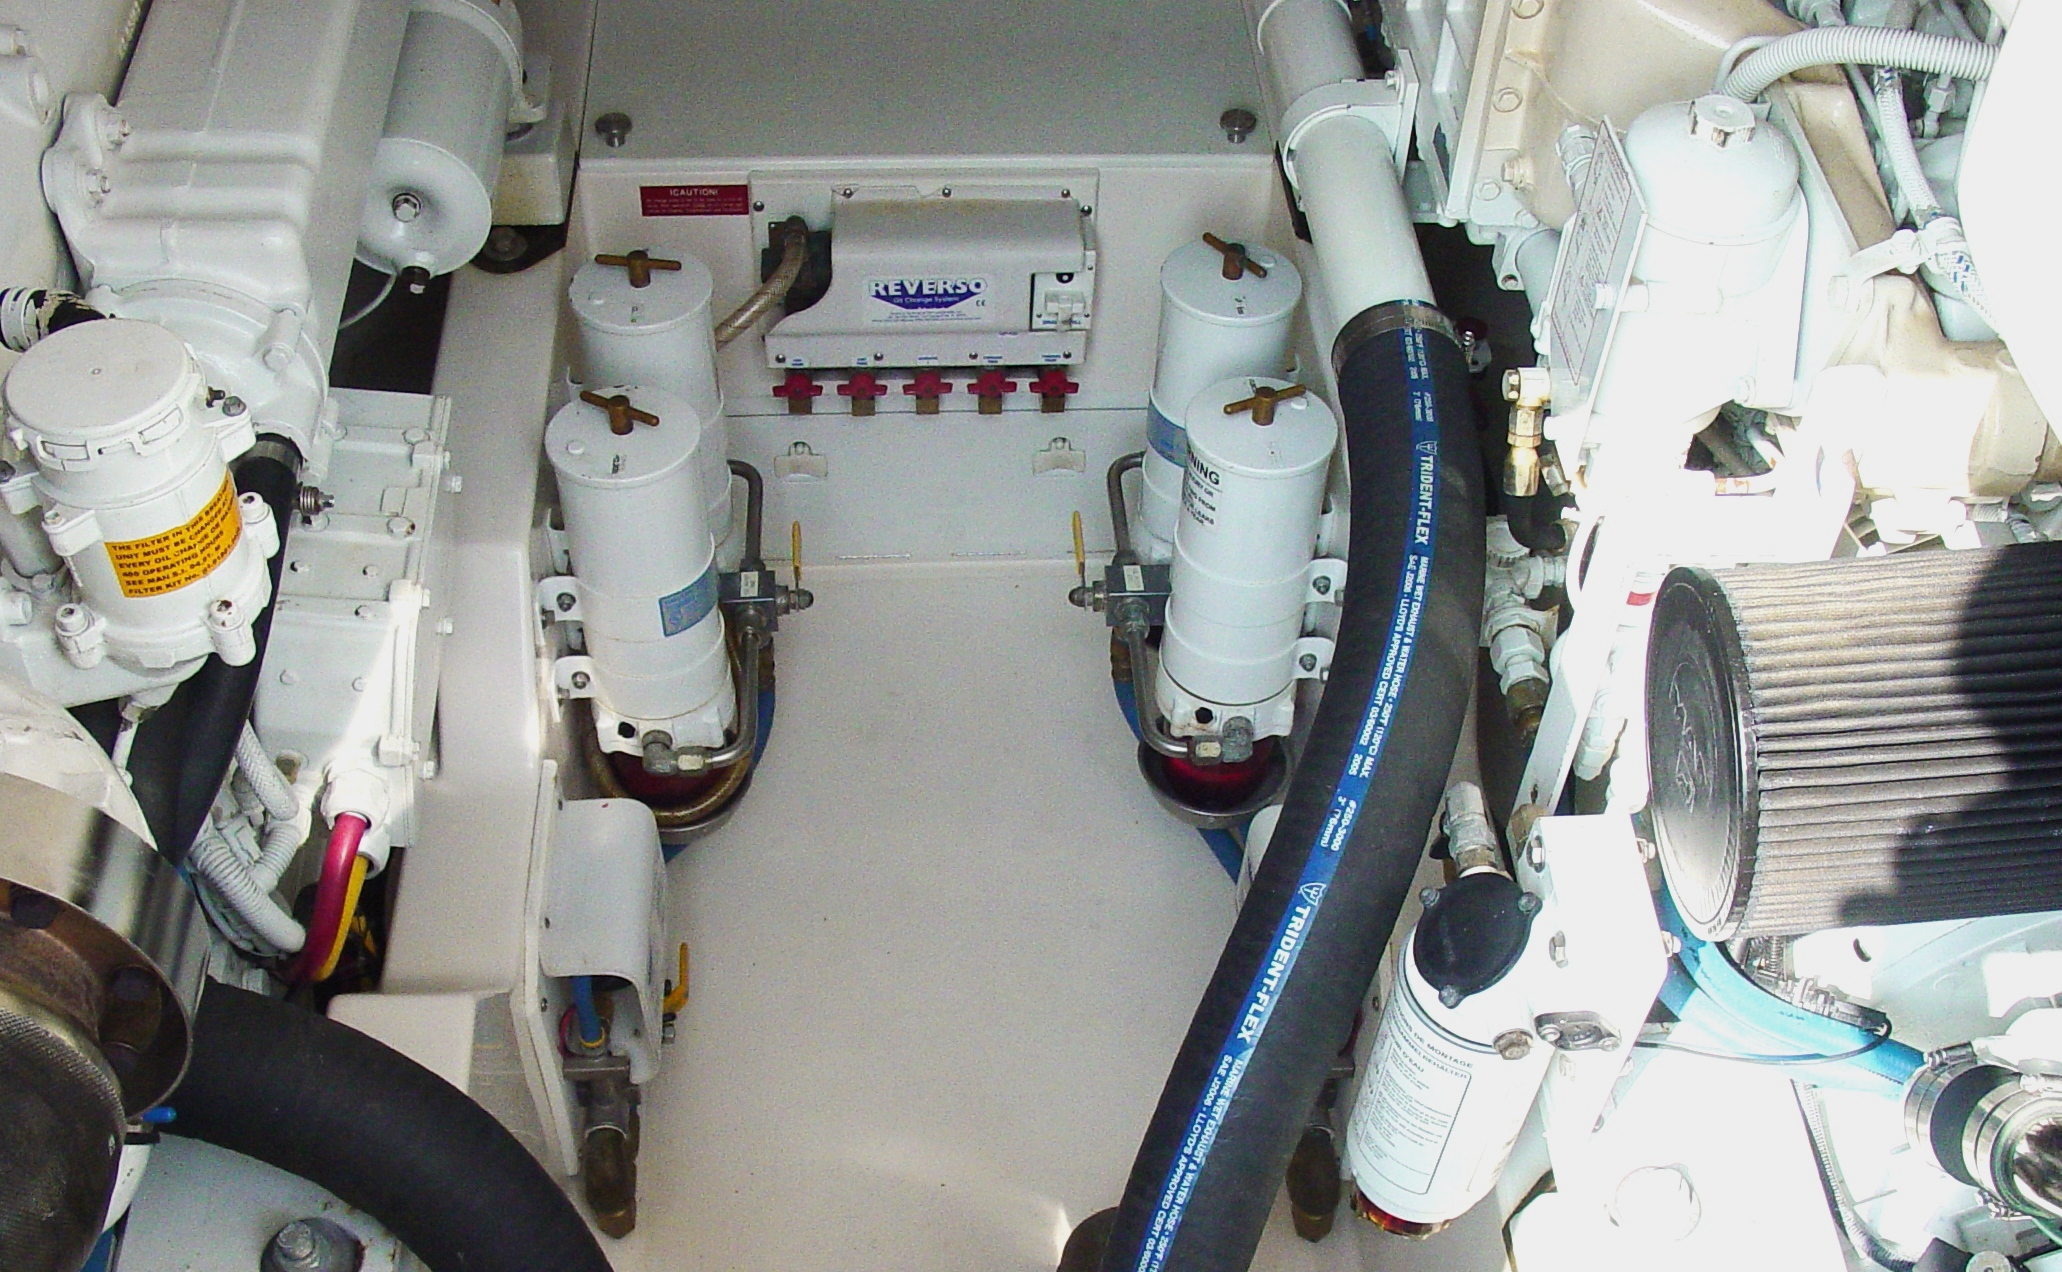
Unlike a car, inboard marine-engine installations typically provide little or no access to the oil pan drain plug or enough space beneath the engine to place an open container to drain into. As such, most installations will require the use of an oil evacuation system, one that uses a manual or electric pump to transfer oil from the engine into a separate container. Oil evacuation systems range from portable manual or electric vacuum pumps designed to remove oil via the dipstick tube to permanently mounted pumps (the focus of this article) plumbed directly to the oil-pan drain.
Fixed oil change system pumps can be manual or electric, although electric pumps are the most popular choice because they allow the removal of old oil and adding new. Some oil-change systems combine a pump and a manifold, which allows an owner to service multiple equipment (a second engine, generator, transmissions, etc). For the purpose of this article, we’ll assume the installation is serving a single-engine, however much of it can also be applied to a multi-equipment installation.
Always follow the manufacturer’s installation instructions, but here are a few basic installation tips that are applicable to most any installation.
- Select a suitable mounting location for the pump, one well above the normal accumulation of bilge water. Consider pump electrical connections and service requirements, as well as the required hose run, which should be the shortest, straightest route to the engine. Most systems require that the pump be located no higher than five vertical feet above the engine oil pan. Never exceed the pump manufacturer’s maximum hose run between the pump and engine or the pump and the discharge receptacle - doing so could overwork and damage the pump.
- Dry-fit the pump in your selected location, both to ensure the area provides sufficient room for the pump and access to install the pump connections and mounting hardware.
- Mount the pump per the manufacturer’s directions. This will typically involve marking and drilling four corner mounting holes and bolting the pump to a bulkhead or other appropriate structure. Install rubber isolation mounts or bushings under each mounting bolt (between the pump and mounting service) as provided or recommended by the manufacturer. Ensure the pump is properly oriented prior to drilling any mounting holes. For example, some units cannot be mounted with the pump head above the pump motor.
- Use an oil-pan fitting that will fit the pan and accept the size hose called for by the pump installation instructions. Most new engines come with an oil pan adaptor. If your engine doesn’t, refer to the engine owner’s manual or consult with the manufacturer. As the oil will have to be drained prior to installation of the oil pan fitting, plan on changing the engine oil in conjunction with installation of the system.
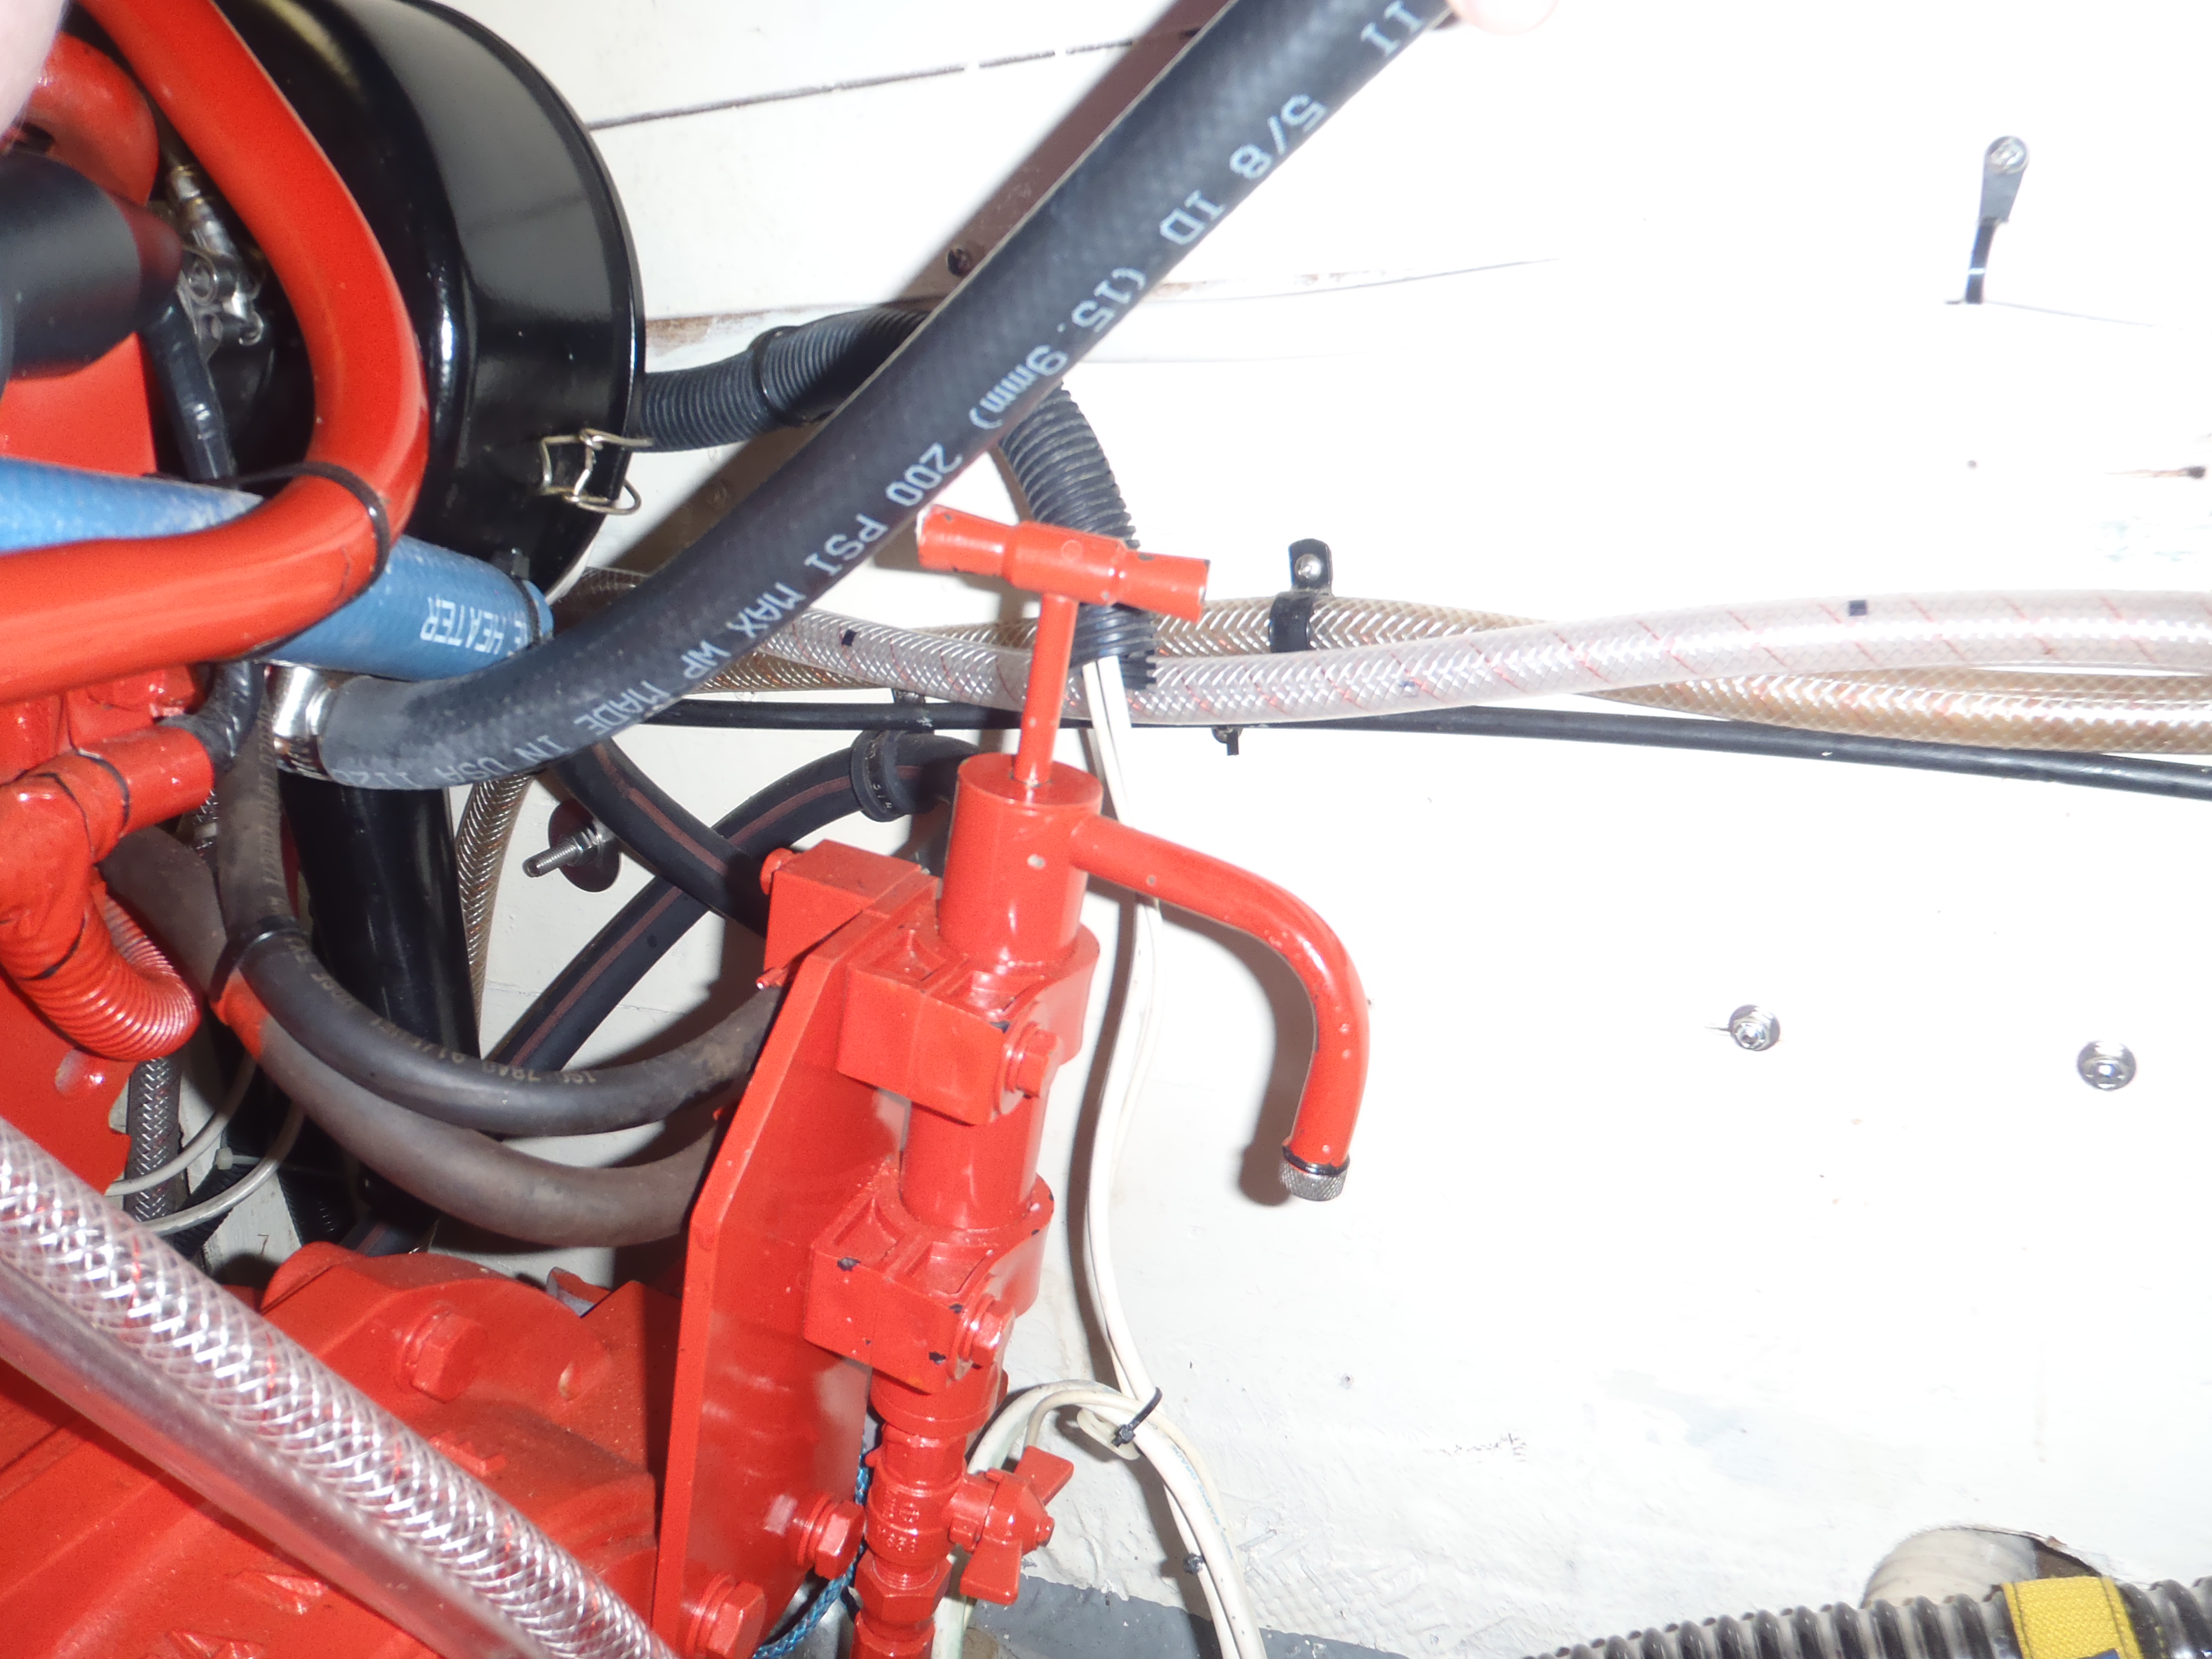
- Install the hose run from the pump to the engine oil pan fitting. Plan the hose route as straight as possible, while avoiding exposure to hot equipment, sharp bends and the use of elbow fittings. Keep the hose run as short as possible (15 feet or less in general) and provide support every 18 inches.
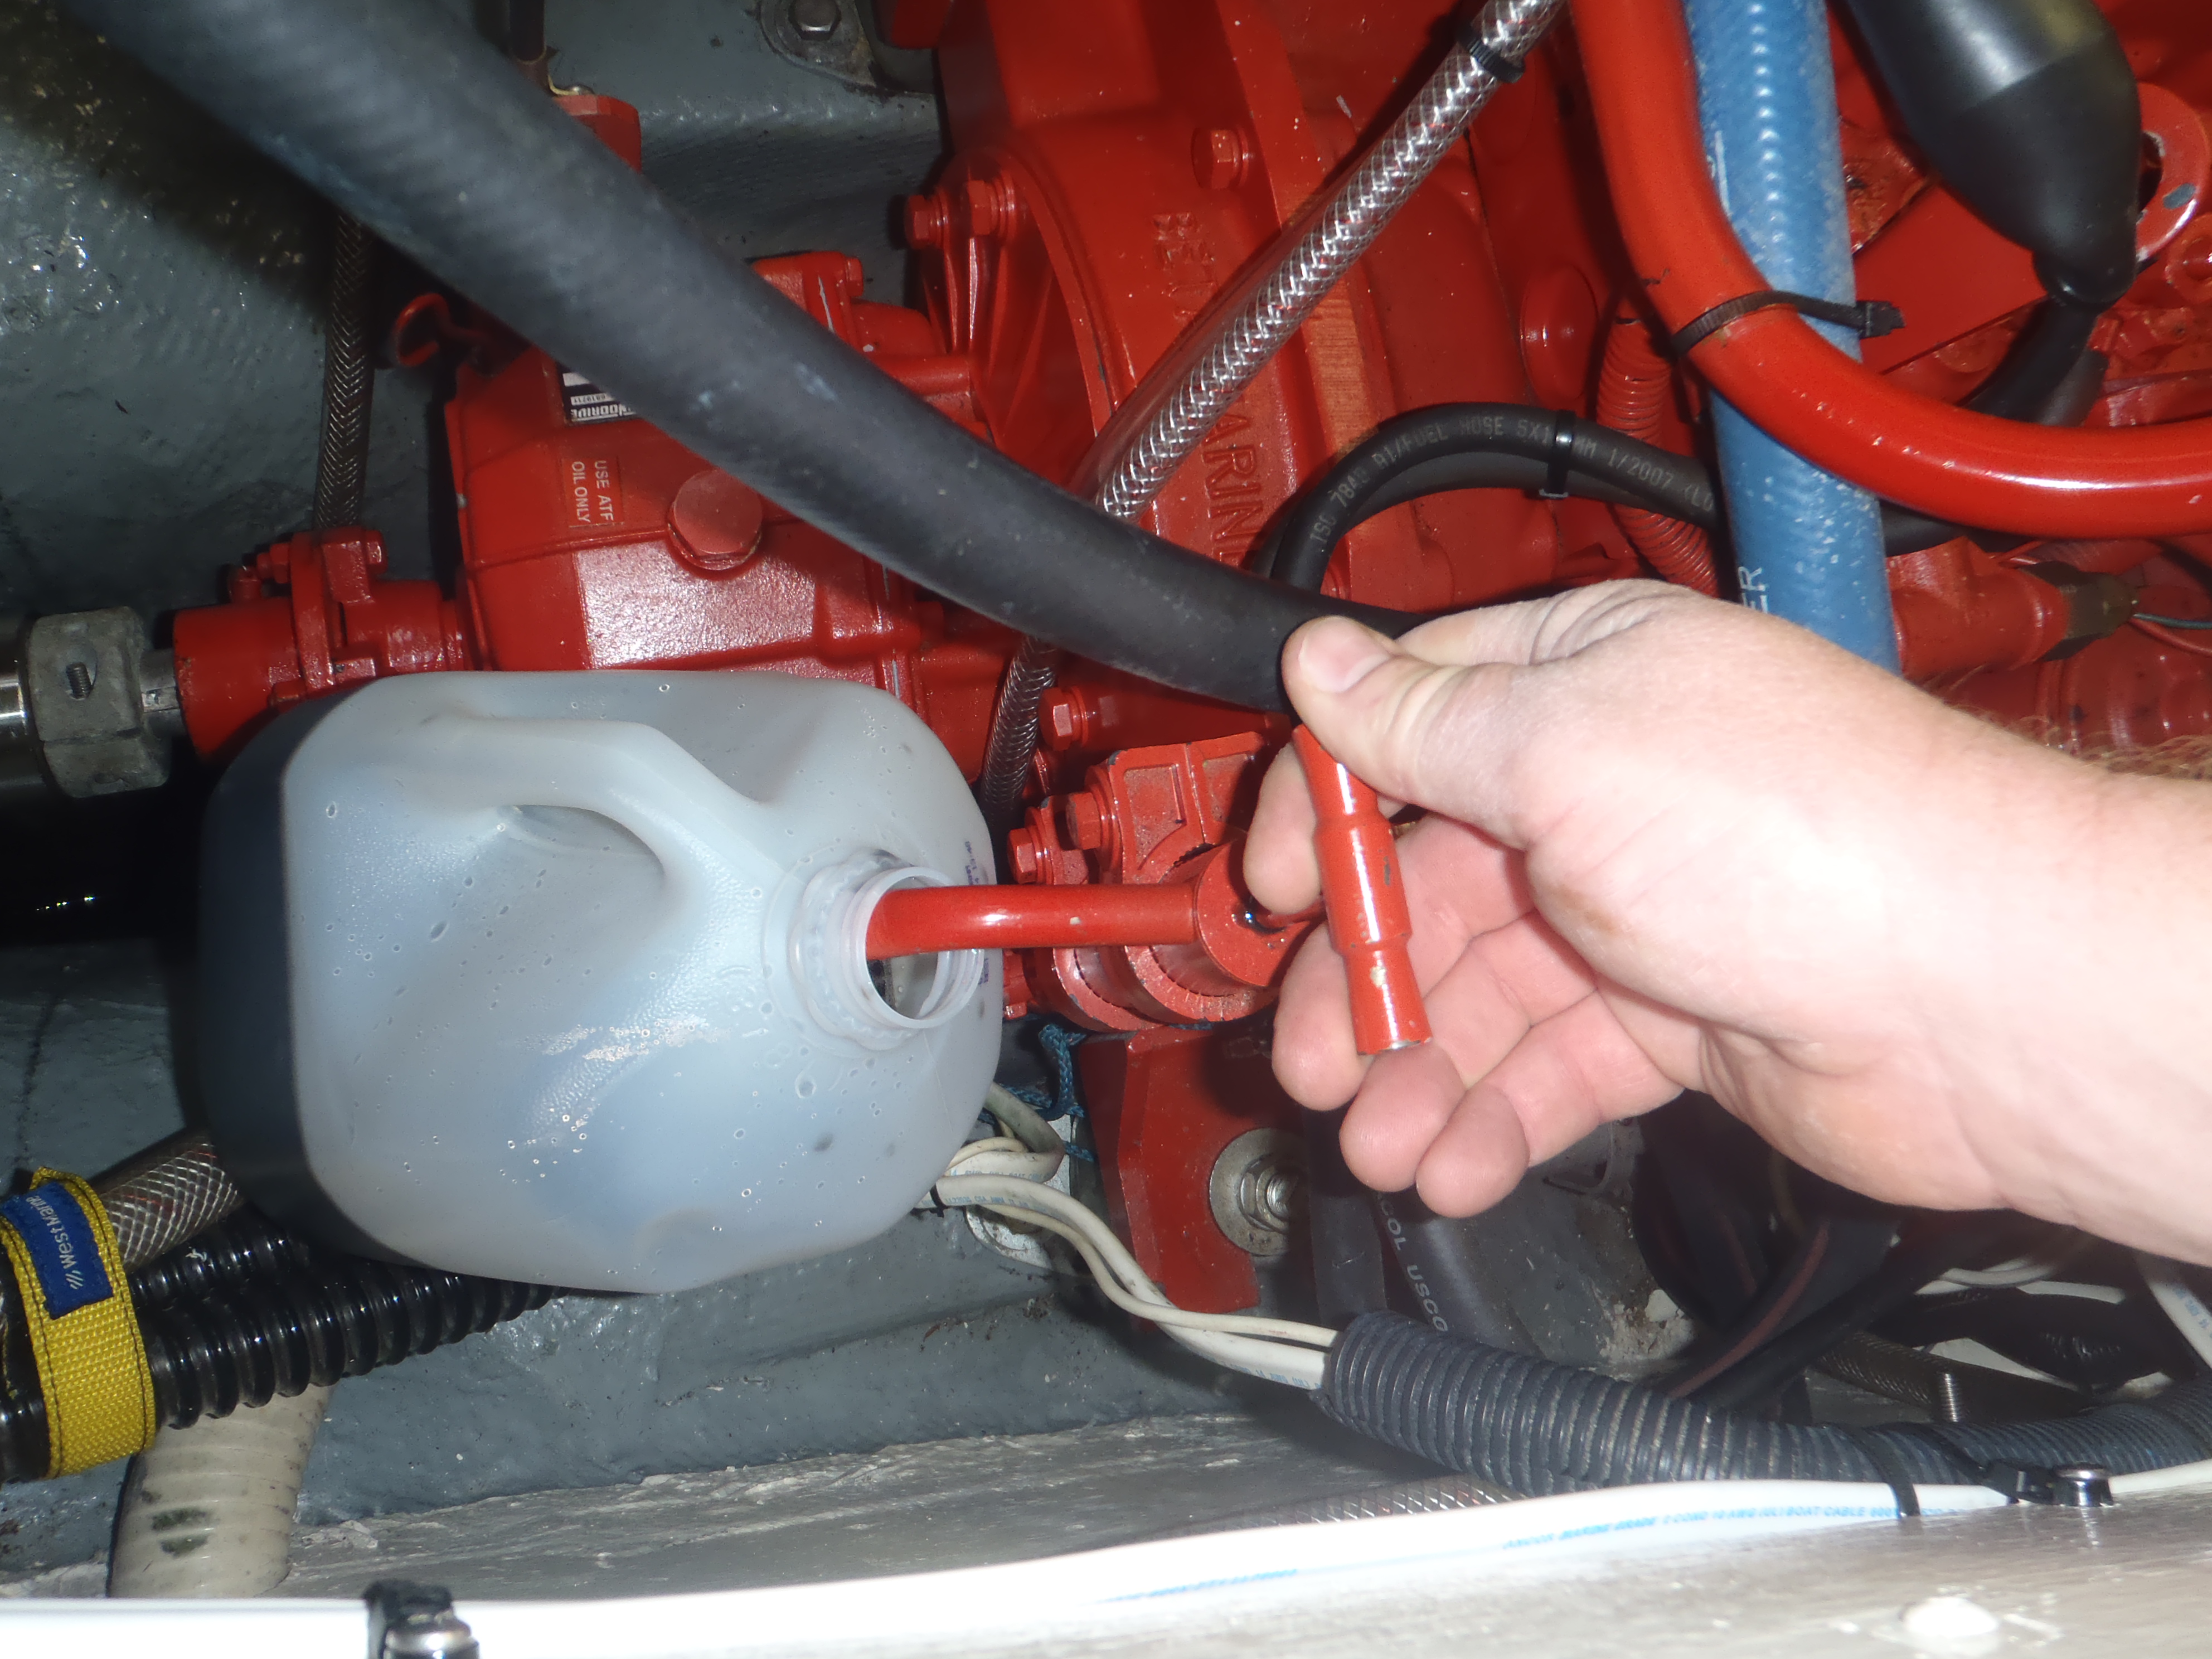
- Route the discharge/fill hose from the pump to a convenient location to locate the waste oil container (and place the new oil containers when adding oil). Waste oil containers may be installed permanently or placed temporarily.

- Once the installation is complete, test the system per the manufacturer’s instructions while looking for issues such as leaks, etc. Some systems may require that the hoses be purged of air prior to use, both to prime the system and provide lubrication to the pump impellor.
6 Tips for Easier Oil Changes
- Bring the engine up to operating temperature prior to changing the oil. Warm oil drains easier and holds more contaminates in suspension, meaning more abrasive gunk and chemical impurities will be removed from the engine when the oil is changed.
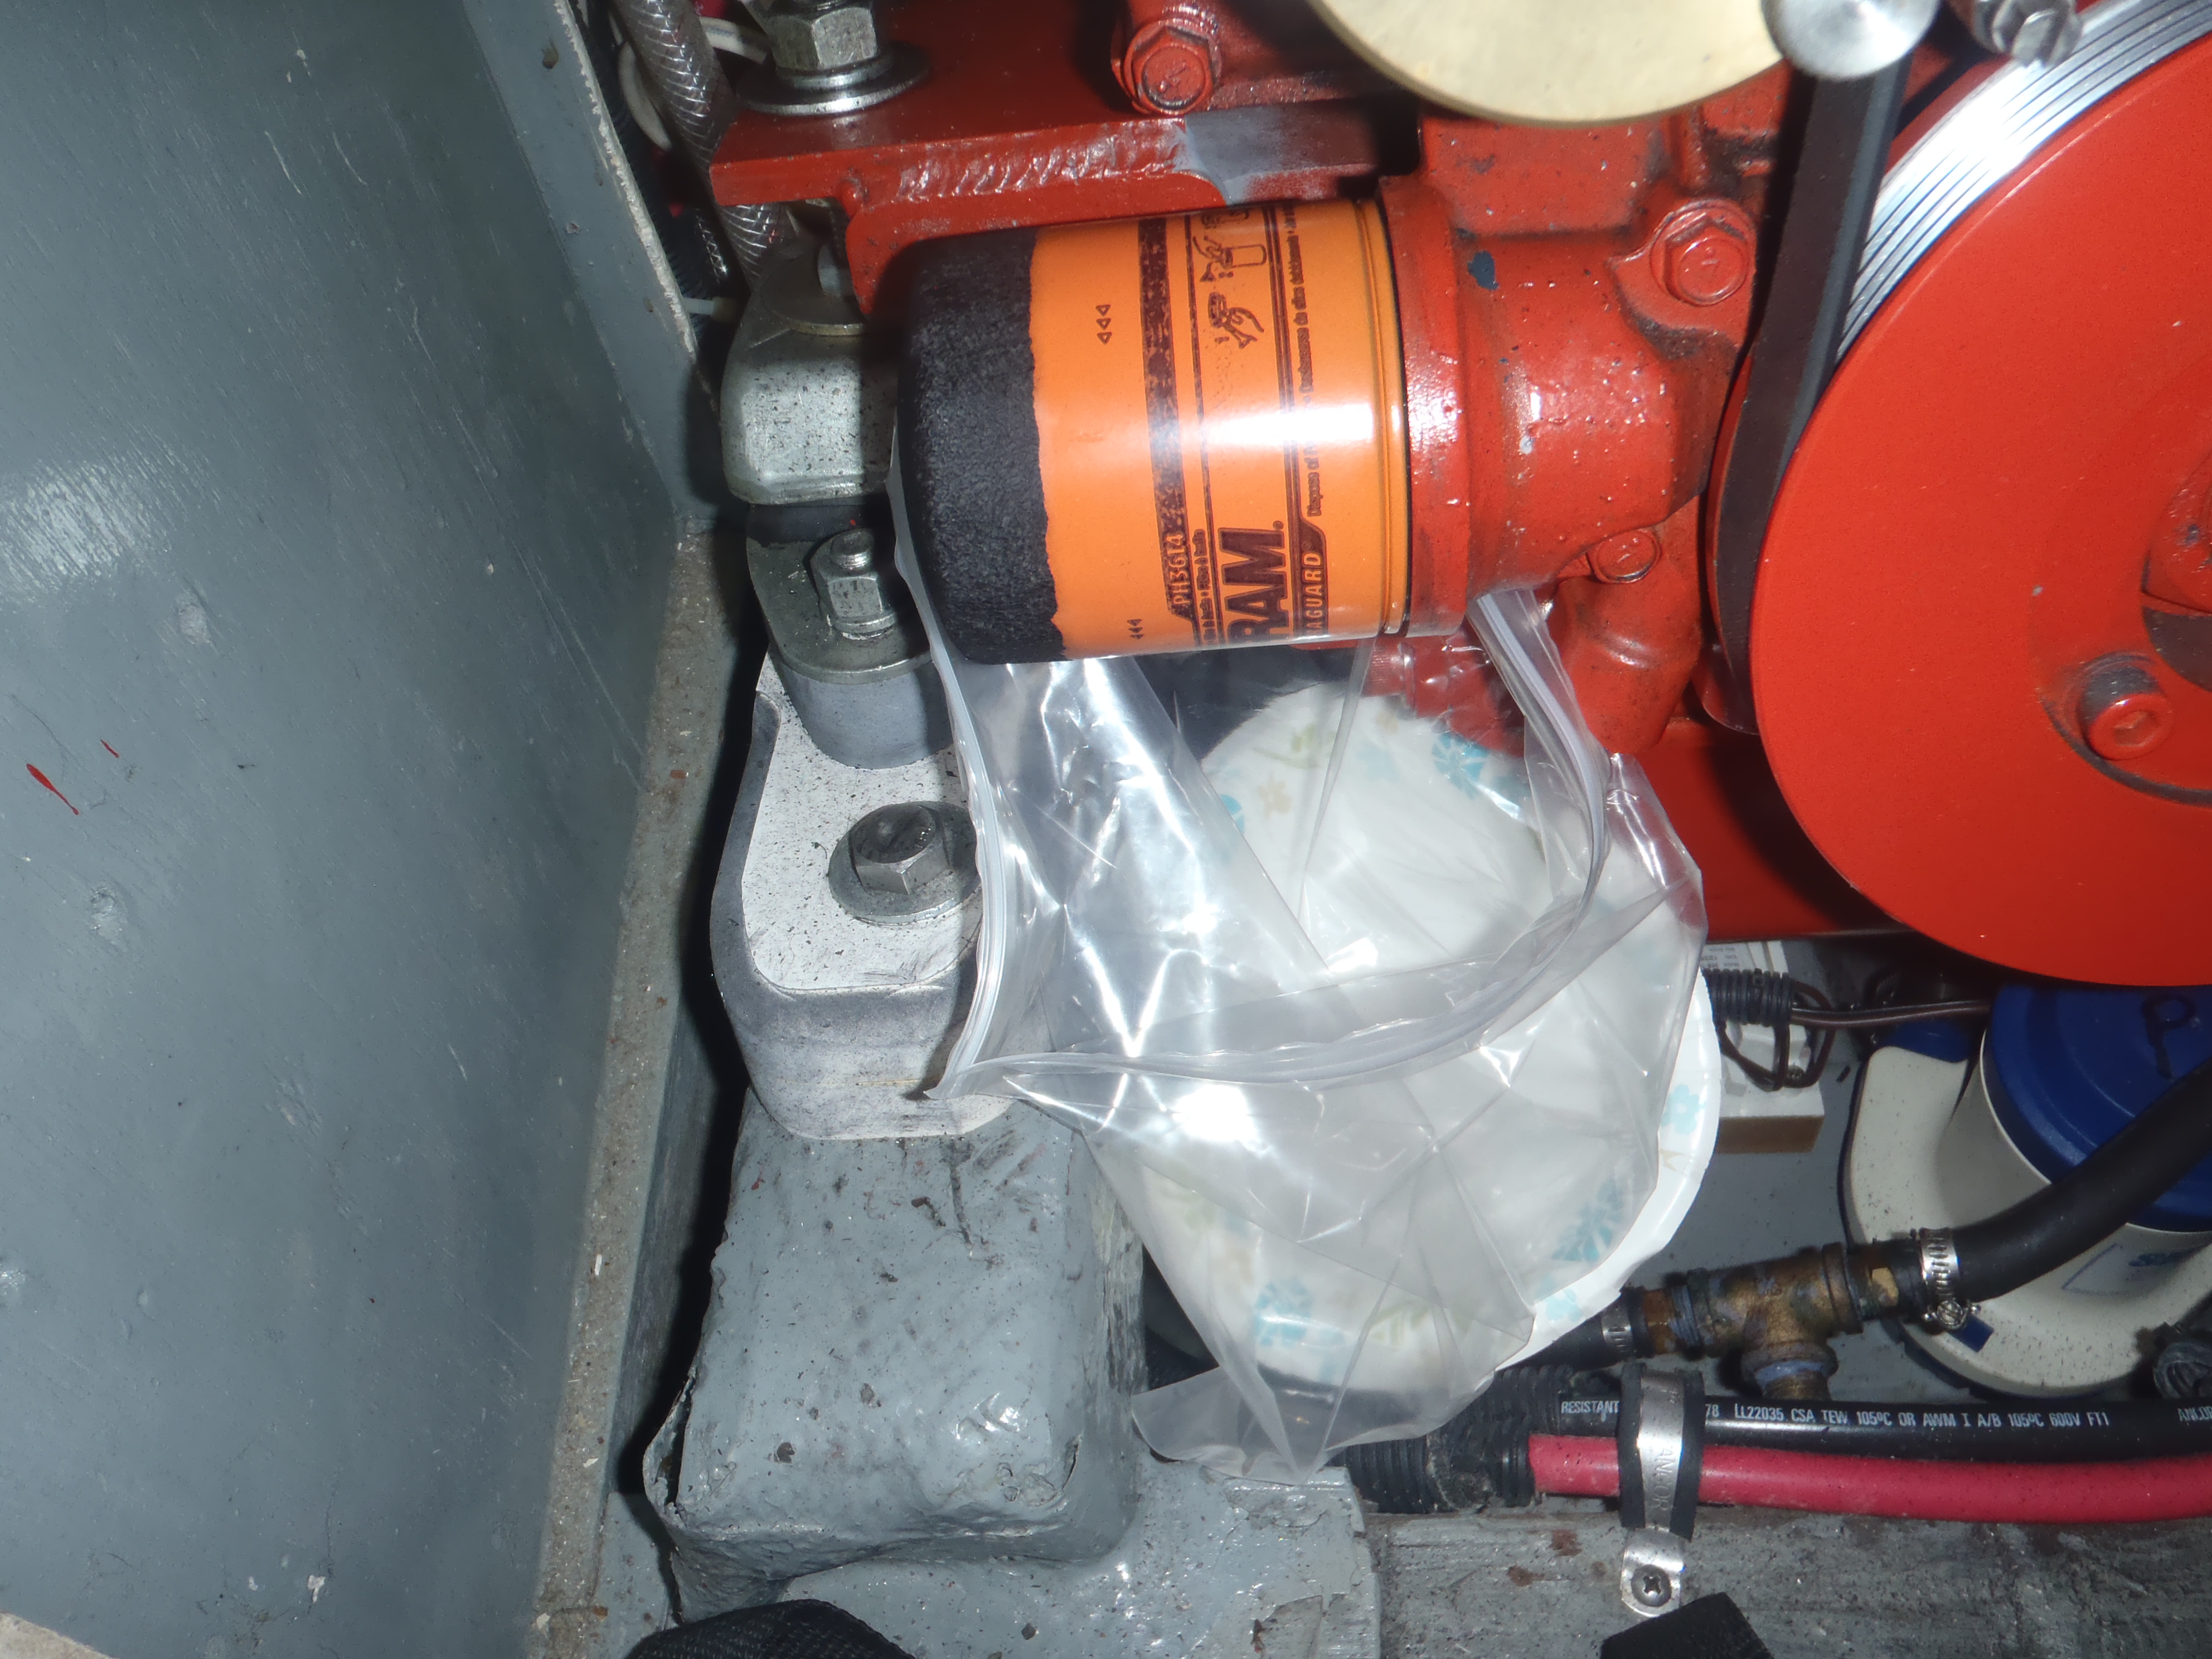
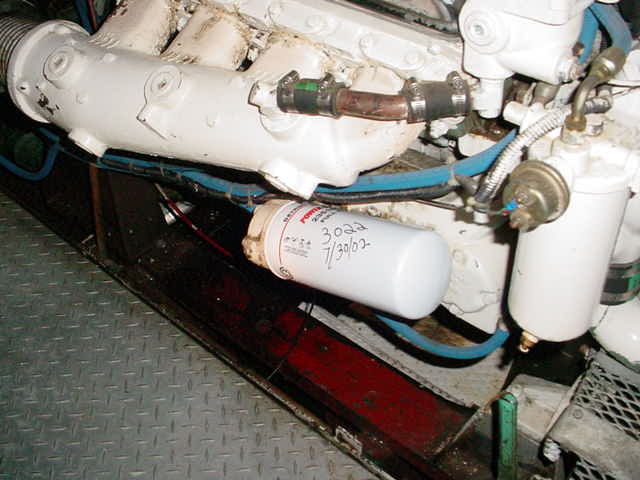
- When changing an engine-oil filter, wrap the filter with a thick cloth during removal to avoid burning hands. Write the date and engine hours on the new filter to serve as a visual reminder of when the next oil change is due.
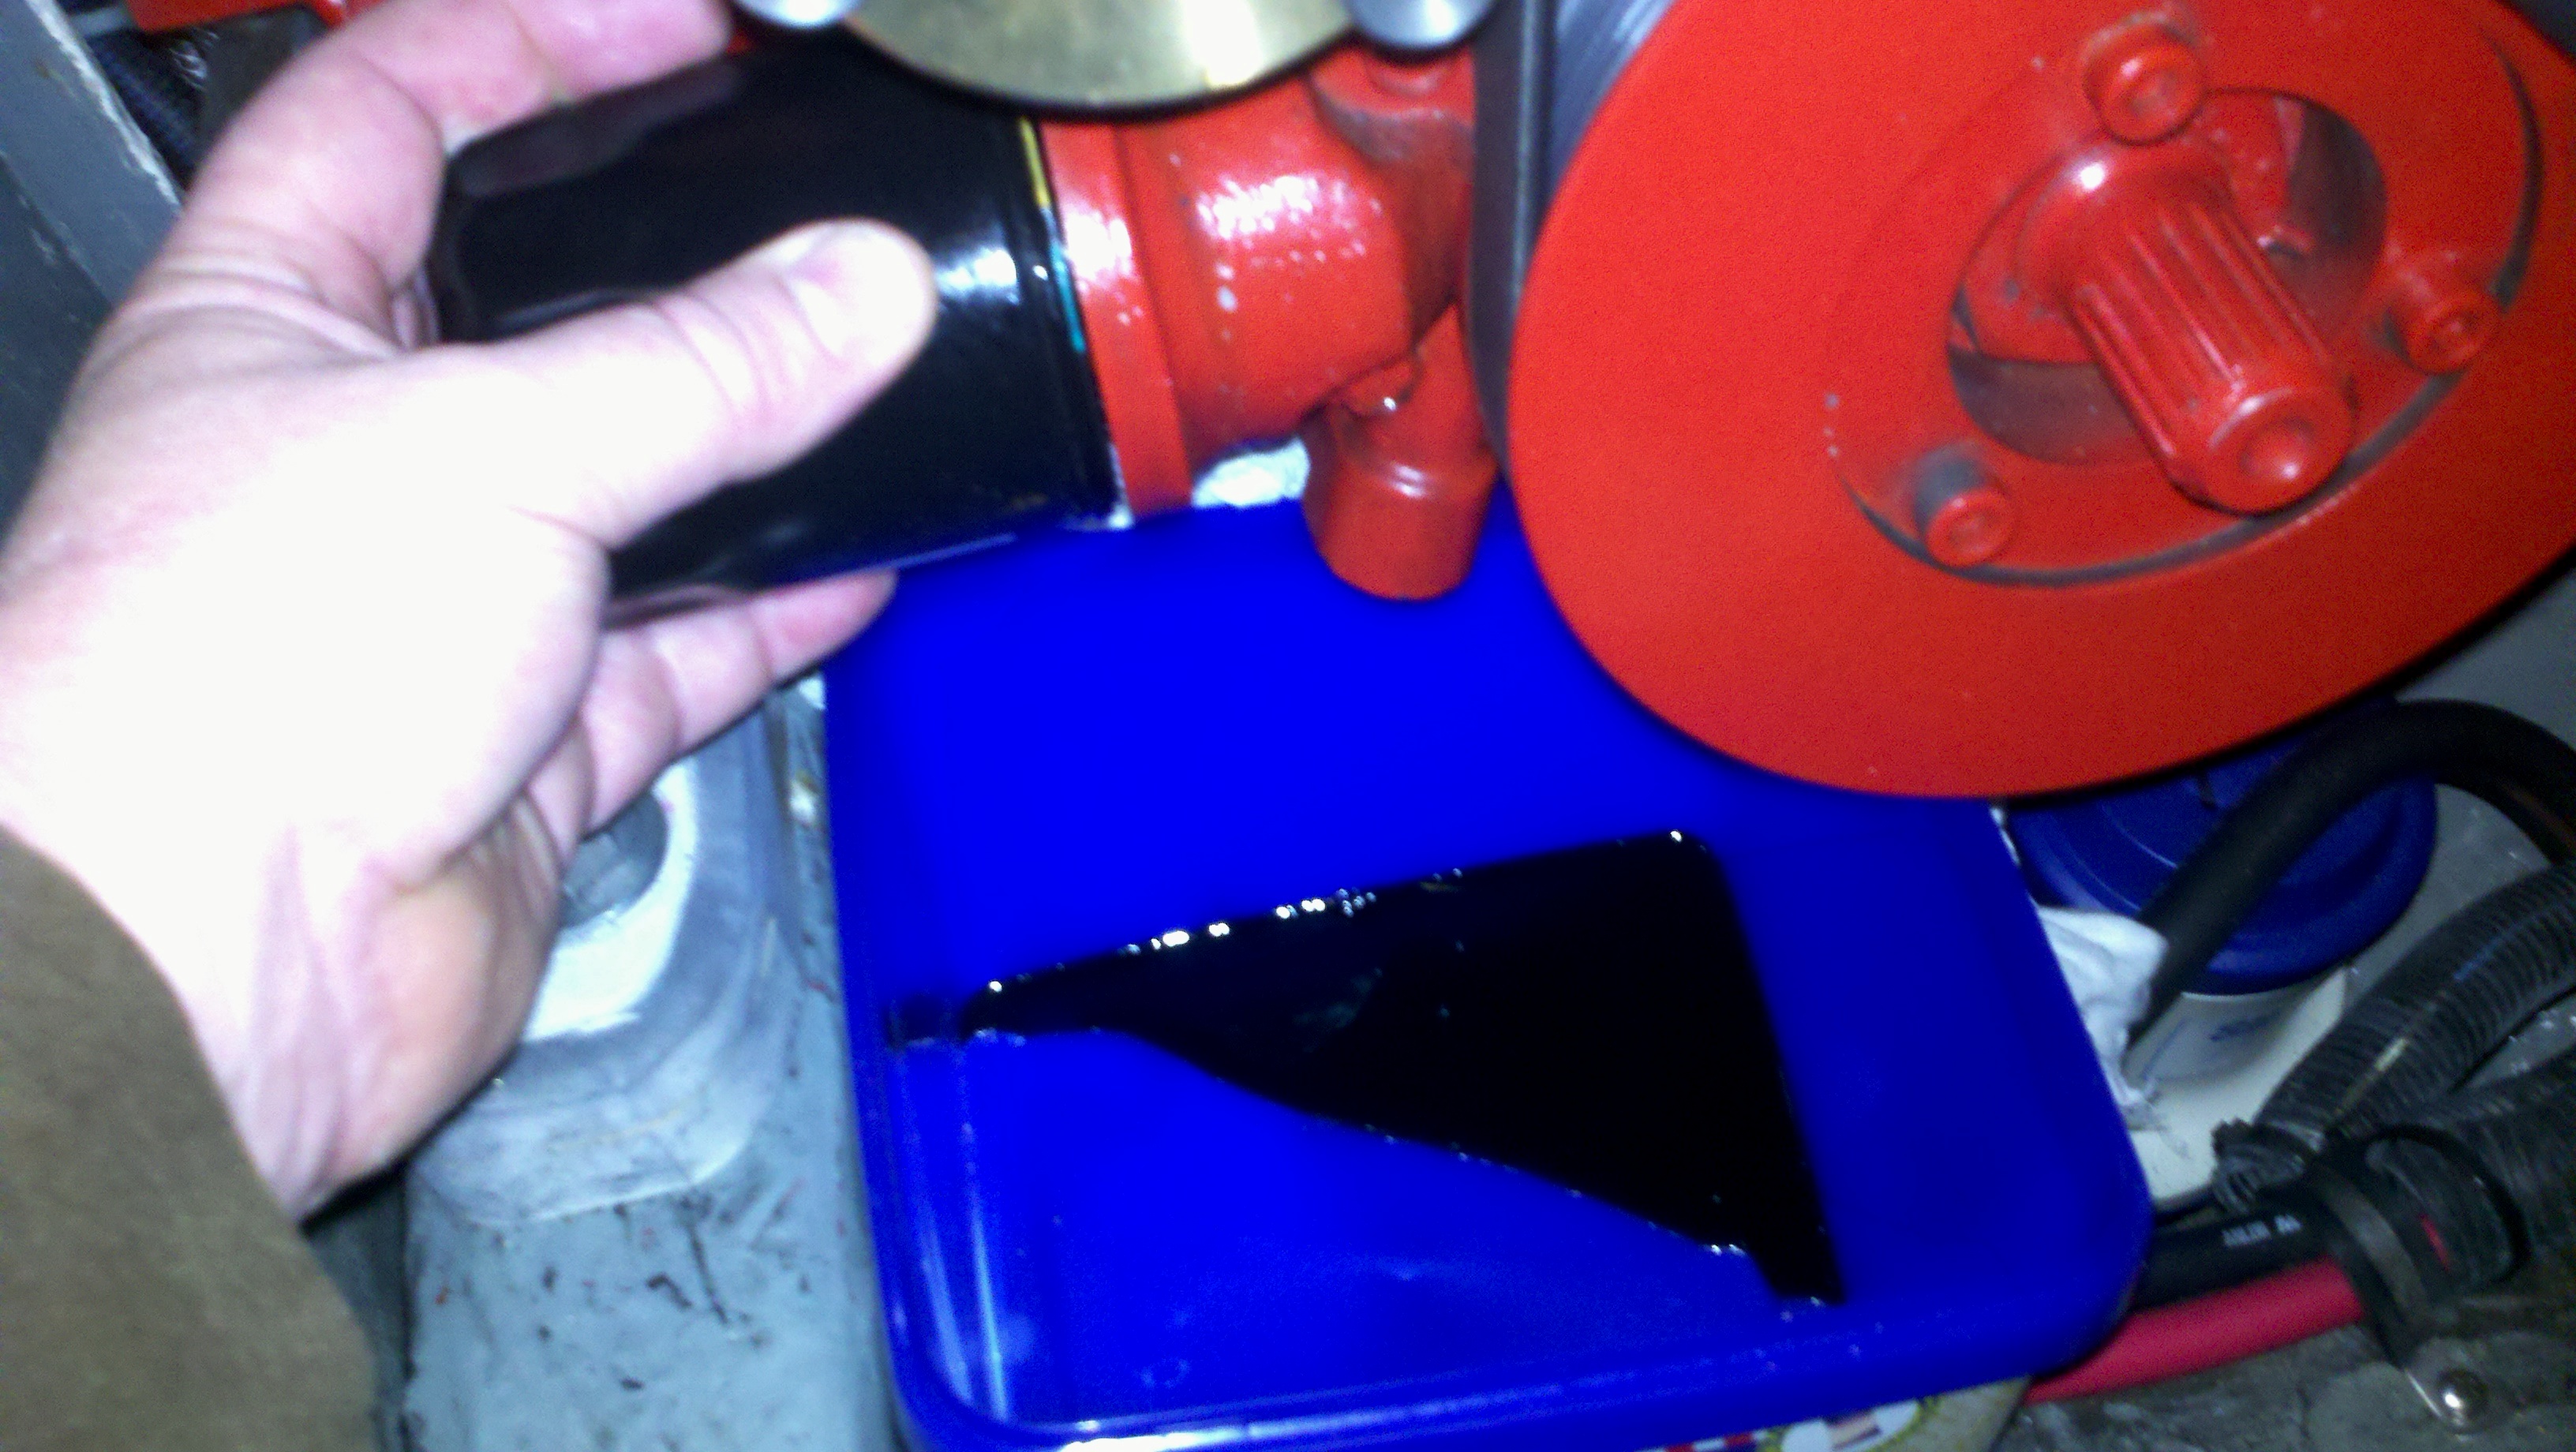
- Use oil absorbent pads and containers to prevent and contain accidental spills.
- Temporarily disable automatic bilge pumps to prevent oil from accidentally being pumped overboard in the event of a spill.
- Recycle used oil and filters.
- Dispose of used absorbent pads and rags properly.
Oil Disposal
Always contain and dispose of waste oil and fluids properly. Your marina likely has a disposal or recycling program available, but there are other options — many automotive parts stores maintain a waste oil recycling station a well. Store waste fluids separately until they can be properly disposed of. Mixing fluids can make recycling impossible and create a veritable Hell’s Broth that’s even more toxic (and difficult) to dispose of.
By Capt. Frank Lanier
Captain Frank Lanier is a SAMS® Accredited Marine Surveyor with over 40 years of experience in the marine and diving industry. He’s also an author, public speaker, and multiple award-winning journalist with articles on seamanship, marine electronics, vessel maintenance and consumer reports. He can be reached via his website at www.captfklanier.com