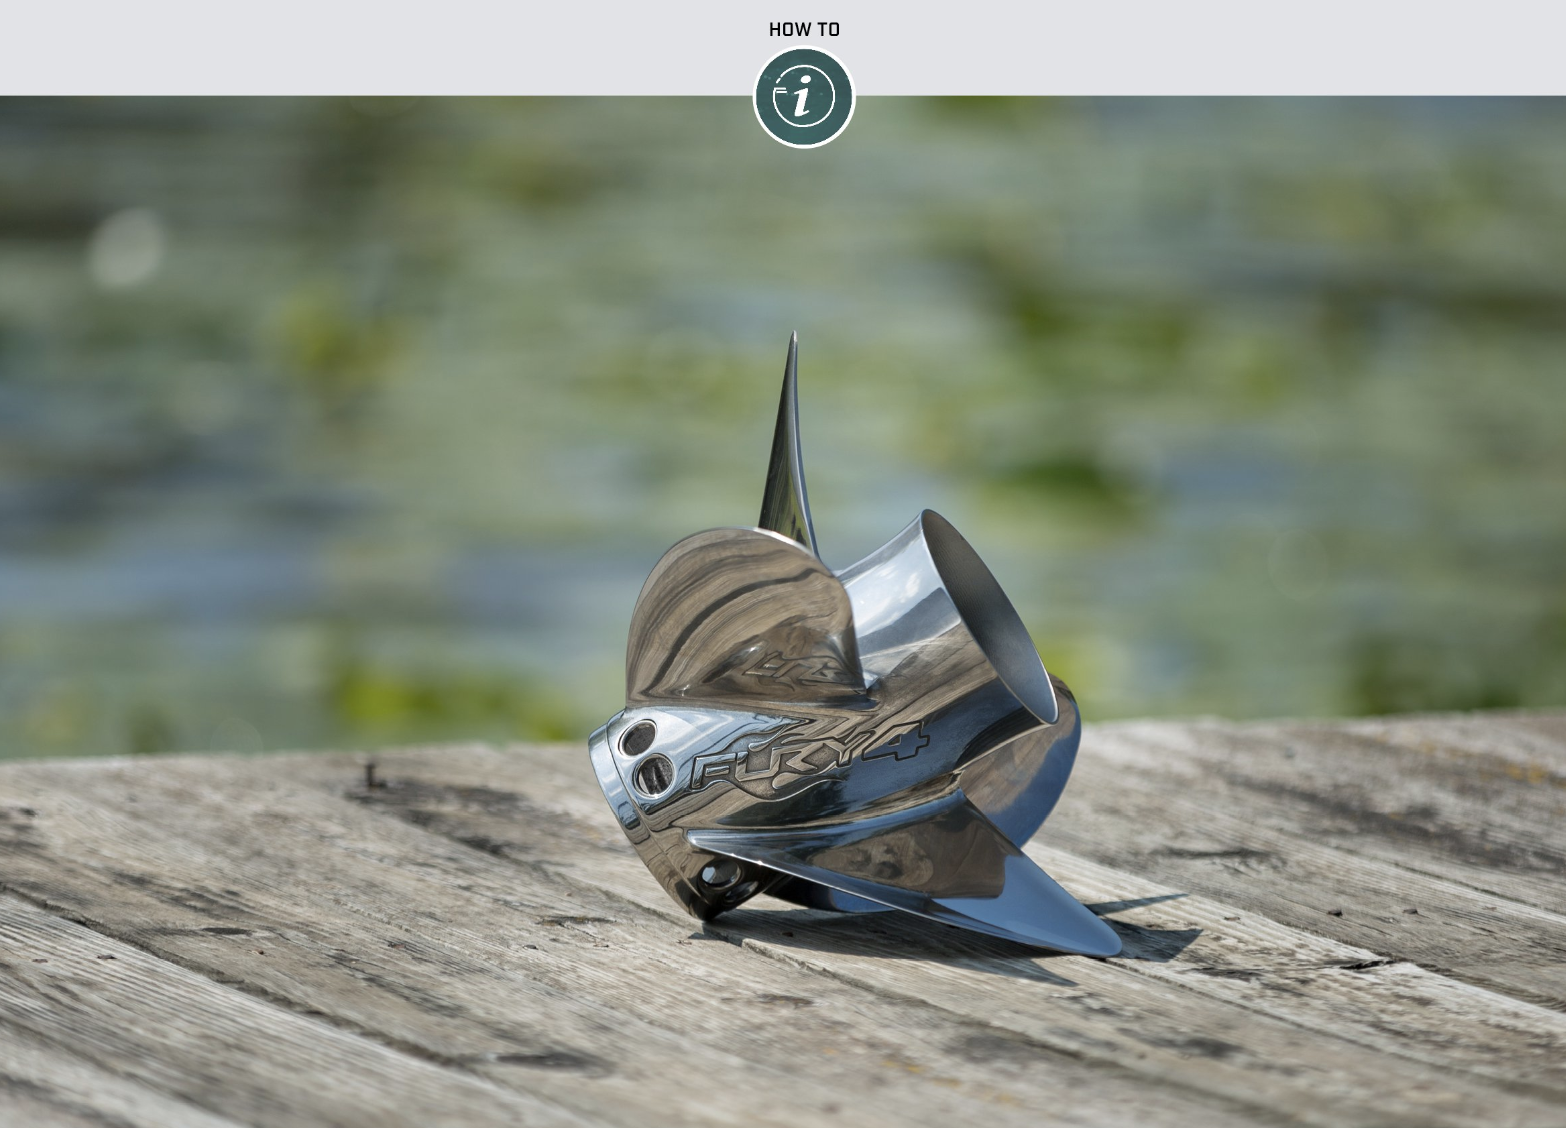
How to Swap Your Prop
Every boat owner should know how to remove and install the boat’s propeller. The prop may become damaged and need to be repaired or replaced. You may decide to upgrade your propeller to improve performance or economy. Inspecting the propeller shaft behind the propeller for twisted fishing line is an easy maintenance check you should do several times a season to prevent serious gearcase damage.
Fortunately, swapping out a propeller is far easier and faster than changing a flat tire on your vehicle. With a few basic tools you can remove and install a propeller in a matter of minutes. Most Mercury outboards and MerCruiser® sterndrives in service today use a Flo-Torq® modular hub system, and the video below demonstrates how to change a prop with a popular Flo-Torq hub kit.
Other versions of the Flo-Torq system may be slightly different. Always note the order and orientation of washers and other components as you disassemble the hub, consult the instructions if installing a new hub, or check your engine owner’s manual. These are the basic instructions for the Flo-Torq II hub:
- Pry back the locking tabs of the lock-nut retainer with a flat screwdriver.
- Remove the propeller nut using a prop wrench or deep well socket and a floating prop block (or a wood block) to keep the prop from spinning.
- Remove the propeller and all hub components, including the thrust washer.
- Lubricate the prop shaft with Mercury 2-4-C Marine Grease and reinstall the thrust washer facing the correct way.
- Insert the Flo-Torq hub assembly into the propeller.
- Slide the new prop/hub assembly and the lock-nut retainer onto the prop shaft.
- Tighten the prop nut using your wrench and block, then tighten to specification using a torque wrench. Consult your owner’s manual to find torque specification for your model.
- Use a screwdriver to bend the ears of the lock-nut retainer back into the locked position.
- Finally, give the prop a quick spin by hand to ensure that it can easily turn 360 degrees without binding, and you’re ready to get back on the water.

Other points to consider:
- Spare your day: Getting stranded on the water due to a damaged propeller or spun prop hub will ruin your day and threaten your safety. It's a great idea to keep a spare propeller, Flo-Torq hub kit and the tools needed to change the prop on board. Now you can turn the situation into a minor delay instead of a day spoiler. Many boaters opt to carry an affordable aluminum propeller as a spare.
- Avoid something fishy: Several times a season remove the propeller to check the prop shaft for an accumulation of fishing line. When line is discarded or lost in the water it will float. When a boat passes over the line, it can become tangled in the prop. Eventually, the line can work its way into the gap between the propeller hub and the gearcase, get wrapped round the prop shaft, and eat its way through the prop shaft seal. This can be very bad news – if the seal fails, water can enter the gearcase and cause expensive damage. The fishing line can be imbedded in grease and hard to see. Use your fingernail or a sharp pick to look for line at the point where the prop shaft goes into the gearcase. Pull off the line and reinstall the propeller.
- Feeling sluggish? If your boat isn’t performing up to expectations, check your propeller(s). A damaged prop or one that’s not the ideal model or pitch can drastically impede all aspects of performance. In fact, a new high-quality, well-chosen propeller is often the cheapest and fastest way to make a boat run better. Consult your local Mercury Authorized Dealer or find a dealer for guidance. Many dealers carry test propellers so you can compare several before you buy.