The Importance of Pre-Trip Checks: 10 Minutes Can Save a Season

Article by Thomas P. Courtesy of e-Ribbing.com
Following the age-old concept of an ounce of prevention, when we head out on the water, it’s appropriate to inspect our boat and engine beforehand. It shouldn’t take more than 10 or 15 minutes and it could save us from unexpected troubles and costs. We’ll provide a checklist for pre-departure inspections for boats powered by sterndrives and outboard engines.
Flush the Engine(s) with Fresh Water
We all know that saltwater can corrode the metal parts of an engine. If we don’t remove it, over time, the salt concentrates inside the passages of the cooling system and prevents the sufficient flow of water that is required to cool the engine. This can lead to lead to overheating and corrosion.
With outboards and sterndrives that don’t have a dedicated flush system, attach “ear muffs” to a garden hose or with smaller motors, submerge the lower unit in a bucket of fresh water. Trim the engine or outboard to a vertical position, turn on the freshwater and start the engine. Let it run in neutral at idle for about 10 minutes. On sterndrives, watch the water temperature gauge and make sure it stays within safe levels. On outboards, watch the gauge and the stream of the water that exits from the small tube that is usually located on the right side of the engine, below its cowling.
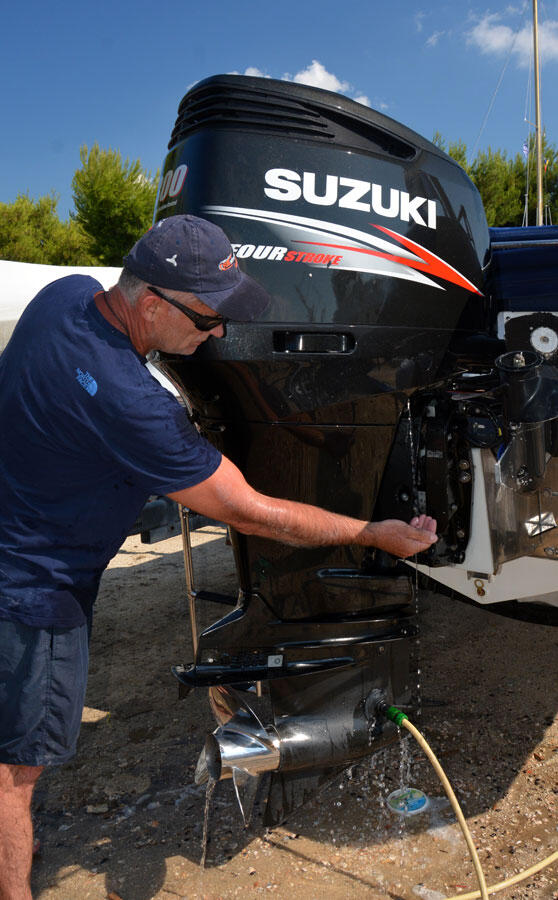
If the water flows out from the nozzle in a strong, steady stream, this is the best sign that the cooling system is free from salt deposits and that the water-pump impeller is working properly. To be certain that the cooling system is working properly, place a hand in the stream of water exiting the outboard. It should not be hot.
Conversely, if we find that water stream is weak or comes out in a mist, we should first check the water intakes of the lower unit and the nozzle of indicator. Sometimes, the nozzle clogs with salt and debris that block it. In this case insert a small wire like a straightened out paper clip in the nozzle and move it around to clean the outlet. If the flow of water still doesn’t improve, check the water-pump impeller in the lower unit.
Inspect the Propeller and Gearbox
When inspecting the propeller, we check:
- That the cotter pin or the lock washer tabs that secure the propeller nut are in correct position to secure the propeller nut when it is properly tightened.
- Each blade carefully to make sure that there are no signs of damage or bends, particularly at its leading edge and at its tip because these could be indications that the propeller has hit something. Even a small deformation can negatively impact boat performance and efficiency. It can also lead to damage to the gearbox/lower unit. A bent propeller has lost its balance and causes vibrations in each rotation putting too much stress on the shaft seals and bearings.
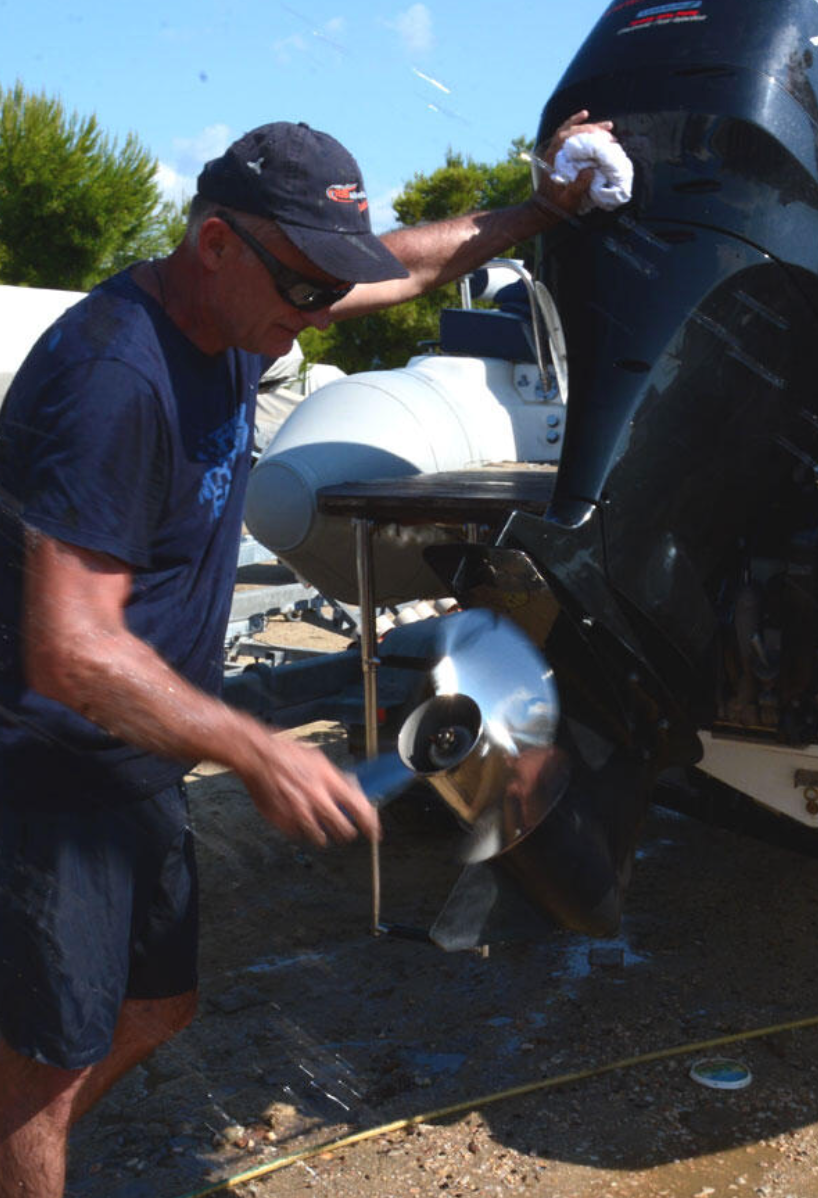
- If a propeller’s rubber hub is spun. Obviously this only applies to propellers that are so equipped. With the ignition switched off and the emergency shutoff lanyard disconnected, we put the engine in gear. Then we try to rotate the prop with our hands watching the rubber hub. If we can rotate the prop around the hub, the two have detached at least partially. The first hard acceleration will make that a complete detachment and leave us adrift.
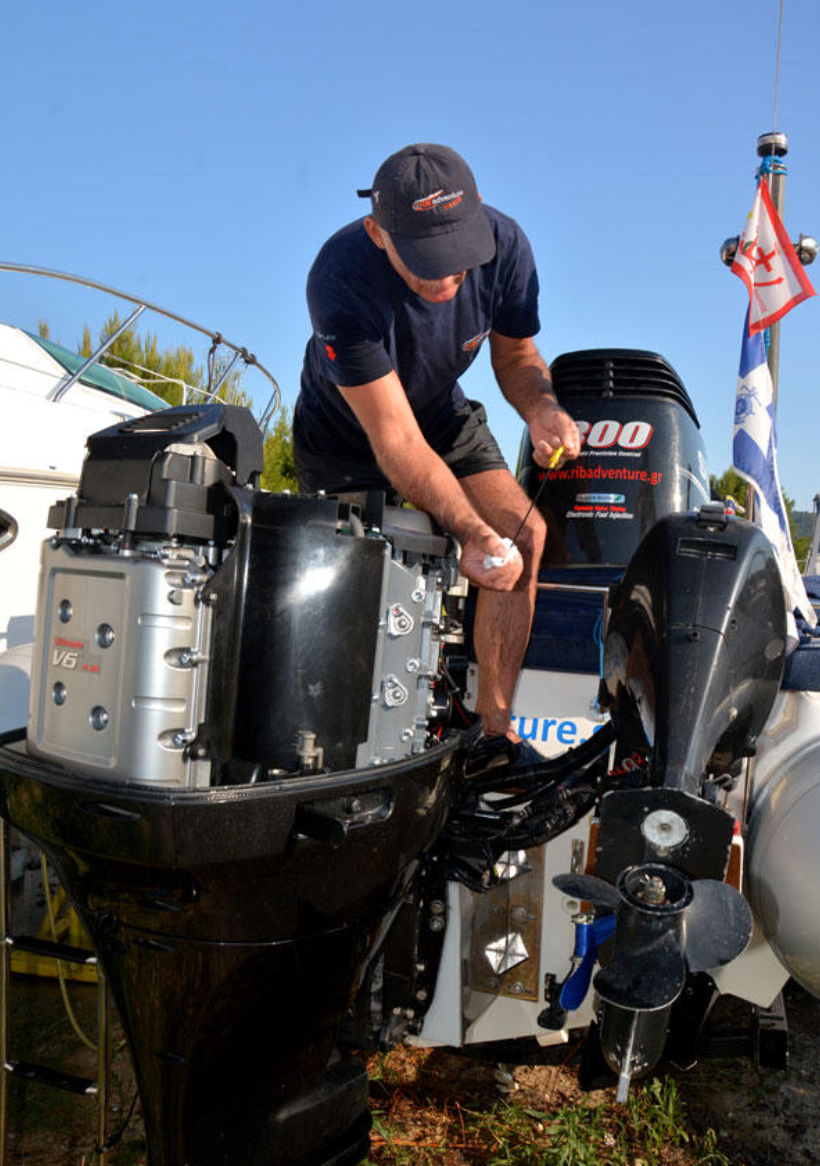
When Inspecting the Gear Case we Check:
- The entire area of the lower unit for signs of leakage.
- If any noise is heard within the gearbox. With the ignition switched off and the throttle lever in neutral position, we rotate the propeller by hand to make sure that no noise is heard through the gearbox. Otherwise we should have the bearings, seals and integrity of the gears professionally checked.

- The area between the propeller and gearbox. Check to make sure there’s no fishing line wrapped around the propeller shaft. If there is, remove the line and check the integrity of the outer seal of the propeller shaft. It it’s compromised, this can leading to inflow of water leakage of gearcase lubricant.
Inspect the Entire Transom
The transom is arguably the most important part of any boat. It receives the greatest stress on land because it supports the engine or drive when the boat is on the trailer. At sea, it’s under a heavy load when we accelerate.
Check the transom for stress cracks and signs of wear, at points where it supports the engine or drive. Inspect any fasteners and make sure they are tight.
Check the External Anodes
Sacrificial anodes protect the mechanical parts of our engine or drive from galvanic corrosion. It’s important to inspect them often. If they are filled with salt deposits, anodes should be cleaned with a wire brush or sandpaper. If 1/3 of their mass has been eaten away, they need to be replaced.
Check the Oil Level in the Hydraulic Steering System and in the Engine
- Check the hydraulic steering fluid level to be sure that there is no leakage. It takes less than a minute to unscrew the fluid reservoir cap at the helm. If the level is low, top it off with the spare oil bottle that it is we are supposed always to carry on board. After that, we replace the cap in the helm pump, attempting small turns of the helm, right and left, watching if the engine response is immediate without noticeable lag in its movement.
- We check the engine oil level trimming the outboard engine in a vertical position. Running an engine with an inadequate amount of oil can cause major damage. If it’s low, top it off. For two-stroke engines check the oil level in the dedicated tank and make sure you know the oil consumption. Carry extra oil, too.
Check the Boat’s Water-Separating Fuel Filter
A common cause of engine failure is the presence of water in the fuel. The first line of defense against water that coming from the boat’s fuel tank is the water-separating fuel filter. We should constantly inspect it and replace the filter annually. It is a quick check, especially if the fuel filter we use is transparent allowing a direct optical control.
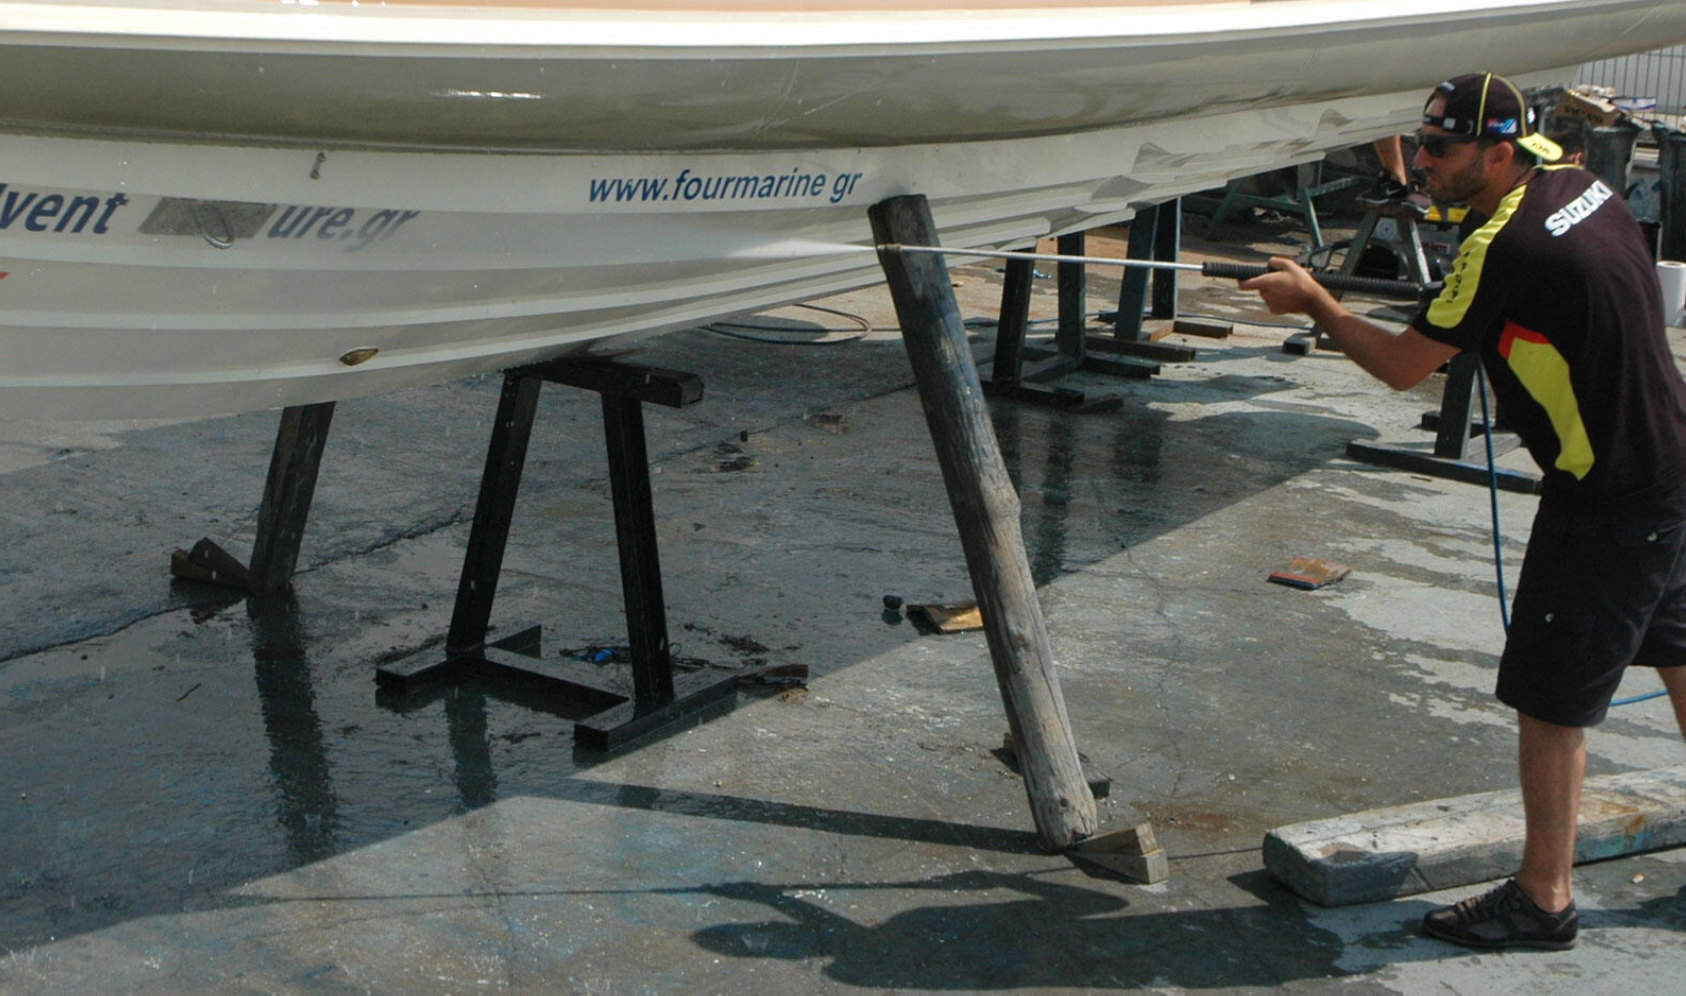
Inspect the Hull
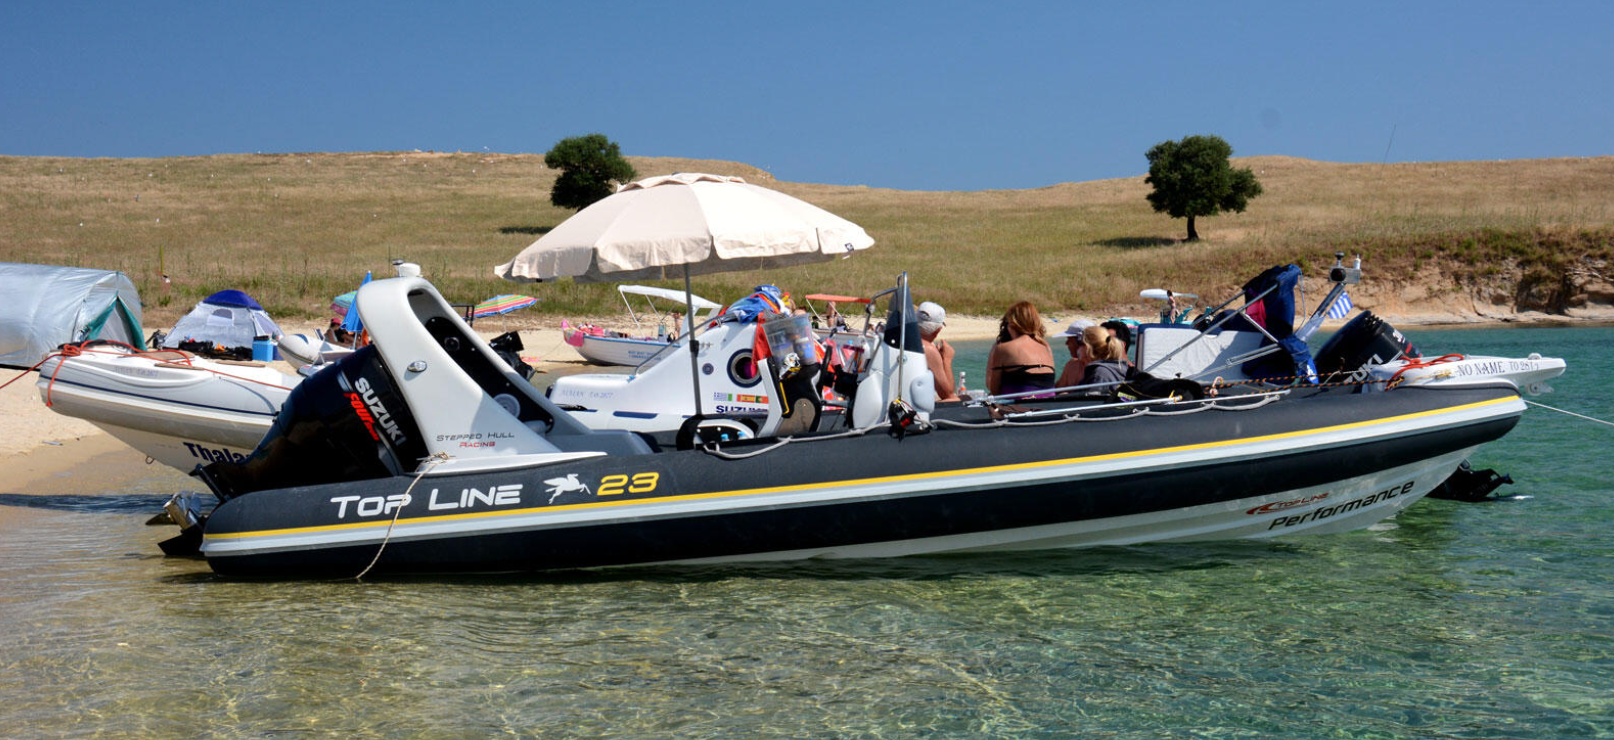
Inspect carefully the gelcoat of the hull for cracks, scratches or abrasions especially along the keel, the spray rails and chines. For rigid hull inflatable boats (RIBs), examine the tubes and their attachments to the hull, especially at the back part of the hull which receives the greatest stresses. Pay special attention to fabric strips that cover the seams, as well as the strips that connect the tubes to the hull. If detachment points are discovered, repair them even temporarily, otherwise the hypalon strips will detach due to the intense and constant friction.
An experienced eye does not need more than 15 minutes for a complete visual inspection of a small boat. New boaters can print out the following bullet points to keep with them:
Prior to Every Trip, Inspect:
- The engine cooling system
- The propeller and gearbox
- The total surface of the transom
- The anodes
- The engine oil level and the fluid level of the hydraulic steering system
- The water-separating fuel filter
- The hull and tubes
After a trip, turn off or disconnect the batteries, wash the boat, cover it and leave it knowing that everything is ready for the next ride.