Marine VHF Install: Part 2. Before You Fire up That Drill or Hole Saw
Before beginning any project, take a moment to step back and visualize the installation as a whole. Draw out the entire installation and mentally walk though it in efforts to head off any potential problems. You’ve chosen a location for the radio, but is there a path to run power and antenna wires? Can you actually access the mounting nuts and bolts for the antenna mount? Hopefully you’ve verified you can prior to drilling.
Doing the Deed
Once you’ve chosen a VHF radio, selected an antenna, planned out the installation, and assembled all of the necessary tools and required installation items (wiring, connectors, etc.) it’s time to get down to business. Here are some guidance and tips to consider. It’s not all inclusive and won’t cover every circumstance, but it will help you along the path to VHF installation nirvana.
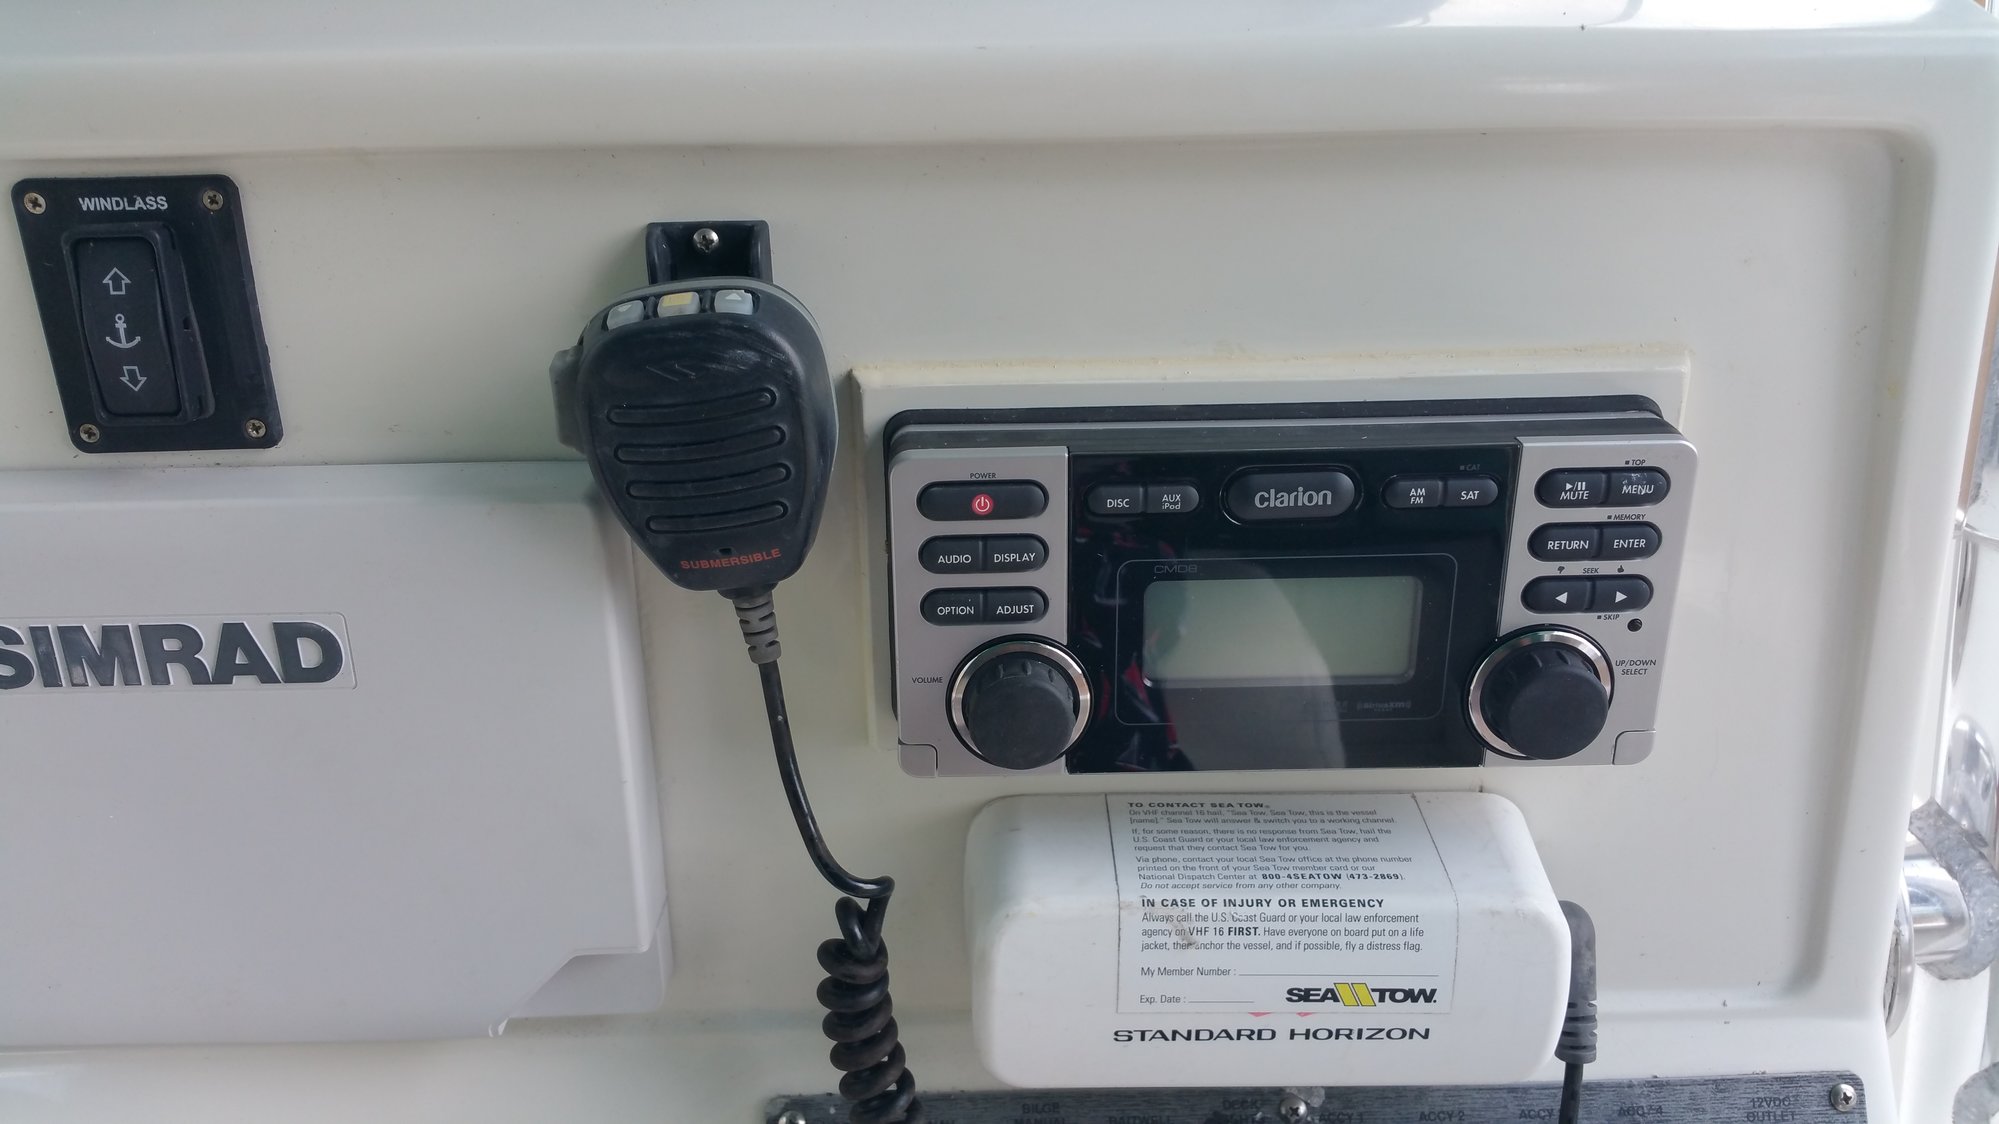
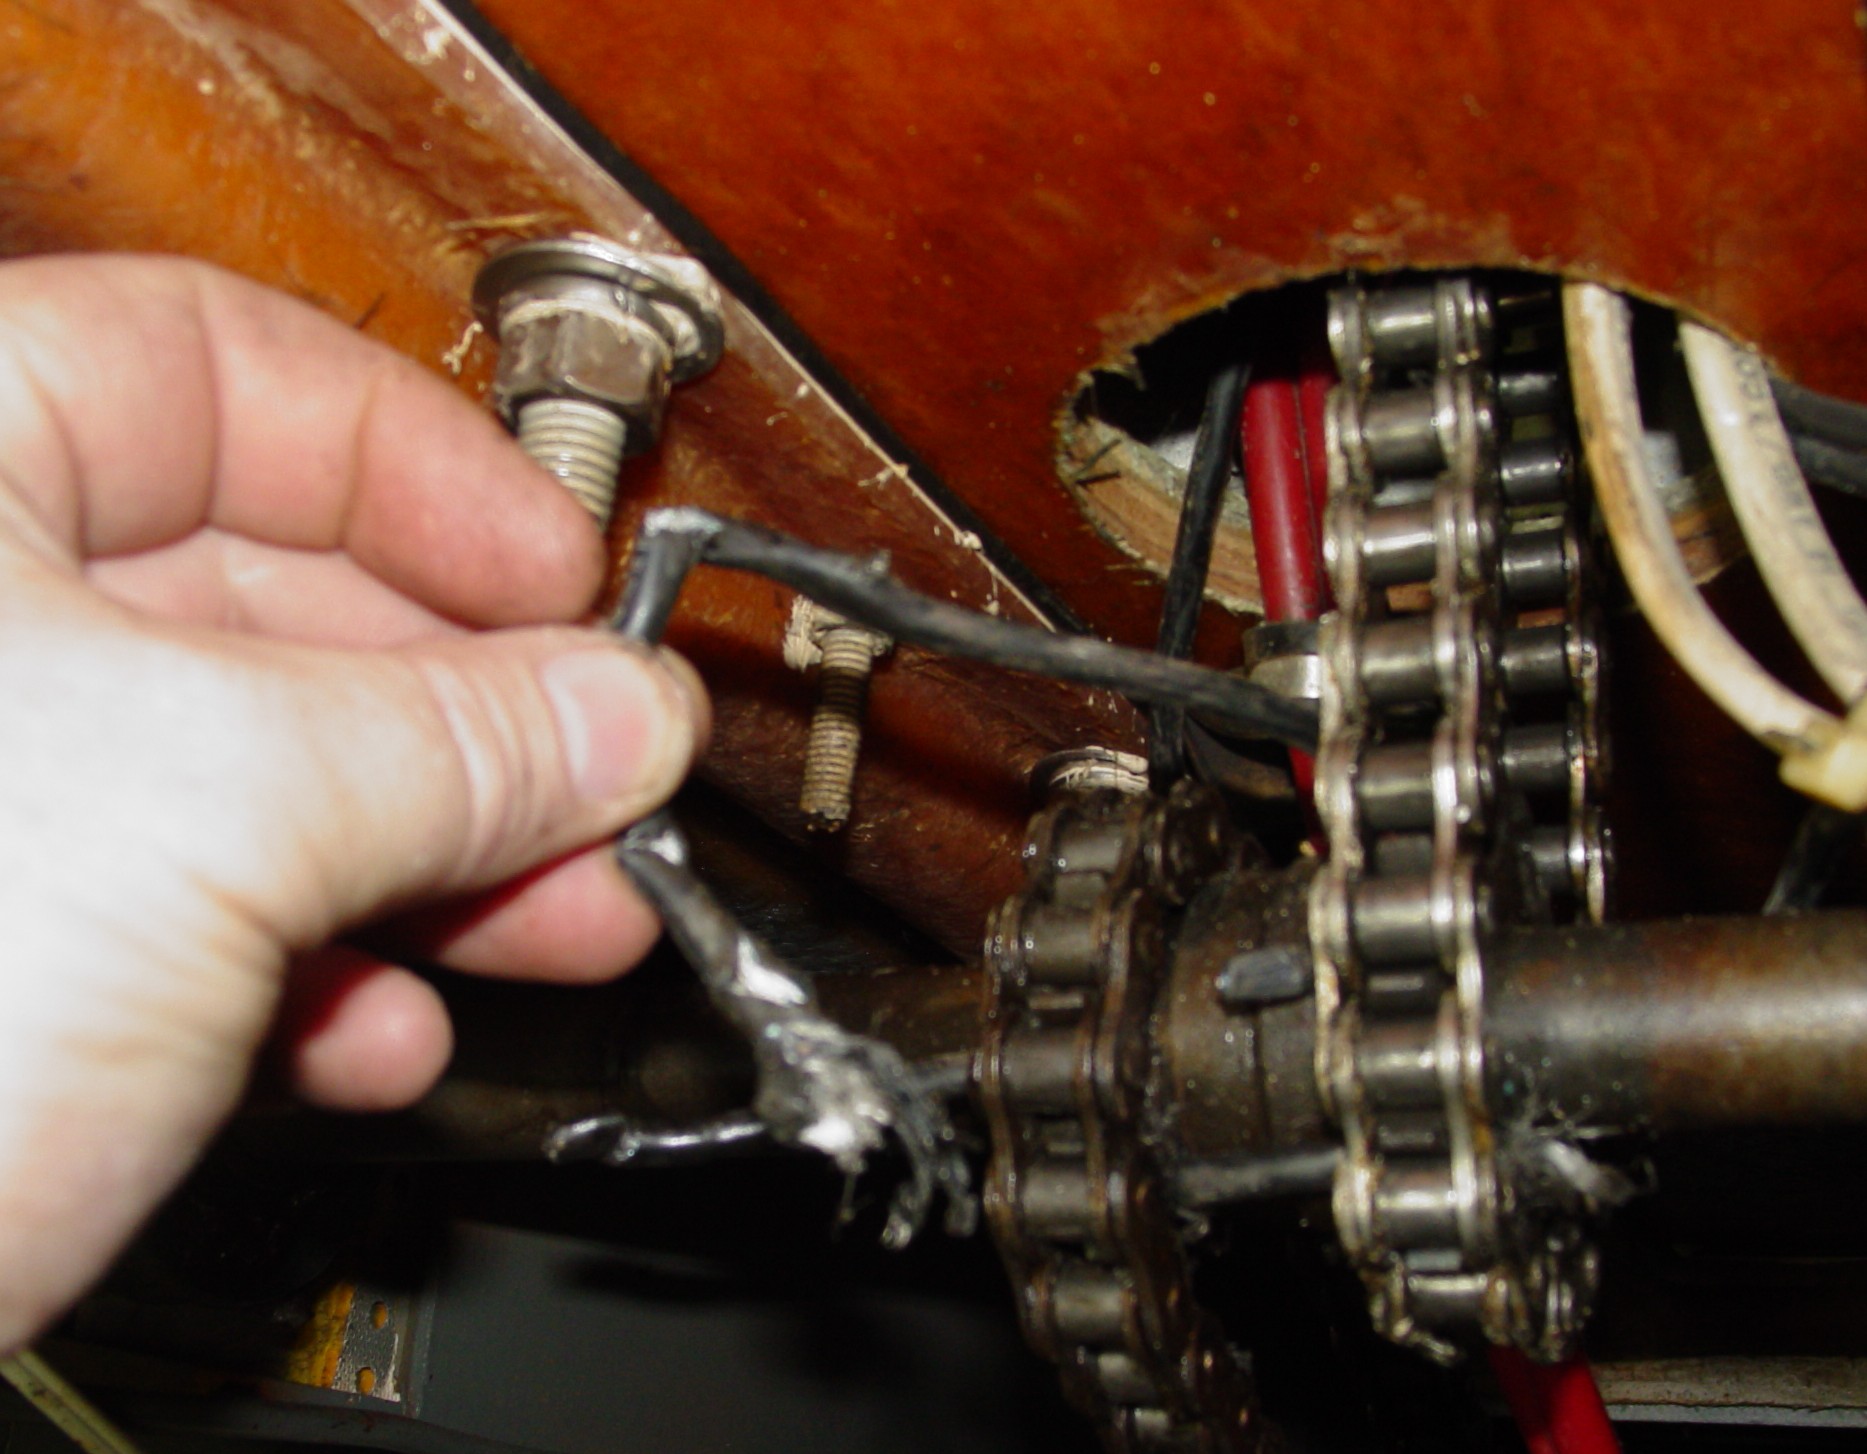
Once you’ve selected a location for radio, use the gimbled mount as a template to mark and drill holes for the mounting hardware (using through bolts rather than screws if at all possible). If it looks like space will be an issue, do a dry run by inserting the radio in the mount and placing both in the new location (to assure adequate clearance) prior to drilling. You’ll also want to be doubly sure of what’s on the other side of the mount location prior to drilling. Putting holes in hoses or electrical cables are never conducive to a good install.
Drill the holes and mount the bracket. For console mounts in exposed locations, place a small amount of marine grade silicone at each hole to prevent water entry. Now’s also a good time to install the microphone holder, so it won’t be bouncing around later on.
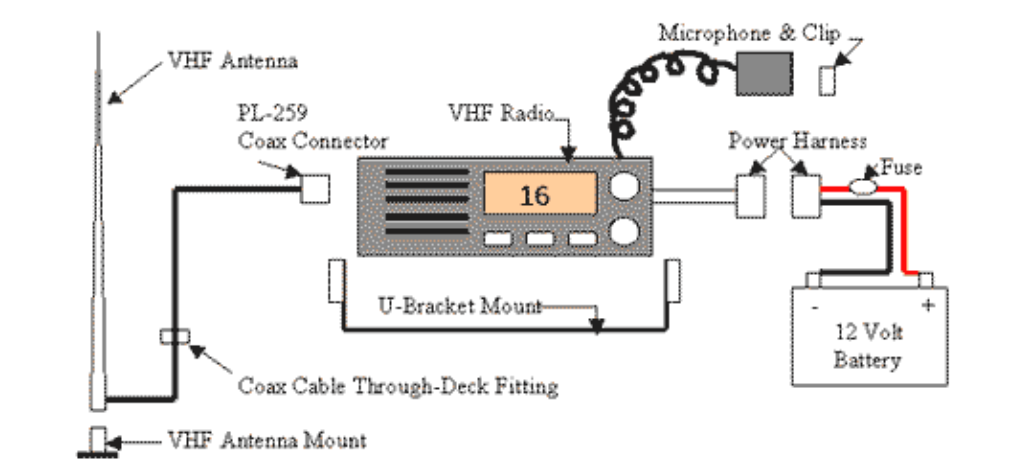
Next up is power, which involves installation of a wire run from a suitable circuit breaker in your DC distribution panel to the radio. Use a dedicated circuit breaker in the panel if possible and avoid direct battery connections (which can mean longer runs and increased engine noise). Most units will come with an in-line fuse holder as part of the wiring harness. Be sure to keep this in place and ensure that the properly sized fuse is used – the circuit breaker protects the wire run, but it’s the fuse that protects the radio.
You’ll need two conductors for the wire run, a red (positive) wire and black (negative) one. You can run two separate wires and save a few pennies, but an easier, neater way is to use dual conductor wiring. Regardless, always use good quality marine grade wire. Size-wise, 16 or 14 AWG will usually work well in most installations (radio manufacturers will typically include table of wire size recommendations based on length in their manuals). Route the wiring such that it is protected as much as possible and provide support and chafe protection (grommets, etc) where necessary.
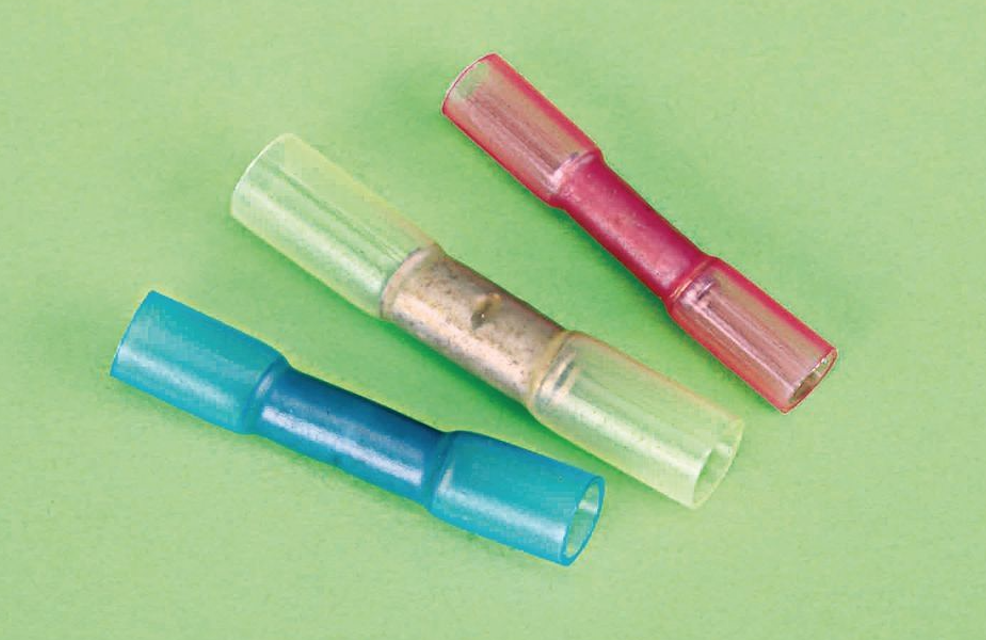
Purchase good quality, marine grade connectors for all power connections. Use heat-shrink or heat-shrink type crimp on connectors to prevent corrosion. When connecting power to the radio be sure to observe the proper polarity. Inadvertently crossing positive and negative leads (even for a second) can easily damage your new radio.
Next up is mounting the antenna and running the coax. Typical mounting options include flat base mounts (for use on decks, cabin sides, or other such flat surfaces) and rail mount types, which can be clamped on to any appropriately sized tubing. Both types come in fixed or ratcheting styles, the benefit of the latter being you can lower the antenna should the need arise (high winds, low bridges, etc).
Make sure the coax run between radio and antenna is as short and straight as possible (no 90-degree bends or kinks), is properly supported and protected against chafe or other such damage. Unlike CB coax, you can cut VHF coax to shorten it, but don’t go crazy – leave at least three feet, the minimum distance you want between the radio and antenna anyway (to avoid transmit related feedback into the radio’s receiver).
Soldered antenna connectors are considered the best for coax, but they can be a bear to install properly. Good-quality crimp-on (no-solder) connectors are now available that provide excellent service.
Finally, with the antenna and power leads properly connected turn the radio on and test your installation to confirm all is well. If you can listen to the WX station or hear the chatter of other VHF users, you’re half way there, however you’ll want to conduct a radio check to confirm both transmit and receive is working, a good practice anytime you’re preparing to get underway.
By Capt. Frank Lanier
Captain Frank Lanier is a SAMS® Accredited Marine Surveyor with over 40 years of experience in the marine and diving industry. He’s also an author, public speaker, and multiple award-winning journalist with articles on seamanship, marine electronics, vessel maintenance and consumer reports. He can be reached via his website at www.captfklanier.com.