A Step By Step Guide to Changing Your Boat Propeller
Anglers and boaters alike all know the struggle of changing out a boat propeller. Whether you’re removing the boat propeller for maintenance or replacing the boat propeller for better performance and durability, this process can leave you frustrated and scratching your head. We’ve been there!
So, we decided to help everyone out by giving you step by step instructions for removing and installing a boat propeller on your outboard engine.
Removing Your Boat Propeller
Step #1:
Before getting to the nuts and bolts of this operation, you must first equip yourself with the tools to get the job done. Now, you’ll need a socket, usually 1 1/16” will do the trick, but if you have a socket set, we recommend having that handy as not all sizes are the same and can vary by manufacturer.
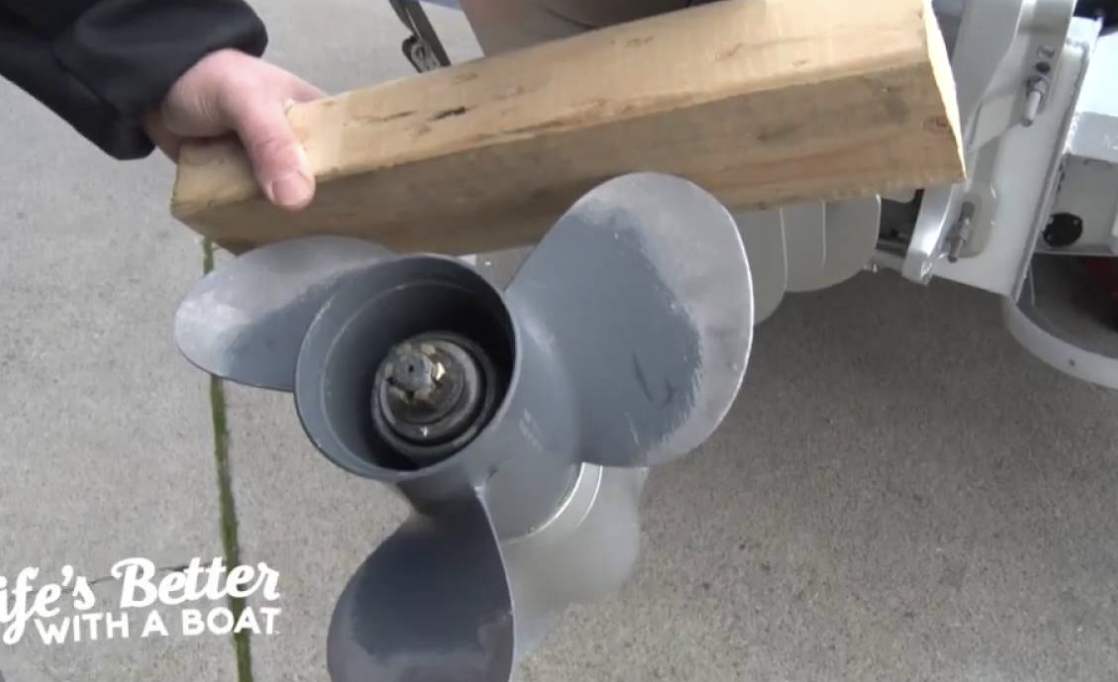
Once you figure out your socket size, equip yourself with a 2X4 or 2X6 piece of lumber, this will act as a stopping mechanism to hold the propeller in place and prevent the propeller from spinning when removing the nut.
A final piece of equipment you can have at your disposal would be a torque wrench for installing your propeller which we will get to later.
Step #2:
Once you have the necessary tools listed above, you’re ready to dive into removing the propeller. Take your socket and fit it onto the nut, use your other hand to hold the 2X4 in place until the propeller makes contact, creating a wedge.
Once the block is in place, you can then begin using the socket to remove the propeller, moving counterclockwise.
Step #3:
Once the nut has been removed, you’re ready to remove the propeller and other pieces. Simply slide the propeller up and off of the drive shaft. Be cautious in this process as to not lose or misplace any of the smaller pieces like the aft adaptor or delrin sleeve.
Make sure to note the order in which these pieces were placed prior to removal in the case that they fall out of the propeller during removal. Once all these components are removed, you have successfully removed the propeller!
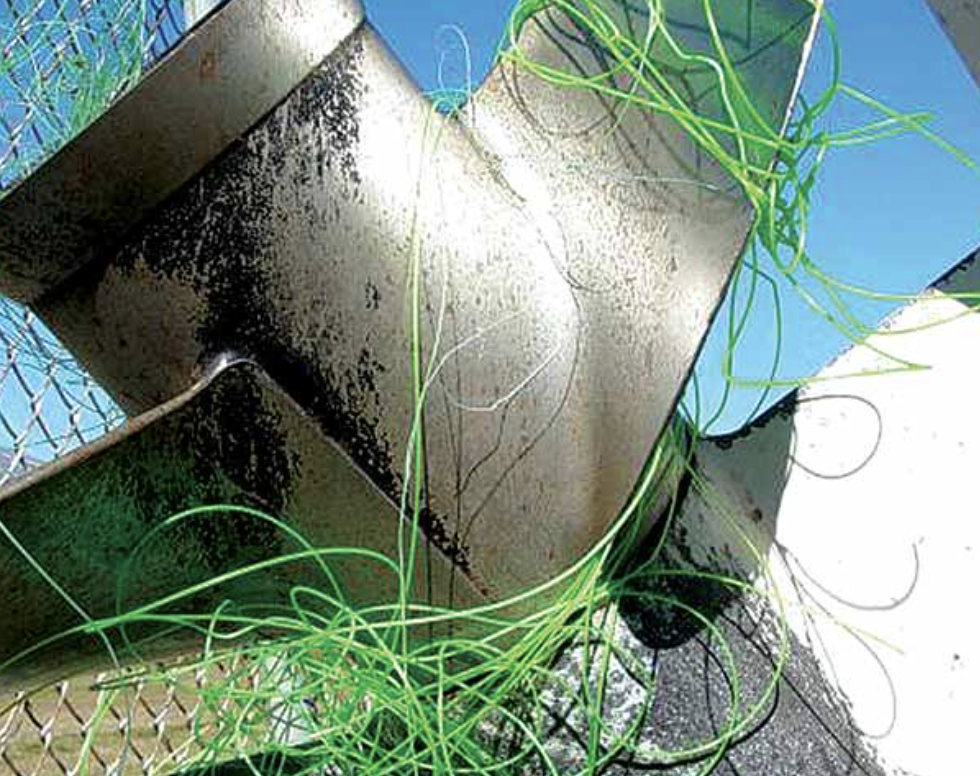
Now that you’ve successfully removed the boat propeller, you’re ready to perform maintenance like removing grass or fishing line wrapped around the driveshaft, greasing the drive shaft, or simply grab your new propeller and get ready to install!
Installing Your Boat Propeller
Step #1:
In the case that you’ve removed components like the aft adaptor and delrin sleeve, the first step of this process would be adding the delrin sleeve to the bottom of your propeller. From there, you can take your aft adaptor and slide it into the top of your propeller.
Once your assembly is ready and set inside the boat propeller, you’re ready to slide the entire assembly onto the driveshaft!
Note: It may take some time aligning the assembly onto the drive shaft, simply rotate the assembly until the assembly aligns with the ridges on your driveshaft.
Step #2:
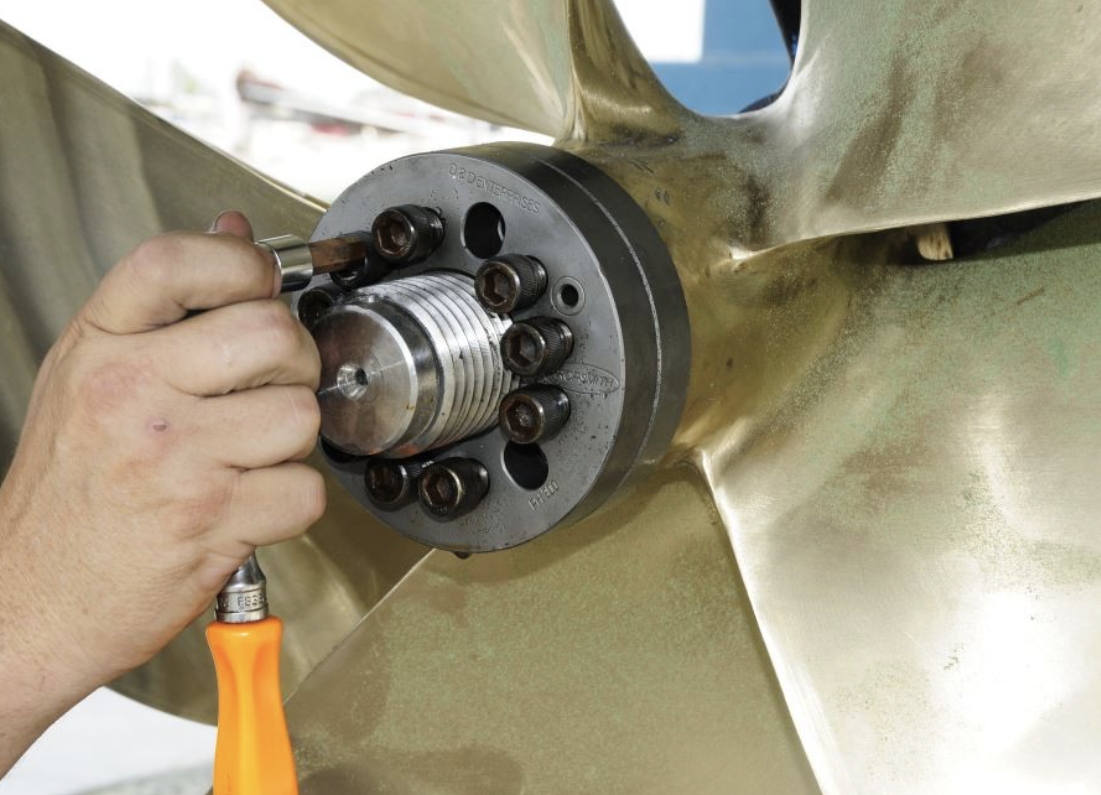
Once your propeller and assembly are back onto the drive shaft, you’re ready to lock your nut back into place. Hand tighten the nut, spinning it clockwise, to save yourself some time before taking your socket or torque wrench to tighten it further.
Be sure to keep your 2X4 nearby for this process to act as a stopping mechanism to hold the boat propeller in place and prevent the boat propeller from spinning when tightening the nut.
Step #3:
Once the nut is hand tightened, you may now use a torque wrench to reach the specification of 55 foot-pounds of torque. If you don’t have a torque wrench, no need to worry, simply tighten down the nut with your socket. It will need to be pretty snug to avoid coming off when running your outboard.
Once the nut is snugly in place, you’ve successfully installed your propeller.
Congratulations! You’re now ready to hit the open water!