Stuffing Box Maintenance, Part 2: In With the New
Inboard-powered motoryachts and sailboats have many unique systems that require routine maintenance and one of the most often overlooked is the stuffing box.
In part one, we looked at the basics of stuffing boxes and how to remove the old packing. Now, we’ll continue with installing the new material and getting the boat back into the water.
Proper Procedure
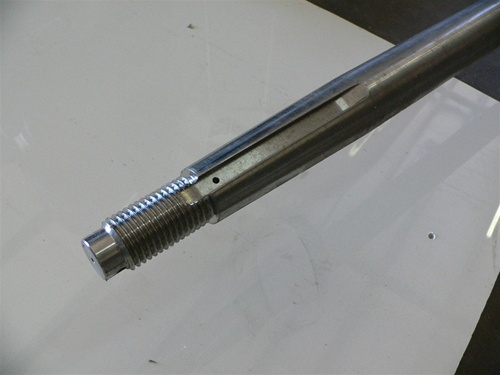
With the old packing material removed and any scratches or scuffs on the driveshaft addressed, next up is installing the packing material. The packing itself is square in cross-section and comes in rolls or strips of various sizes, typically 1/8” to 5/8” (.32 cm to 1.59 cm). Determine which size is needed by measuring the gap between the inside of the stuffing box and the shaft.
Packing should be installed in rings, rather than a continuous spiral, which means it must be purchased either in precut rings or a single strip, which would then be cut into individual rings that will fit around the shaft without overlapping.
The easiest way to do this is to wrap the new packing strip tightly around the shaft five or six times (making sure it sits flat on the shaft) and score it lightly by drawing a knife along the packing perpendicular to the wraps (in the same direction as the shaft), making sure that the knife blade doesn’t touch the shaft.
Then take the packing off the shaft and cut it all the way through, thus avoiding damage to the shaft. Count the number of old packing rings removed from the gland and reinstall the same number, normally four or five, but at least three.
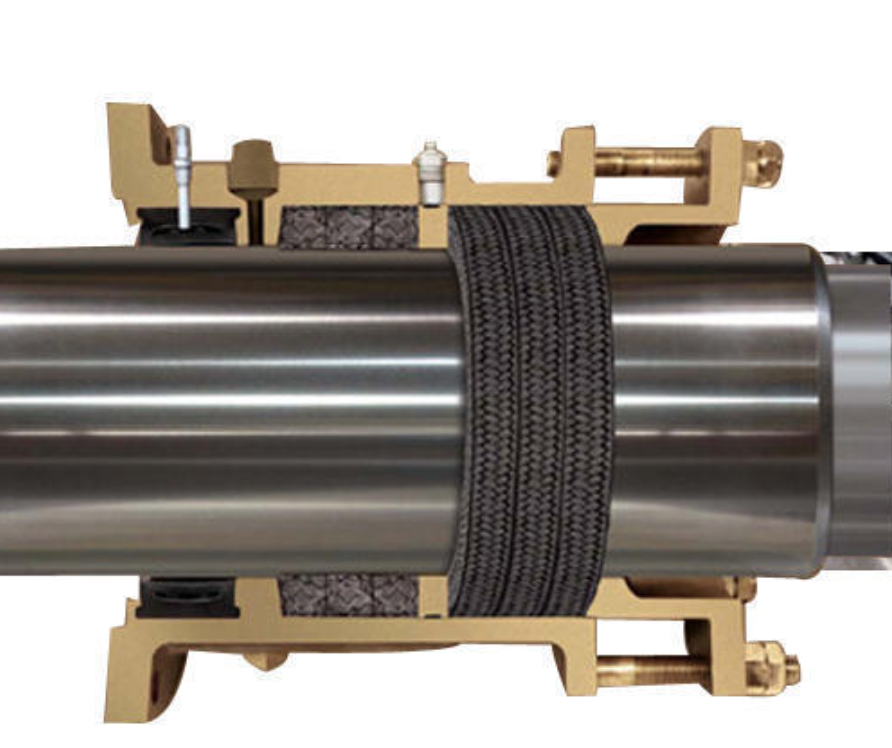
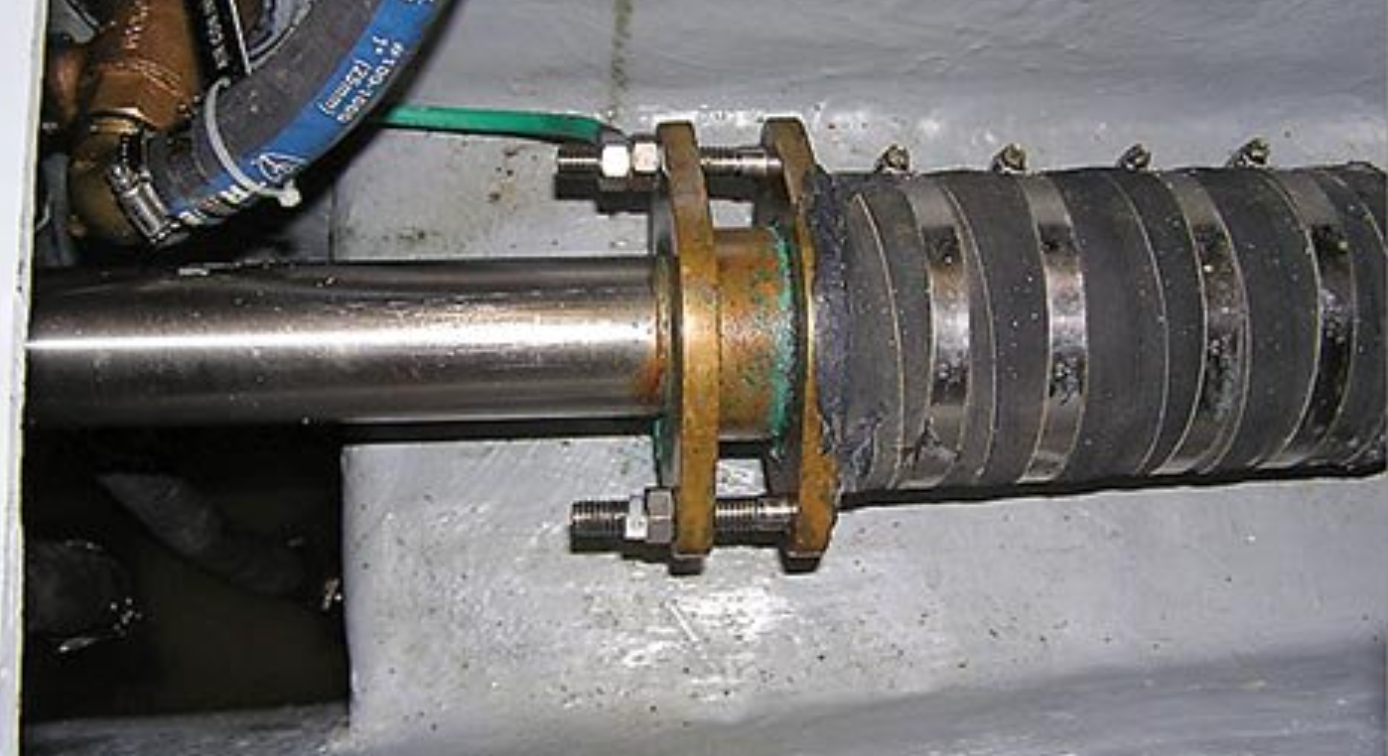
Install the first ring flat and with no twists around the shaft and push it into the stuffing box (the flat edge of a large screwdriver works well for this). Continue by installing each additional ring, making sure that the split or joint in each ring is offset from the previous ring to avoid leaks. If your stuffing box contains a metal greasing spacer, place it between the second and third packing ring.
Once all the packing rings are installed, bed them by reinstalling the packing nut and turning it hand-tight, adding another half-turn with a wrench. If you have the twin bolt and plate style gland, fit the cover and tighten the nuts slightly to ensure all rings are properly seated. In both cases, avoid over tightening the packing.
Proper Compression
With all the packing rings properly seated, back off slightly on the packing nut (or nuts) and turn the propeller shaft five or six revolutions by hand. It should turn freely. If it doesn’t, the stuffing box is probably too tight and needs to be loosened a bit. Next, install the backing nut (or nuts) loosely. This will get tightened after you’ve made the final adjustments.
Once the vessel is launched, make sure the stuffing box isn’t leaking excessively. If it is, use a wrench to tighten it, but just enough to stop the leaking. Then run the engine in gear for a few minutes to set the rings.
Tighten the gland slightly to finish setting the rings, but remember it’s better to have them slightly loose, rather than over tight. You may find that a couple of shots in the grease fitting at this point (if so equipped) will reduce leaking.
The desired drip rate should be two or three drops every couple of minutes when the shaft is rotating. The gland should be virtually dripless with the shaft stationary. Use two wrenches when you tighten the locking nut(s), one to hold the packing nut still and the other to actually tighten the locking nut.
Fine Tuning
Over the next few trips, you’ll want to monitor the stuffing box for leaks and excessive heat. The packing gland may get warm during these initial runs, but it should never get hot. If it does, that’s a sure sign that the packing is compressed too tightly and you should loosen the compression nuts a bit. A laser point-and-shoot thermometer is a great tool for checking the temperature of the gland, which should be never be more than 30 degrees above the ambient water temperature.
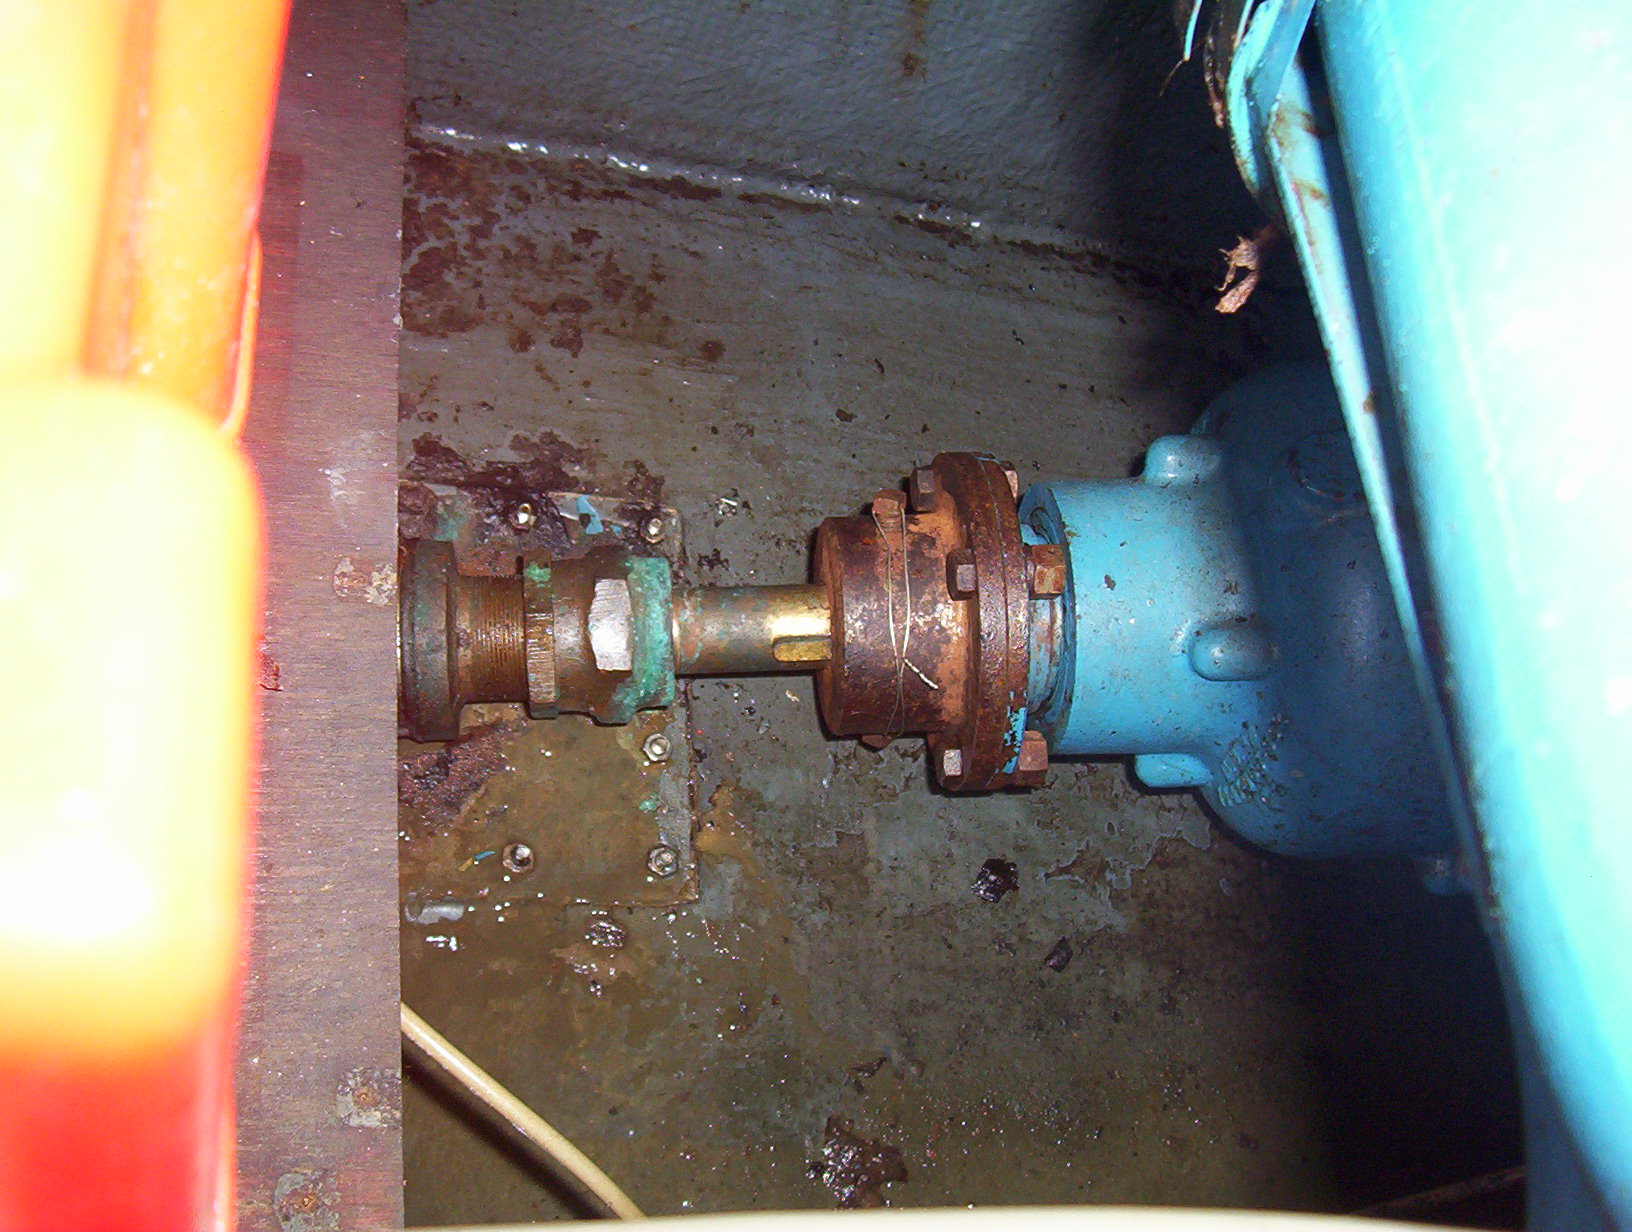
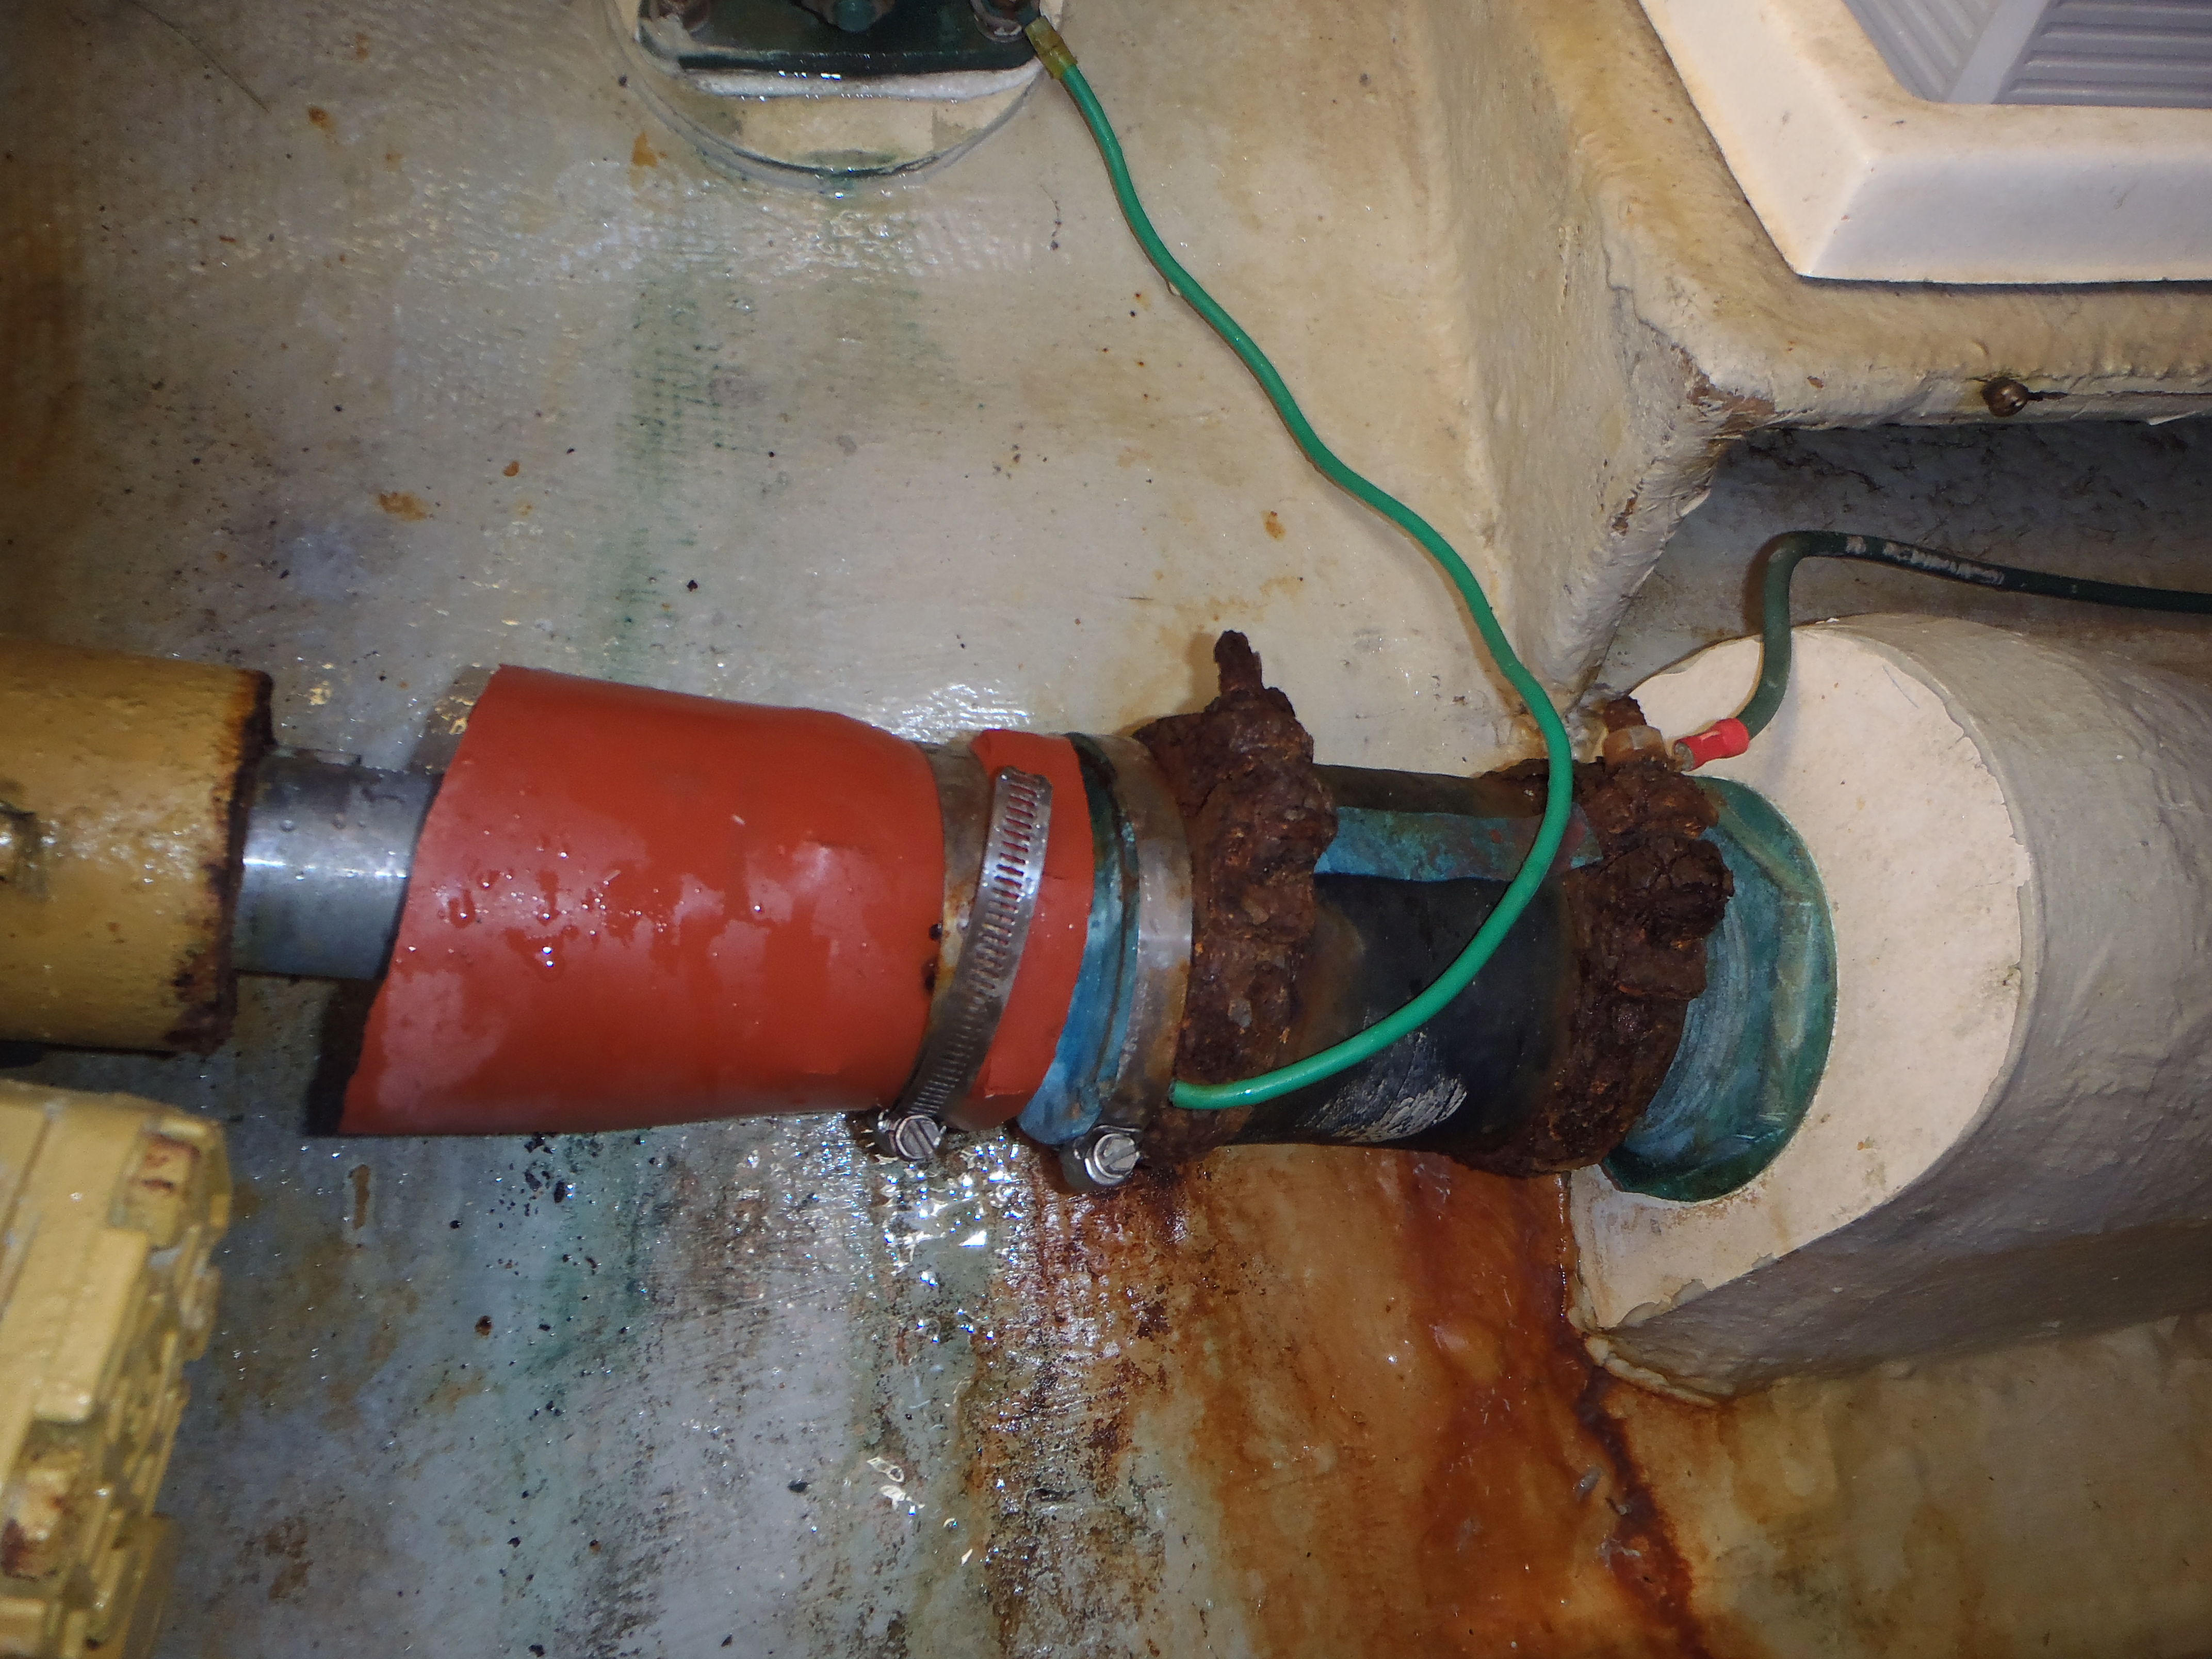
Now that you’ve taken the time to repack the stuffing box, take a moment to inspect the shaft log hose (the hose connecting the stuffing box to the shaft log). Look for issues such as chafe, hose deterioration (due to age) and corroded hose clamps and correct any found immediately.
By Capt. Frank Lanier
Captain Frank Lanier is a SAMS® Accredited Marine Surveyor with more than 40 years of experience in the marine and diving industry. He’s also an author, public speaker, and multiple award-winning journalist whose articles on seamanship, marine electronics, vessel maintenance and consumer reports appear regularly in numerous marine publications worldwide. He can be reached via his website at www.captfklanier.com.