Troubleshooting Electronics

Electronic-equipment problems always seem to crop up at the worst possible moment. The chartplotter bites the dust when heading out for a day of fishing or the depthsounder blanks out while transiting some questionable channel. Tech support is a wonderful thing, but self-reliance and the ability to recognize and fix simple problems are even better. Here are some basic trouble shooting tips to hopefully bring ailing electronics back online as quickly as possible.
Knowledge is Power
The first step in troubleshooting that system or piece of electronics gear is something a captain hopefully already done before the problem even arises — read the owner’s manual. Having a basic understanding of how the gear or system functions and is installed (a block diagram for example) before one starts troubleshooting is extremely helpful in recognizing and locating common problems. Most manuals will also have a basic troubleshooting section, which can help point us in the right direction.
Start With The Basics
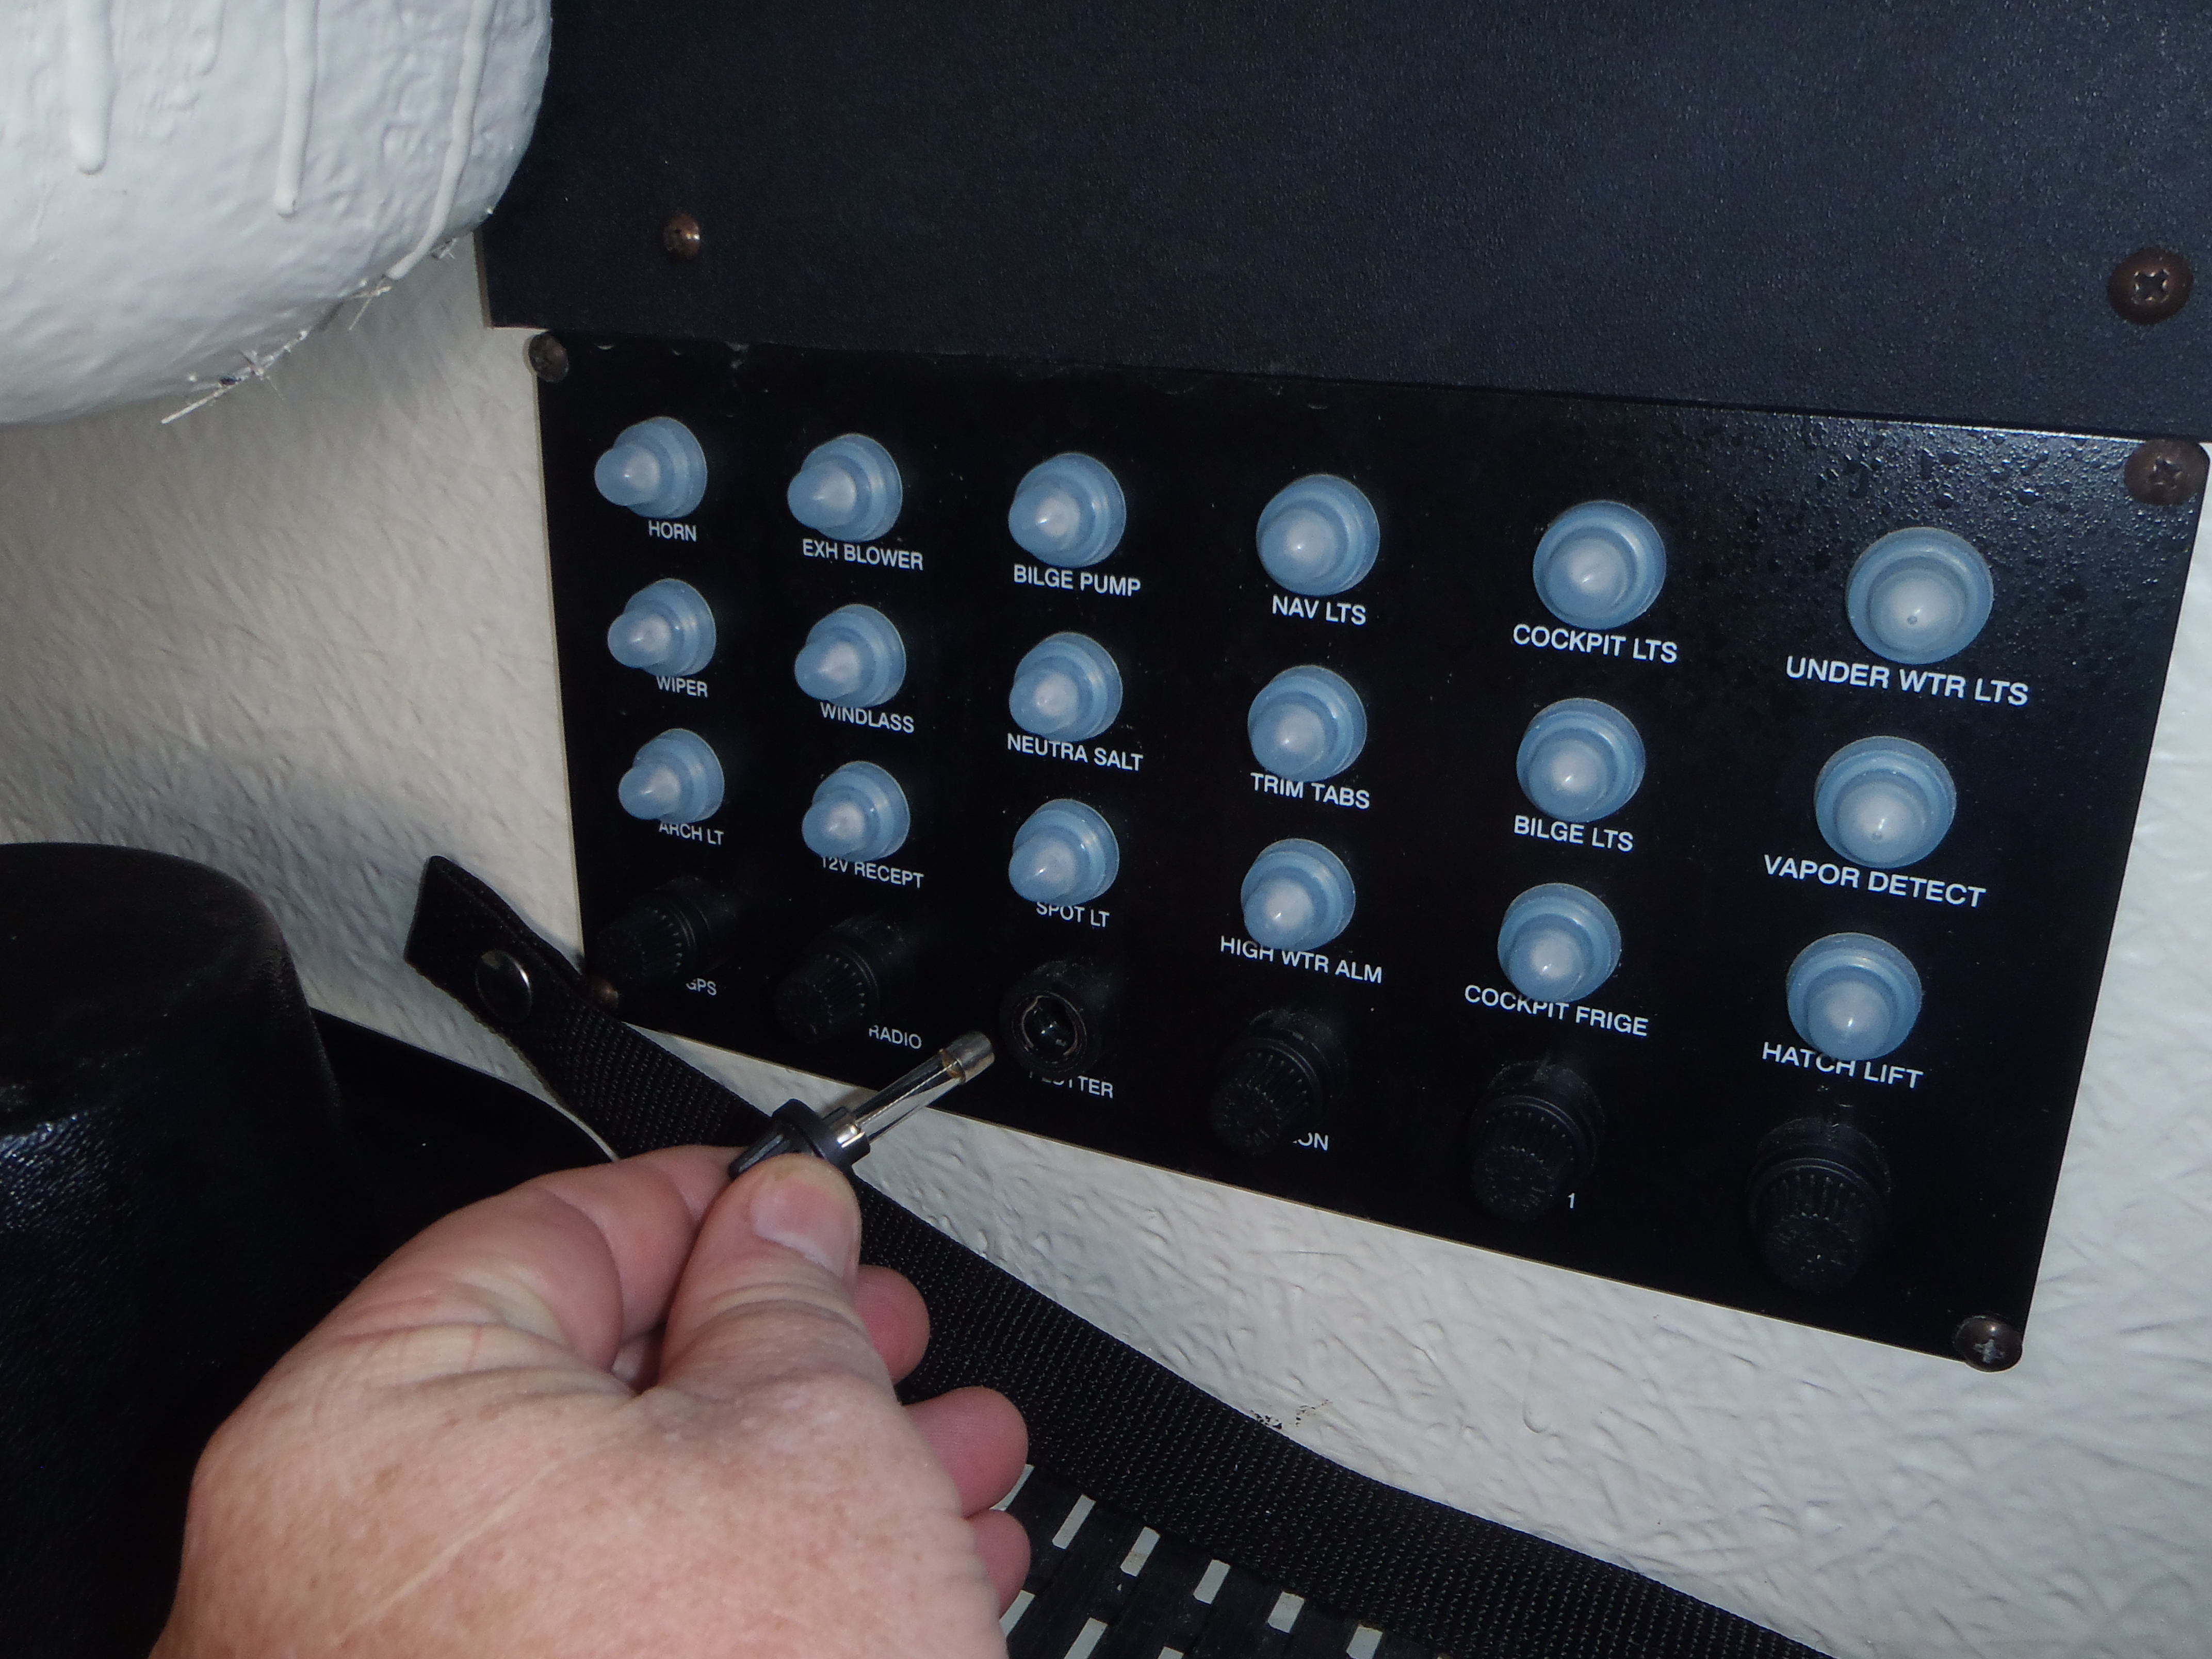
When a piece of electronics gear fails to turn on, start by checking the power connection at the unit for looseness or corrosion. If the boat’s DC power panel has a volt meter installed, take a quick look to verify that it shows the correct battery voltage and that all required breakers are on. Sometimes a “problem” was actually caused by a battery switch or circuit breaker being in the off position.
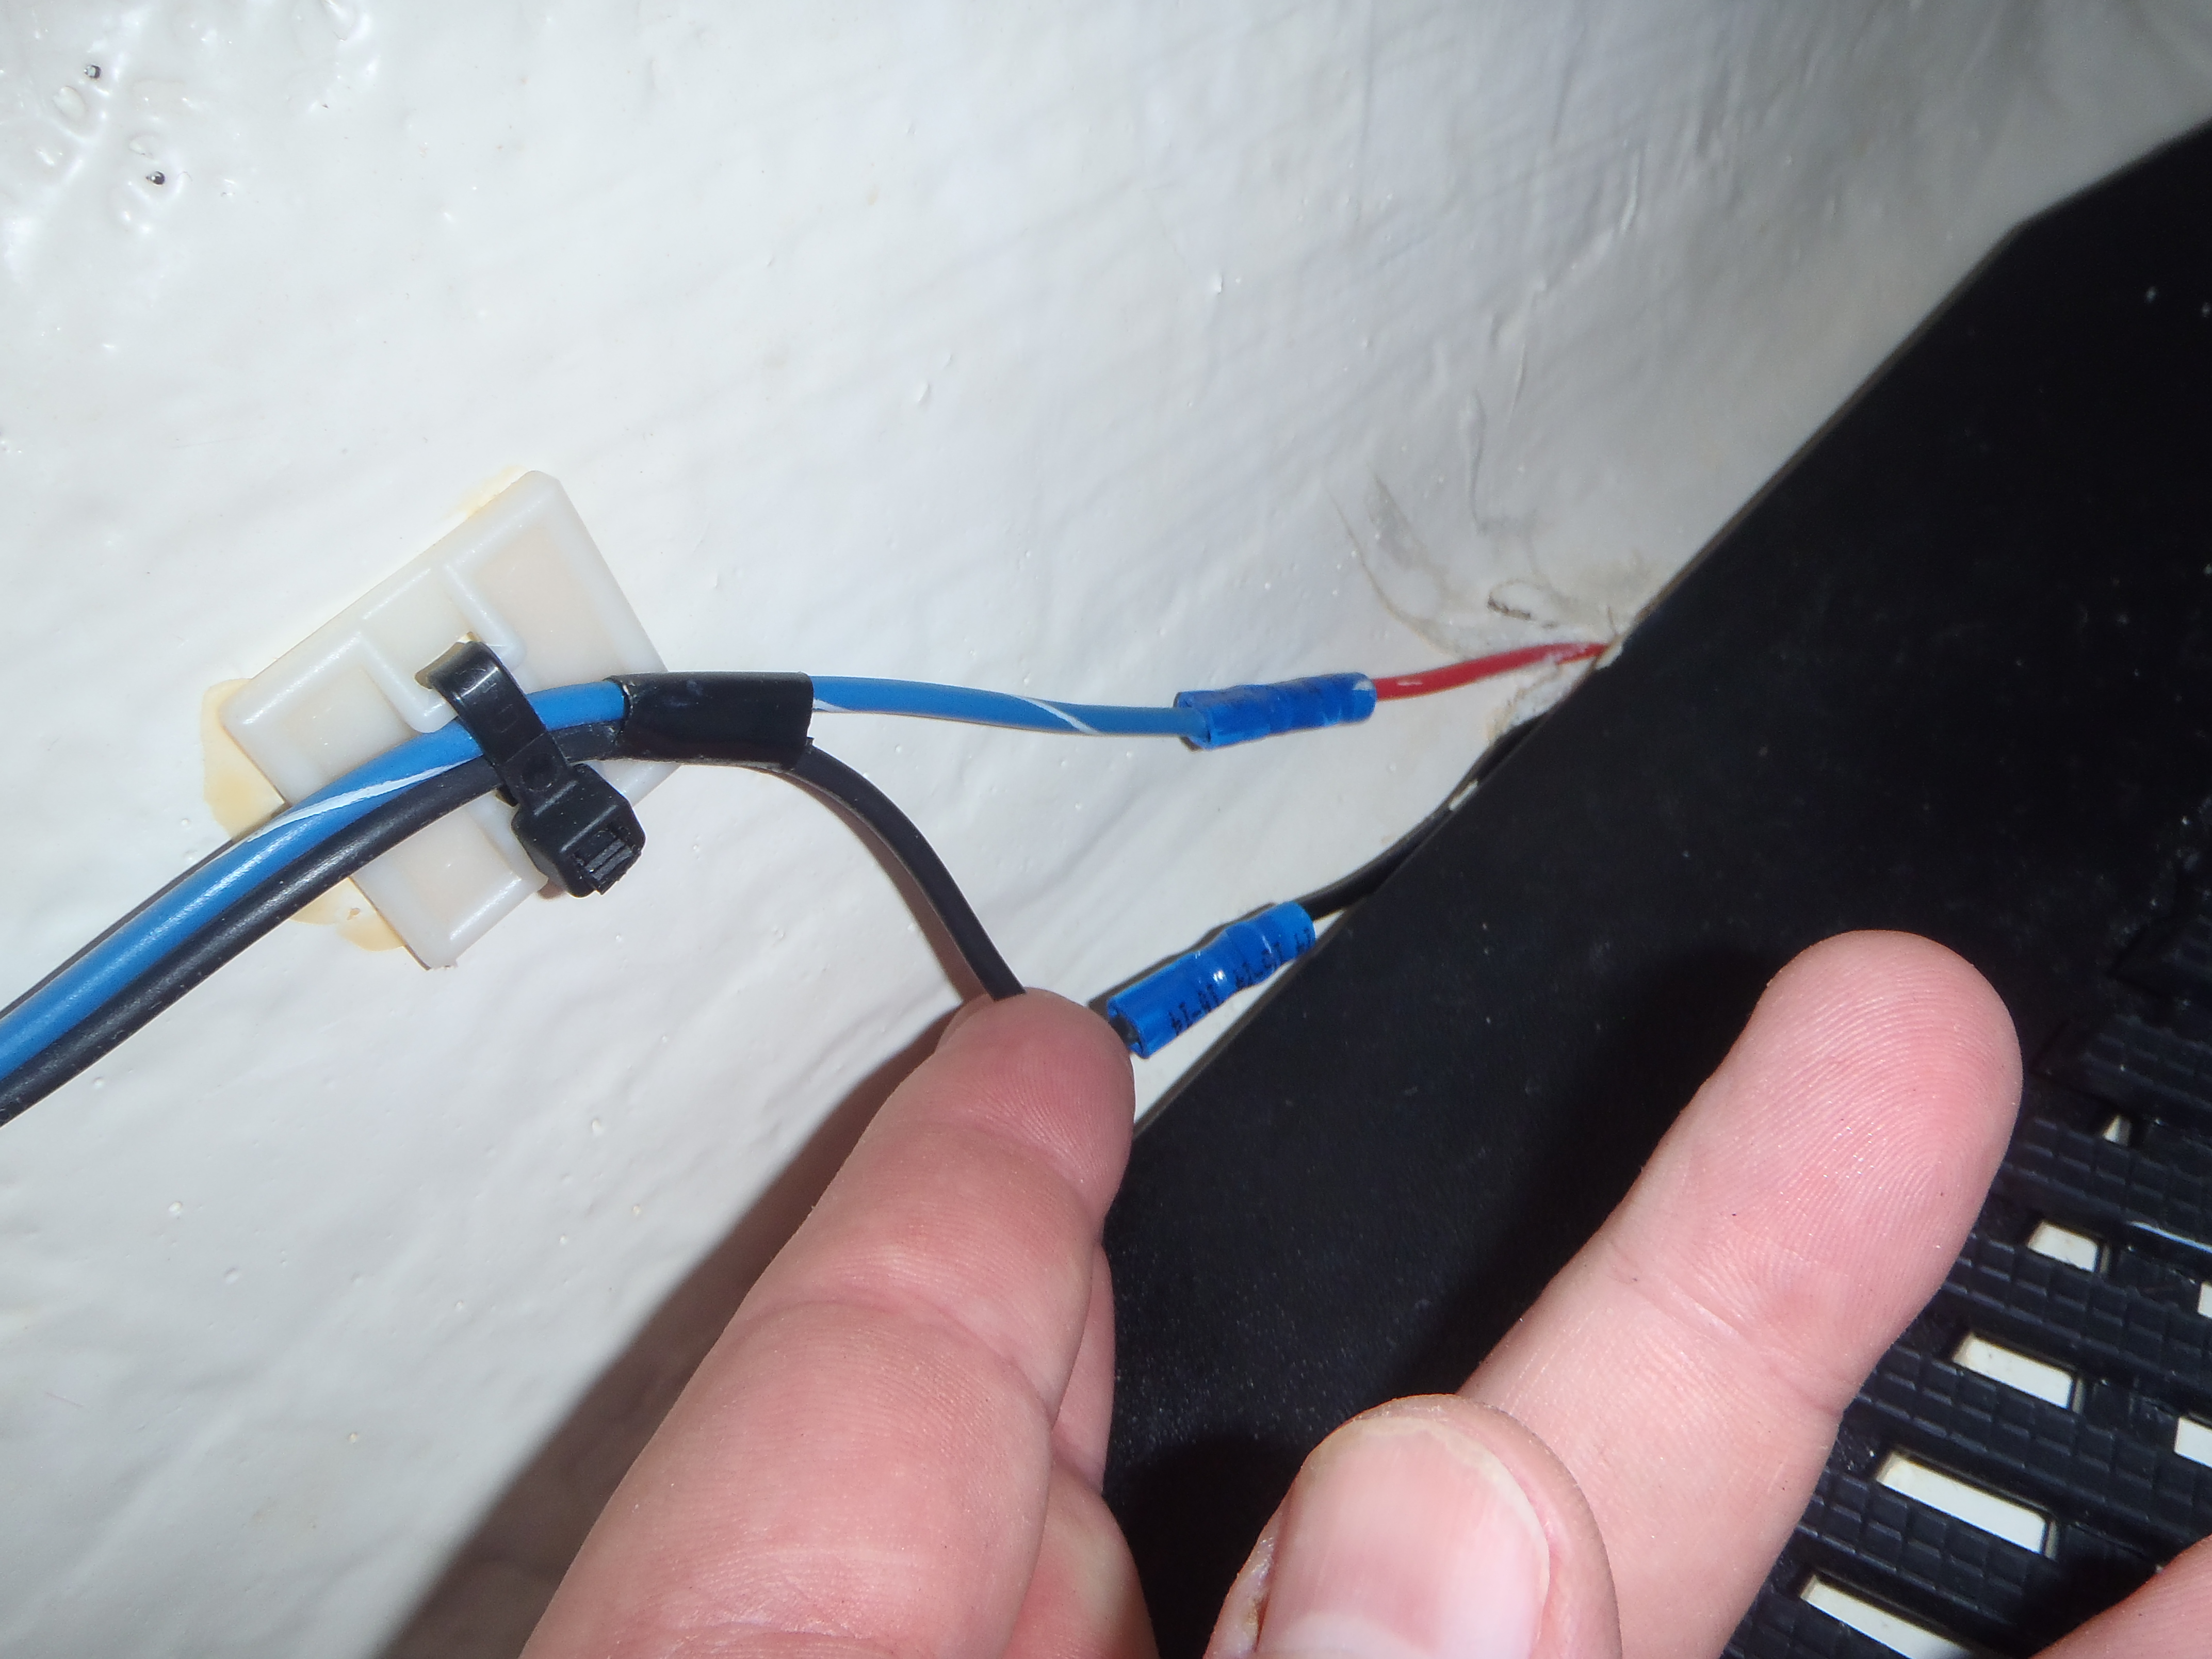
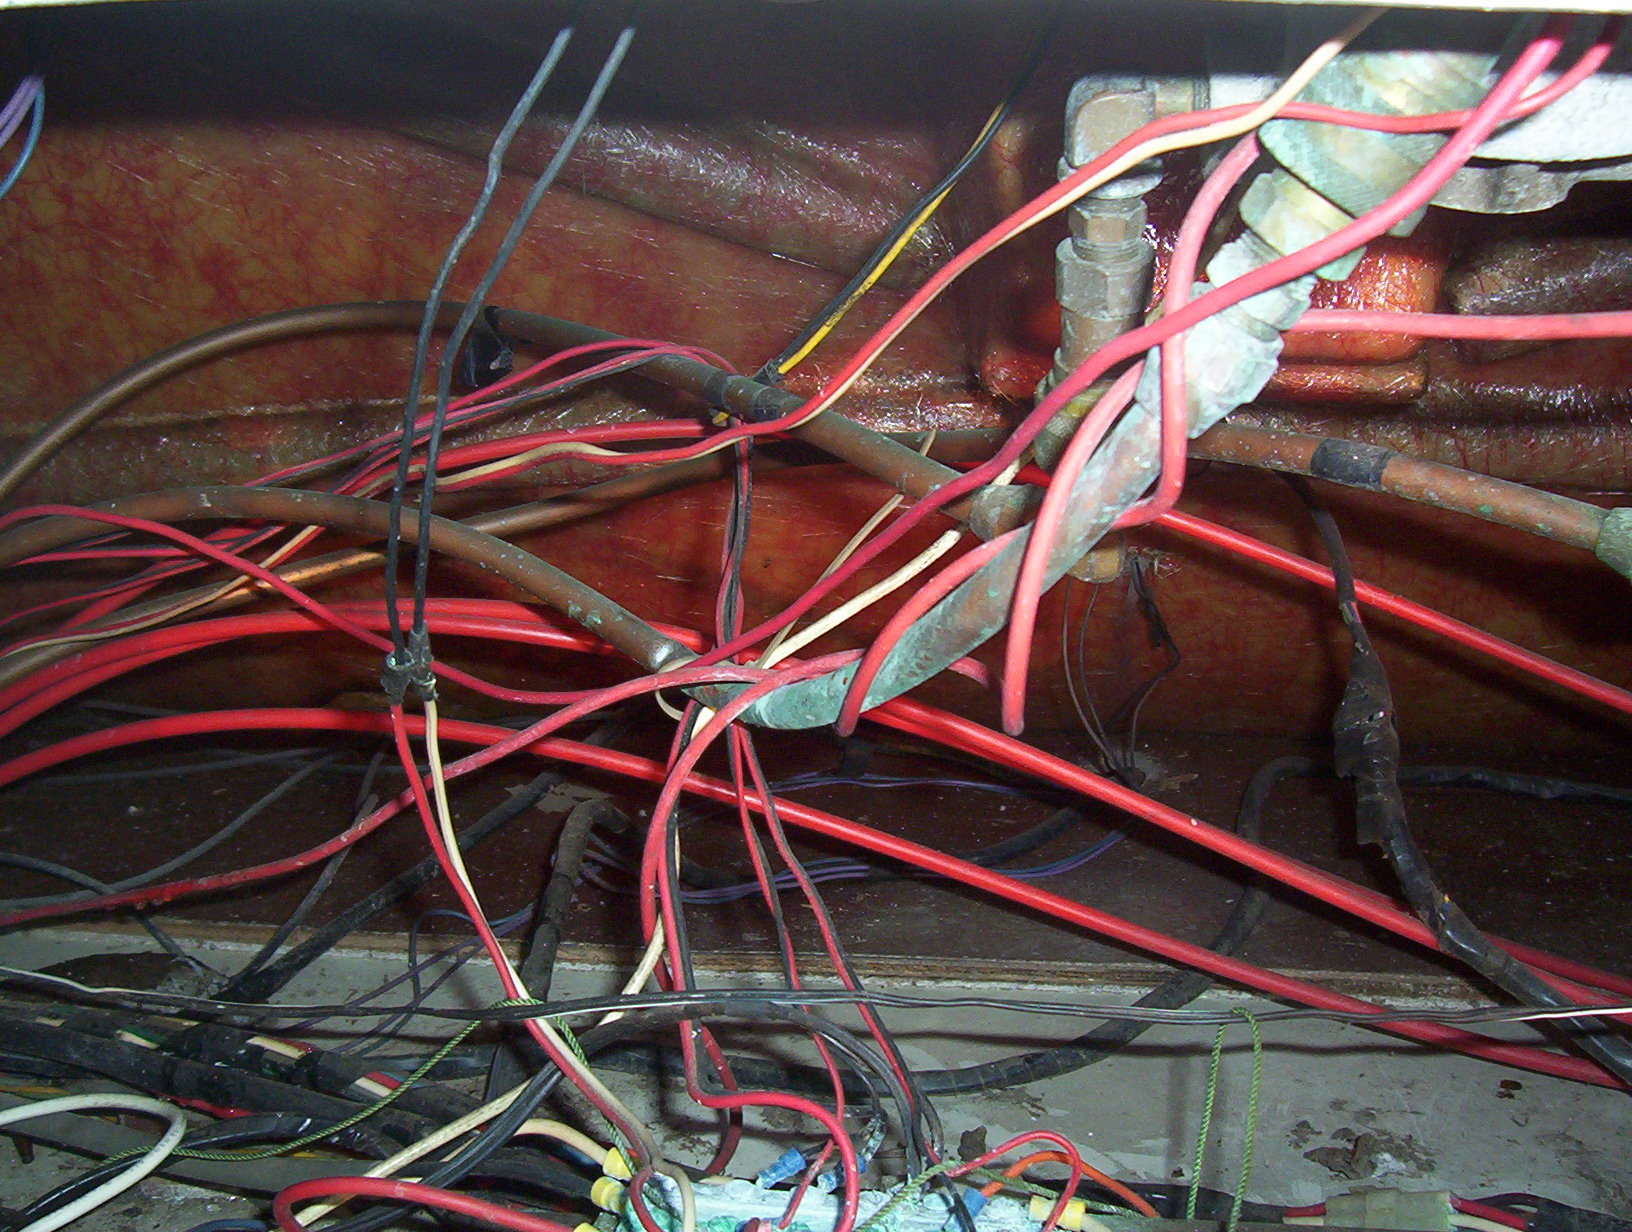
For electronics that work intermittently or lose certain functions, check the remaining plugs or wire connections. These could also suffer from corrosion or may have loosened over time due to vibration. As odd as it may sound, sometimes problems can be corrected by simply disconnecting cable plugs and plugging them back in. The same is true for inline cable connections, which can be loose due to excessive movement or vibration if not secured or mounted properly. Trace the cable runs to see if there are any problems (such as breaks or other damage).
Visibility
If a unit powers up but shows nothing on the display, start simple and check the display brightness and contrast settings. These settings often get adjusted on purpose (to preserve night vision for example) or by accident to the point where the display is no longer visible under different lighting conditions.
Other control features can also generate what we like to call “operator-induced anomalies.” If radar fails to pick up targets, for example, verify the range setting and that the gain/sensitivity features are adjusted correctly.
Voltage Checks
When it comes to hardware problems if all connections are tight, but the problem still exists, it’s time to get all technical and break out the multimeter. Every boat should have one onboard, particularly as they can be purchased for as little as $6.00 at stores such as Harbor Freight. Stay away from light pen type voltage testers. They can tell if there’s voltage, but not how much — a critical troubleshooting flaw, as many electronics fail to operate if the voltage drops below a certain point.
To check the power to a piece of gear, turn the unit off and disconnect the power plug or access the terminal strip where power is connected. Then verify that battery switches and breakers are in the on position.
Set the multimeter to DC volts and measure the voltage by connecting the meter’s negative probe to the equipment plug negative lead and positive probe to the positive lead. If the probes are accidentally reversed, the meter will simply display a negative reading.
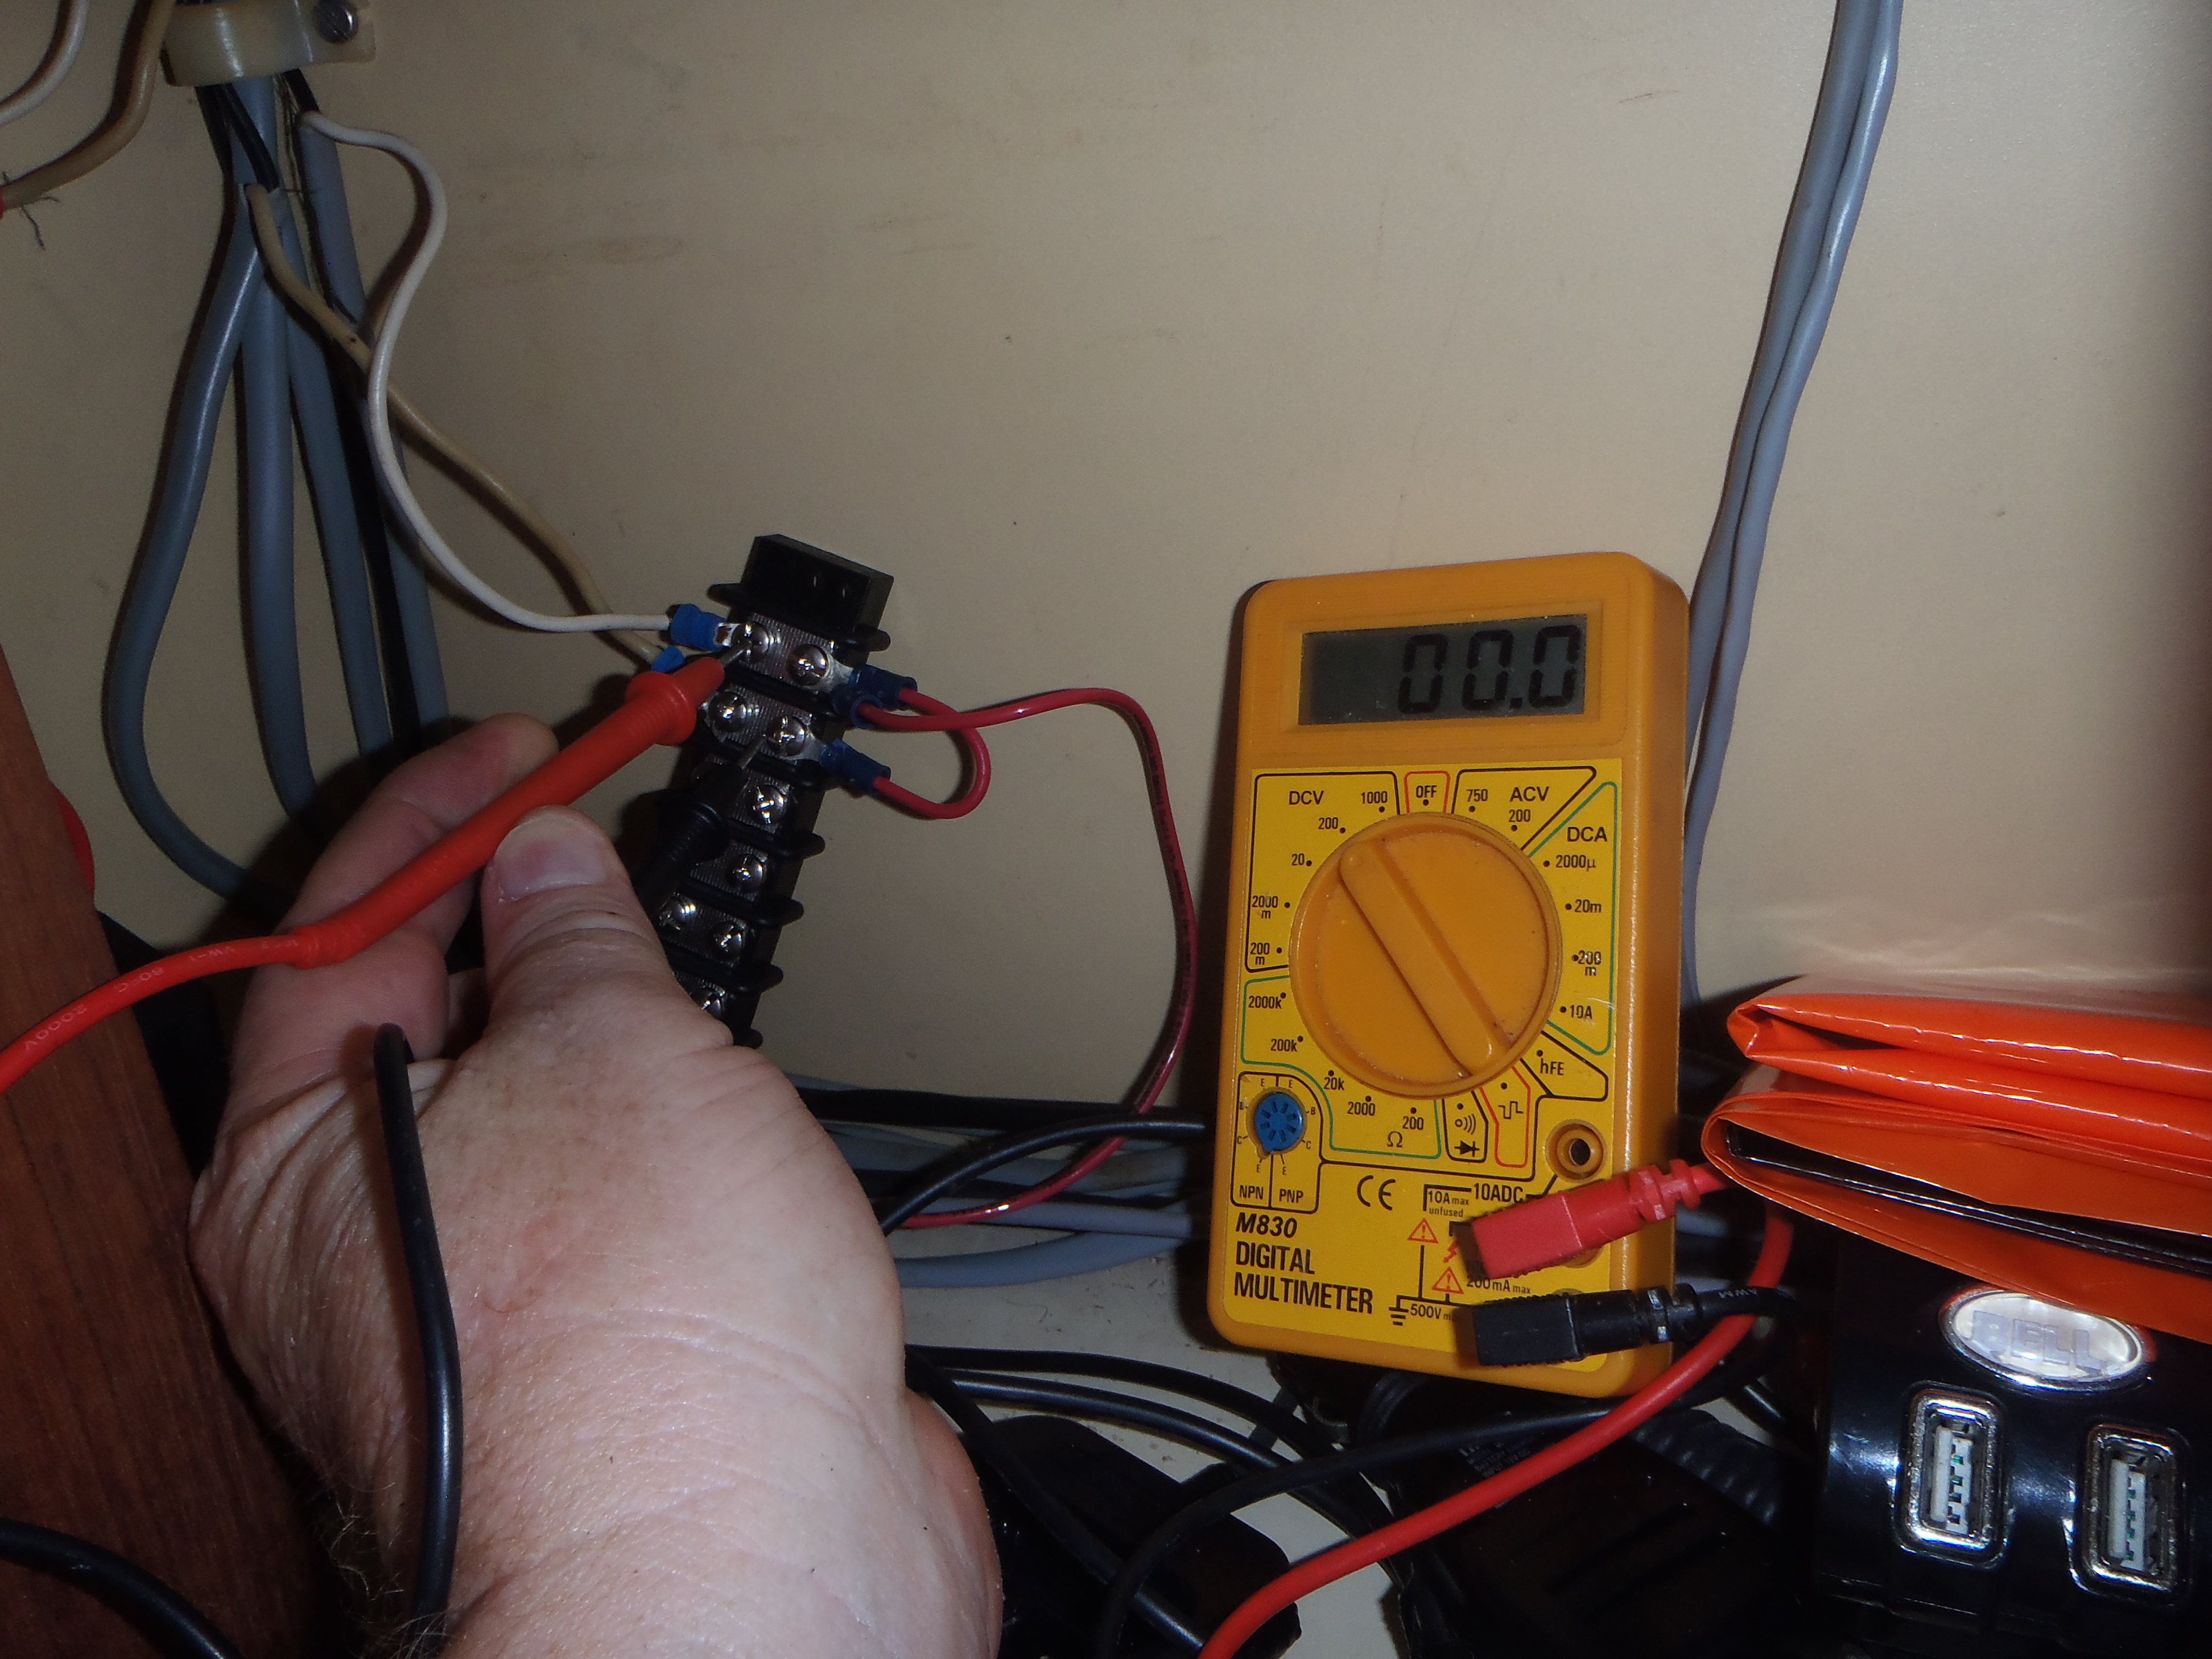
A voltage reading of “0” indicates no power is reaching the unit (tripped breaker, blown fuse, loose connection, broken wire, etc). One thing to note is a fuse that continues to “blow” when replaced should be considered a symptom, rather than the problem itself.
A low-voltage reading indicates low battery voltage or possibly additional resistance in the line (such as a corroded or faulty connection). Verify that the correct amount of power is leaving the breaker panel, then work your way towards the equipment in efforts to identify the problem. If the voltage is incorrect, verify battery voltage is correct and proceed from there.
Another thing to consider is how steady or consistent the voltage is during equipment operation. Some electronics draw more power during certain operations — such as a VHF radio when transmitting verses receiving. It may show a “full”12 volts at the power plug when the radio is disconnected or simply turned on, but that voltage can drop well below a usable level when the radio is keyed to transmit. This is often due to a weak battery or possibly a corroded connection. Monitor the DC panel volt meter (or use the volt meter) while keying the radio to see if the voltage drops.
NMEA 2000
While standalone electronics will have their own dedicated power plug or source, newer electronic systems will likely be powered by an NMEA 2000 (N2K) trunk or backbone. If the system is installed correctly and was working previously, once the correct voltage supply is confirmed and that all plugs and connections are good, then the problem could be with the backbone itself. There are meters that permit testing N2K backbones, but they are pricy ($600 plus) and cost more than most occasional users are willing to spend. If it’s possible that the problem lies with the backbone, it’s likely time to call in a professional.
Tech Support
It’s always a good idea to keep technical support numbers handy for all onboard electronics. Many boat owners or captains have them stored in their cell or SAT phone for instant use. Before making the call, the symptoms and the troubleshooting steps that have already been taken can be described. It’s also a good idea to have the equipment model and serial number for the unit (or system) in question.
By Capt. Frank Lanier
Captain Frank Lanier is a SAMS® Accredited Marine Surveyor with over 40 years of experience in the marine and diving industry. He’s also an author, public speaker, and multiple award-winning journalist with articles on seamanship, marine electronics, vessel maintenance and consumer reports. He can be reached via his website at www.captfklanier.com